
From shabby-to-chic seems to be a good expression for this Pinterest-worthy project.
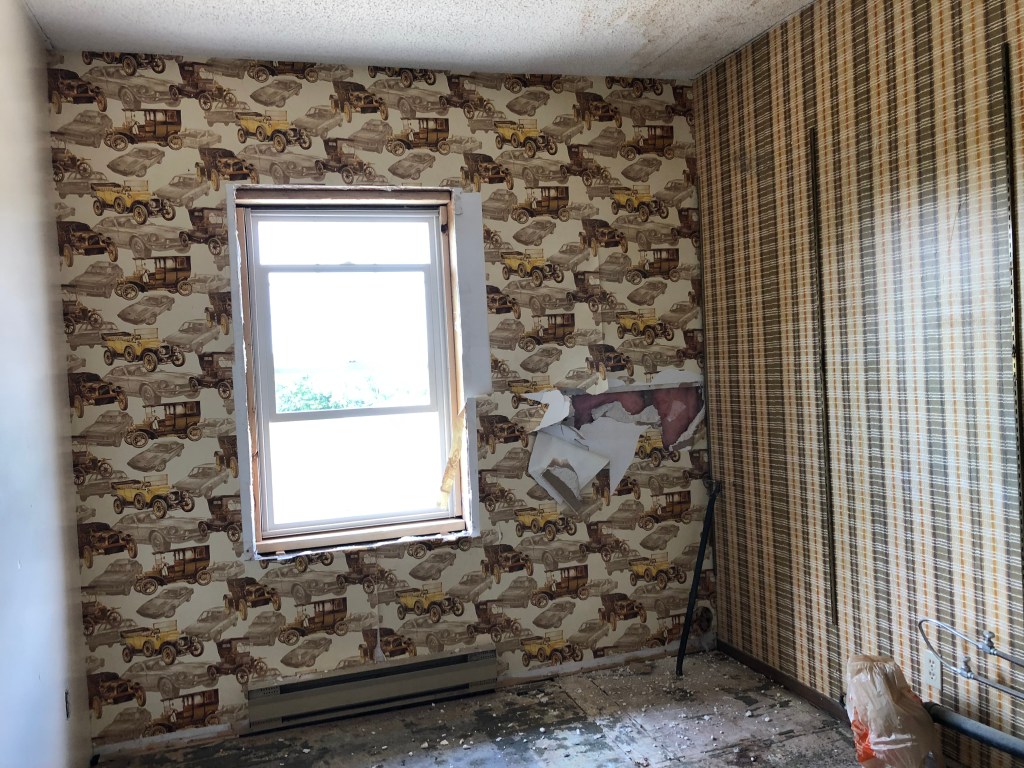
As you can see in the pictures, the original room had water damage to the ceiling, peeling wall paper, and worn flooring with nail holes in it.
It was nothing less than a disaster when we bought the place and has remained relatively untouched until the summer of 2018, simply due to other projects taking priority.
We took it from a run-down old room to a Pinterest-worthy laundry room in the quickest project time for a full room in our home yet!
Which was under a year… But still… A lot goes into perfection!

Mom and Dad were down from Alaska visiting and the guys were working on installing windows.
Being as how they didn’t need any immediate help, Mom and I started on demolition in the soon-to-be laundry room.
This old house still had original lath-and-plaster construction in the interior walls, which is HORRIBLY dusty, dirty, and prickly with all the tiny nails in the lath.
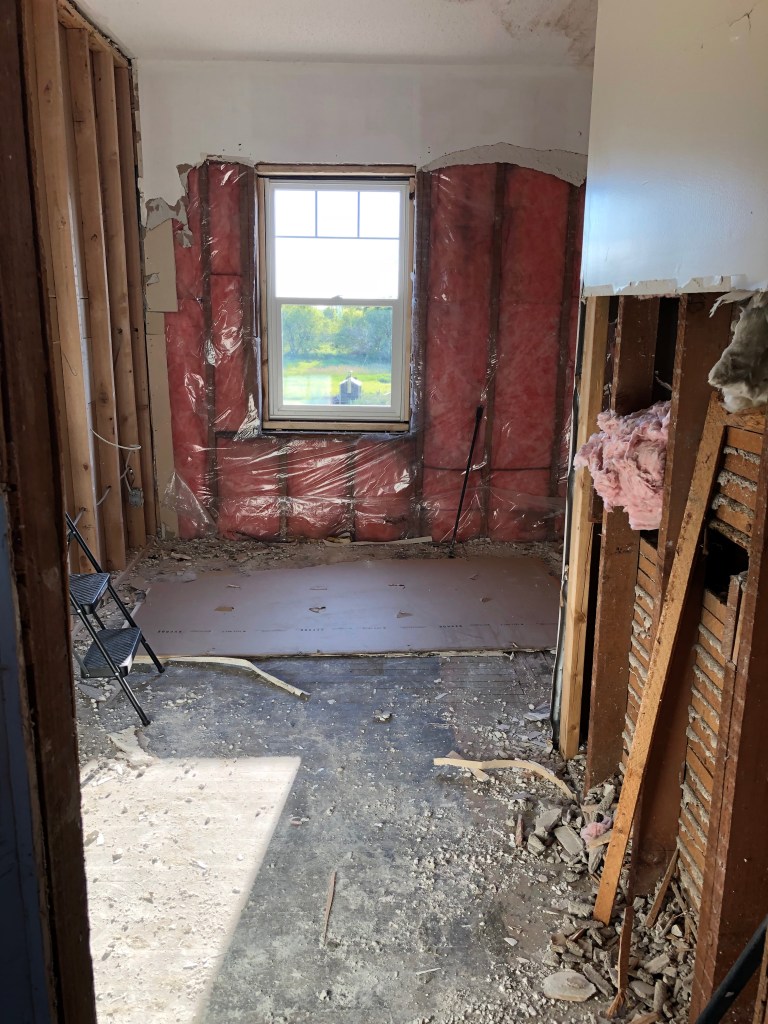
Demolition is not a fun job, per say, but certainly satisfying.
PRO TIP: If you ever have to remove lath-and-plaster, a crow bar works far better than a sledge hammer. Get a good hole in the wall and simply pull from the inside. It also makes far less mess.

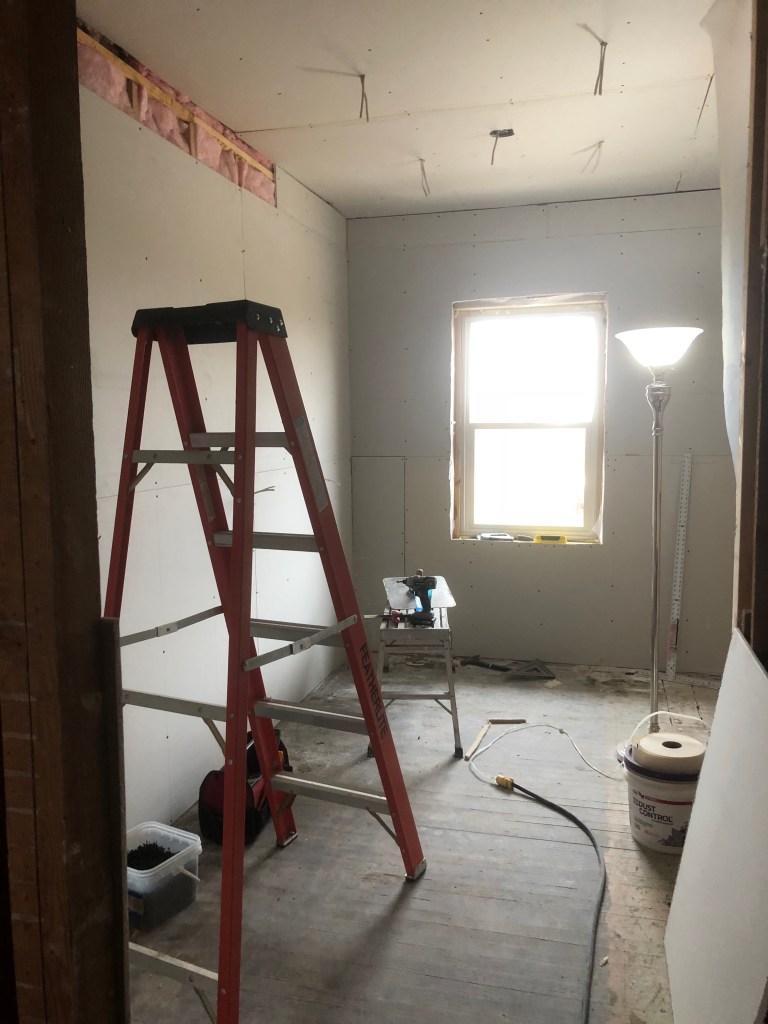
By now we are pretty well versed with hanging drywall, so that part didn’t take us too long – even with all the outlet holes to cut!
Once again, having the right tools makes the job so much easier!
We invested in a drywall lift many years ago and it has paid for itself many times over!

In-floor heat is AMAZING during the winter months when it comes to tile flooring, which we were planning to install.
Instead of pouring concrete, which adds weight to the second story, we made strips of OSB so we could run the heat tubes between them.

We needed a bit more material than we had of the OSB, so we used scrap pieces of the plywood left over from the Wood Range Hood Build (CLICK HERE TO VIEW THE PROJECT).
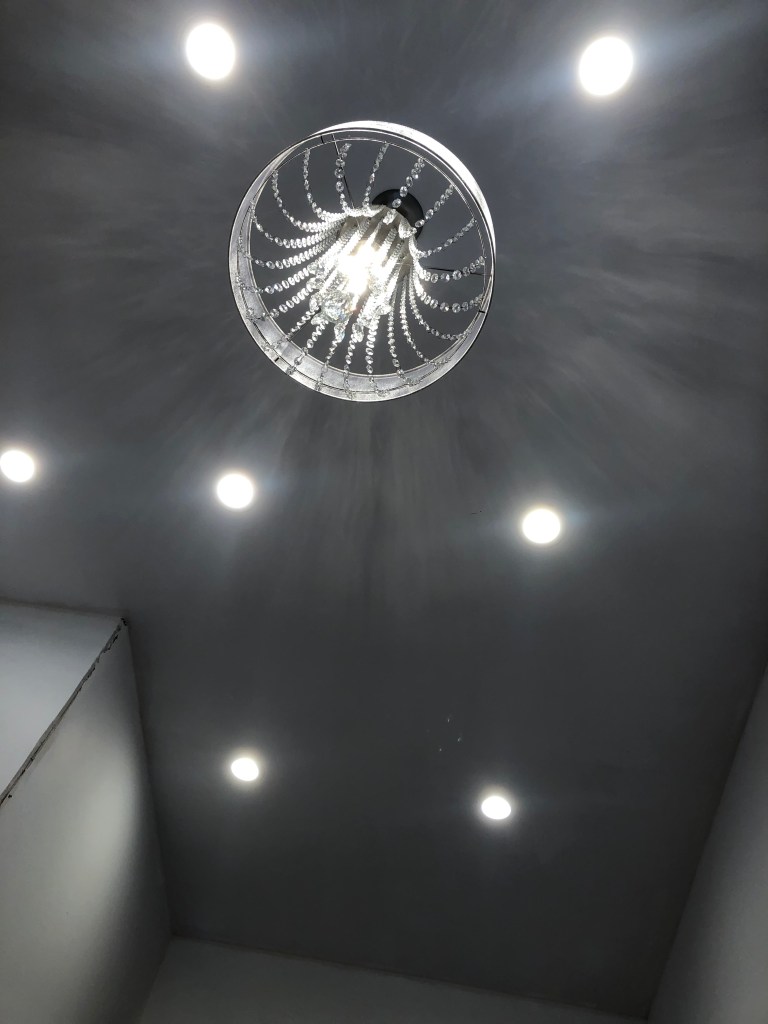
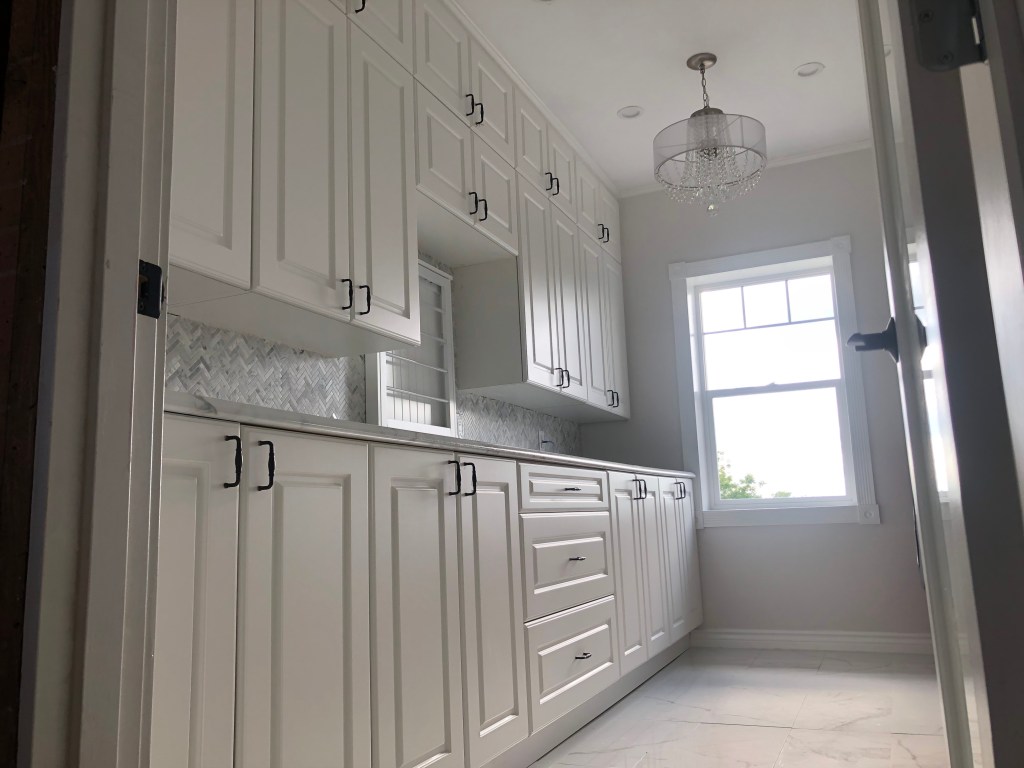
I love good lighting, especially with the long, dark winter months.
I think Jake likely humoured me with my request for so many pot lights in addition to the chandelier… But neither of us have regretted having such a bright laundry room!
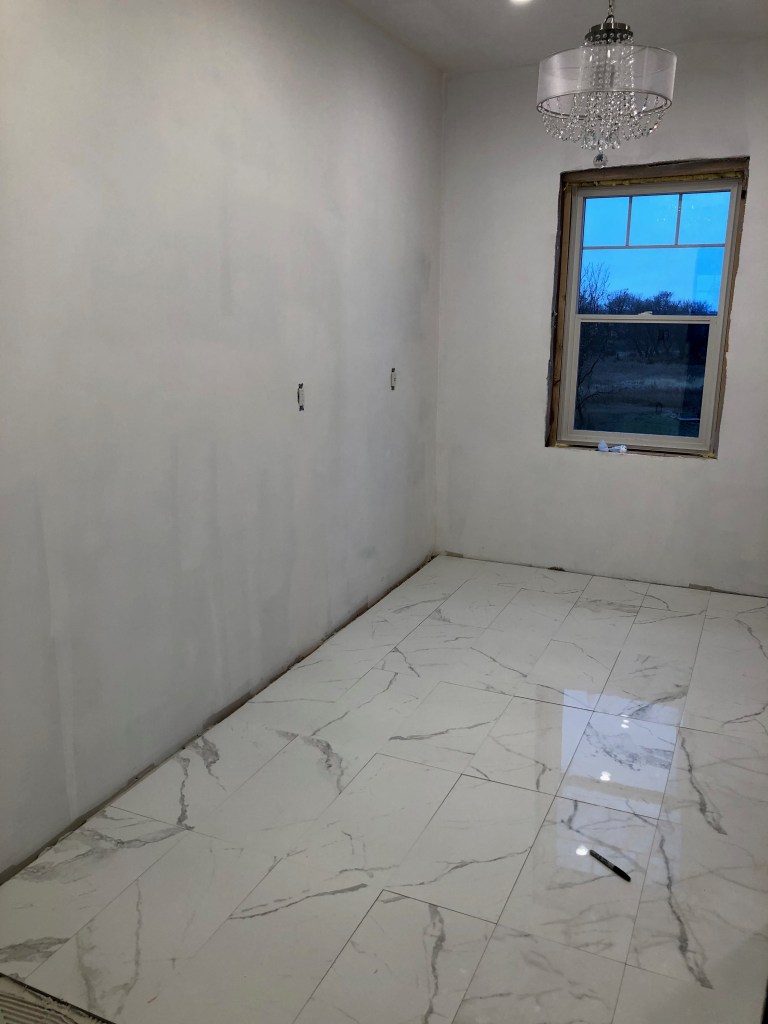
Once everything was mudded, taped, primed, and painted, we installed the floor tiles.
WOW!!! Can you say GLOSSY?! They were so shiny it was like a mirror!
I went with a marble-style tile that was 12″x24″ that barely shows the grout lines now that it has been completed.

My cabinets were one of the few things that we have ordered new, but still chose to install them ourselves to save on labor costs (we have the know-how by now, right?)
Huge shout-out to my peeps at Home Depot in Saskatoon!
It was such a fun process of picking the units I wanted, putting together the layout, and easy to order.
The units I wanted were a bit more than the ones available to pick up in-store immediately, however came pre-assembled (I have spend hours assembling those box kits, so that was worth a lot), had soft-close included in all the units, and came with life-time warranty.
Plus they were made of nicer material. So we went with that!
It took 6 or 8 weeks for them to arrive, delivered to our door… and carried into the house.

I had some of the units carried upstairs that I knew we would be using first, which helped us out and the delivery guys were fantastic about it.

Then we started to see our project all come together!
As we sorted and placed the units, the vision of what our laundry room would look like began to take shape.
I wanted handles to match those in the kitchen, however the place we had bought the kitchen pulls from previously had discontinued carrying that line.
Therefore, I set up a contractor’s account and special ordered them through Richelieu.
Apparently most of these places don’t care what industry you are in as long as you have a business to sign up for a contractor’s account… Good to know…

This project was many a late night and weekend in the making, but so worth it!

I swore that I would not start filling cabinets until the room was 100% finished!
But that didn’t stop me from planning out where everything should go…
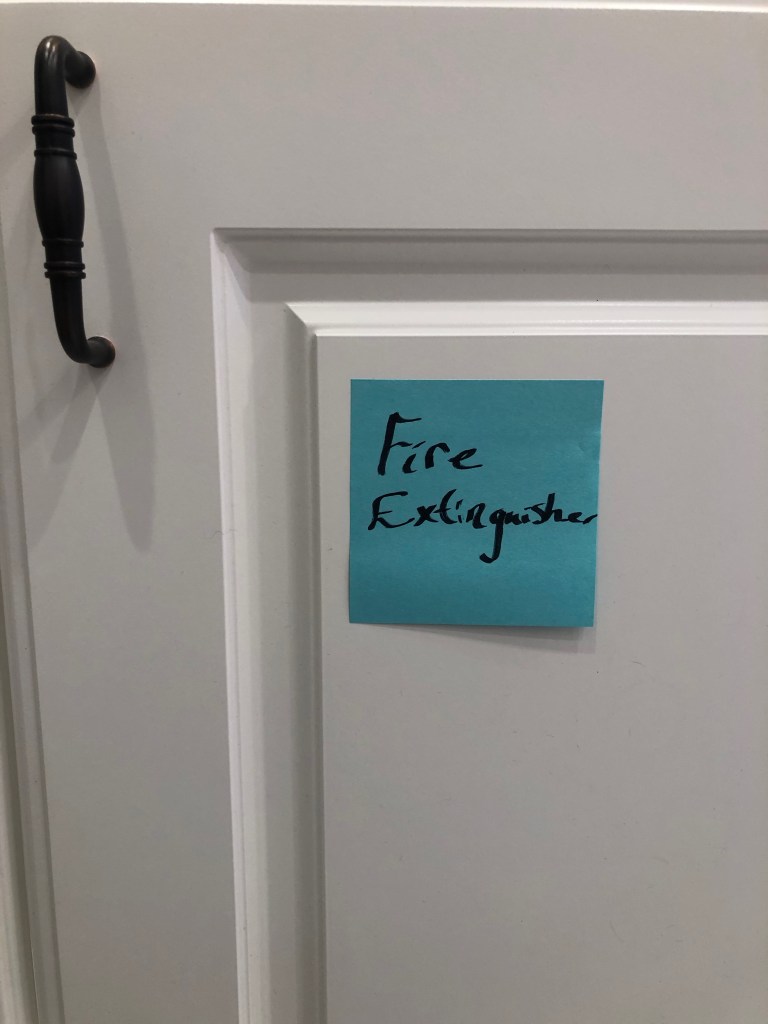
Why do you need a fire extinguisher in a laundry room, you may ask? Well dryer fires, of course!
Better to be prepared and not need something, than need it and not have it! Especially in the case of house fires.

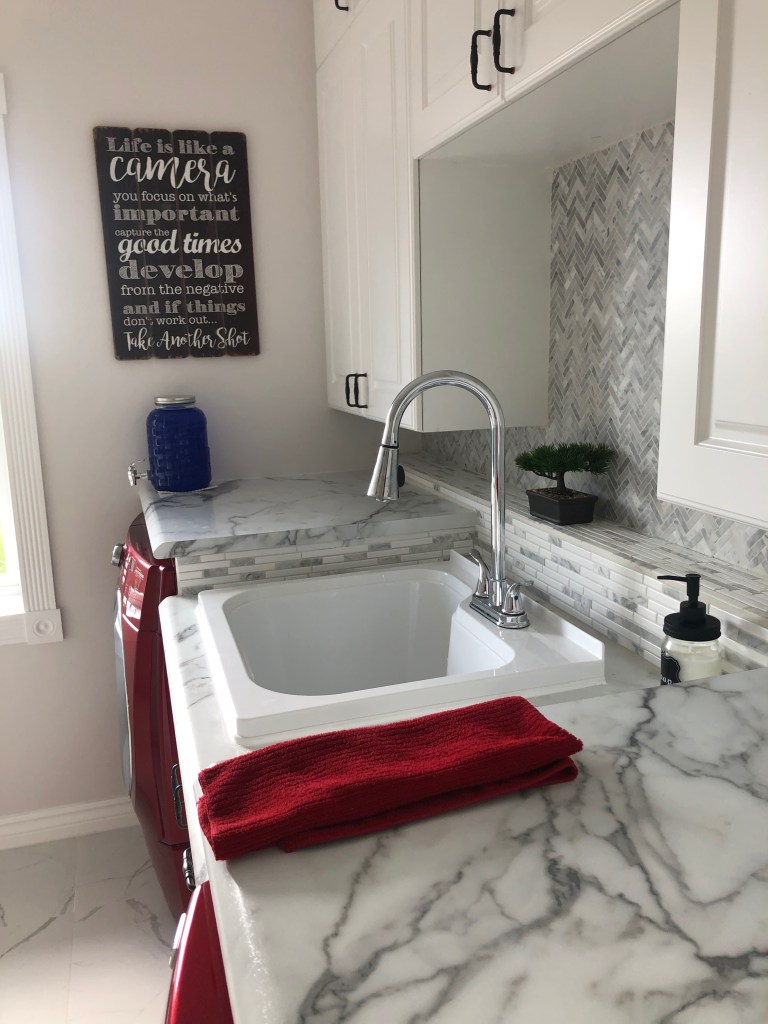
The counters were another item that we ordered – and even had installed!
To have them installed in one day while I was working – and at minimal installation cost was such a treat!
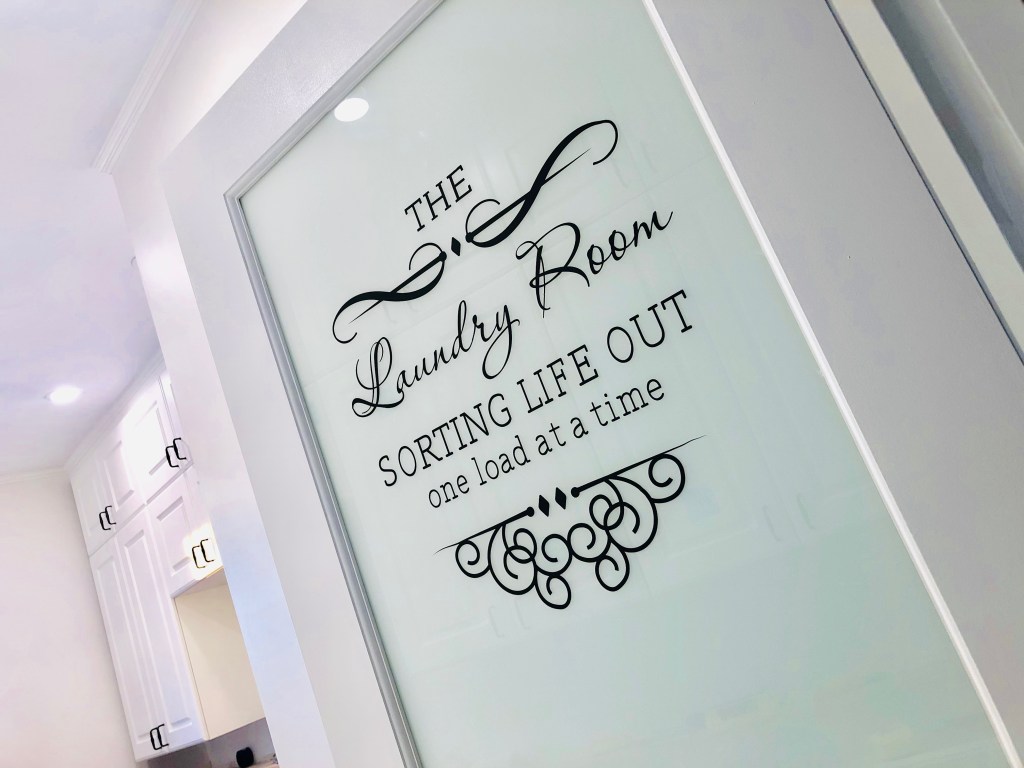
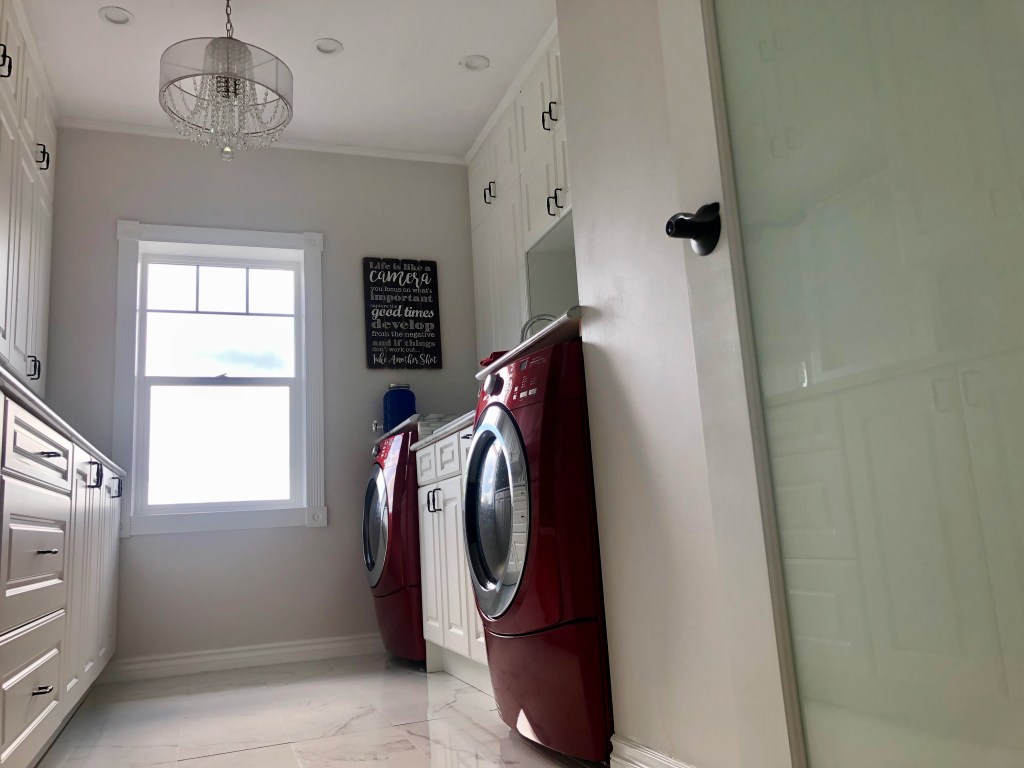
The door. Oh the door!
I was so excited for this part because I had a specific vision in mind of frosted glass with a classy laundry room message scrolled across the top.
It took me ages to find a design I liked for the script, but once I saw this adhesive text, I knew it was the one.
We bought the door through Home Depot, where we buy most supplies.
The only downside to this particular door was the fact that it was not pre-drilled for the handle or inset for the hinges.
Once again, we used our know-how to get it ready and installed.
It was well worth the extra work for the frosted glass and not costing an arm and a leg.
Backsplash is an area that I am particularily picky…
I hate the looks of many choices available, so when I settled on a herringbone pattern, I was so pleased to see that it meshed well with the look I was going for in the laundry room.
Bright and clean with a few choice accents. Exactly what I was hoping for.

Adding the trim cleaned up and completed the look.
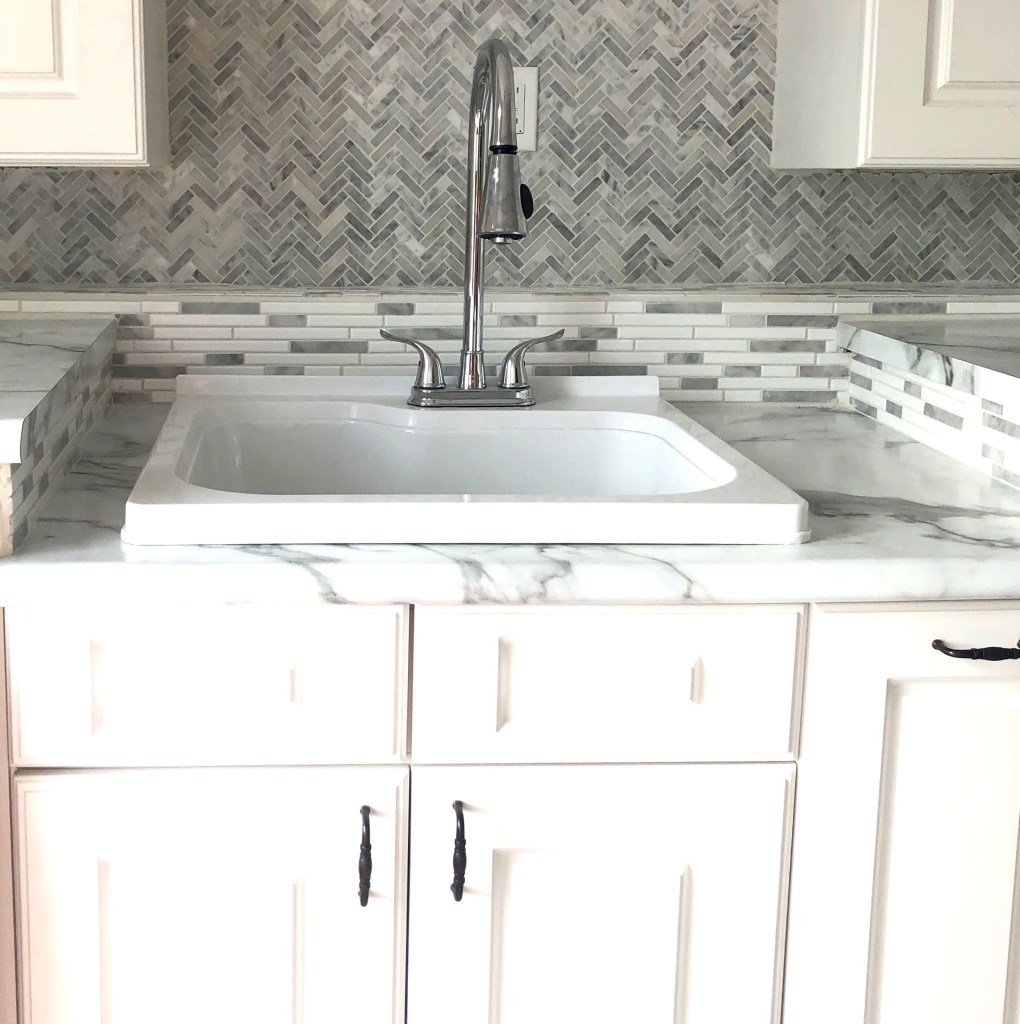
The sink between the washer and dryer is incredibly handy.
Need to soak some delicates? No problem!
Need to wash your hands after you got soap on them? Also no problem!
A sink is a must-have for a full laundry room setup, in my opinion. If you can make it happen, do it!
We also put a sliding trash can unit to the right of the sink (directly left of the dryer), which is such a handy and tidy way to get rid of lint.
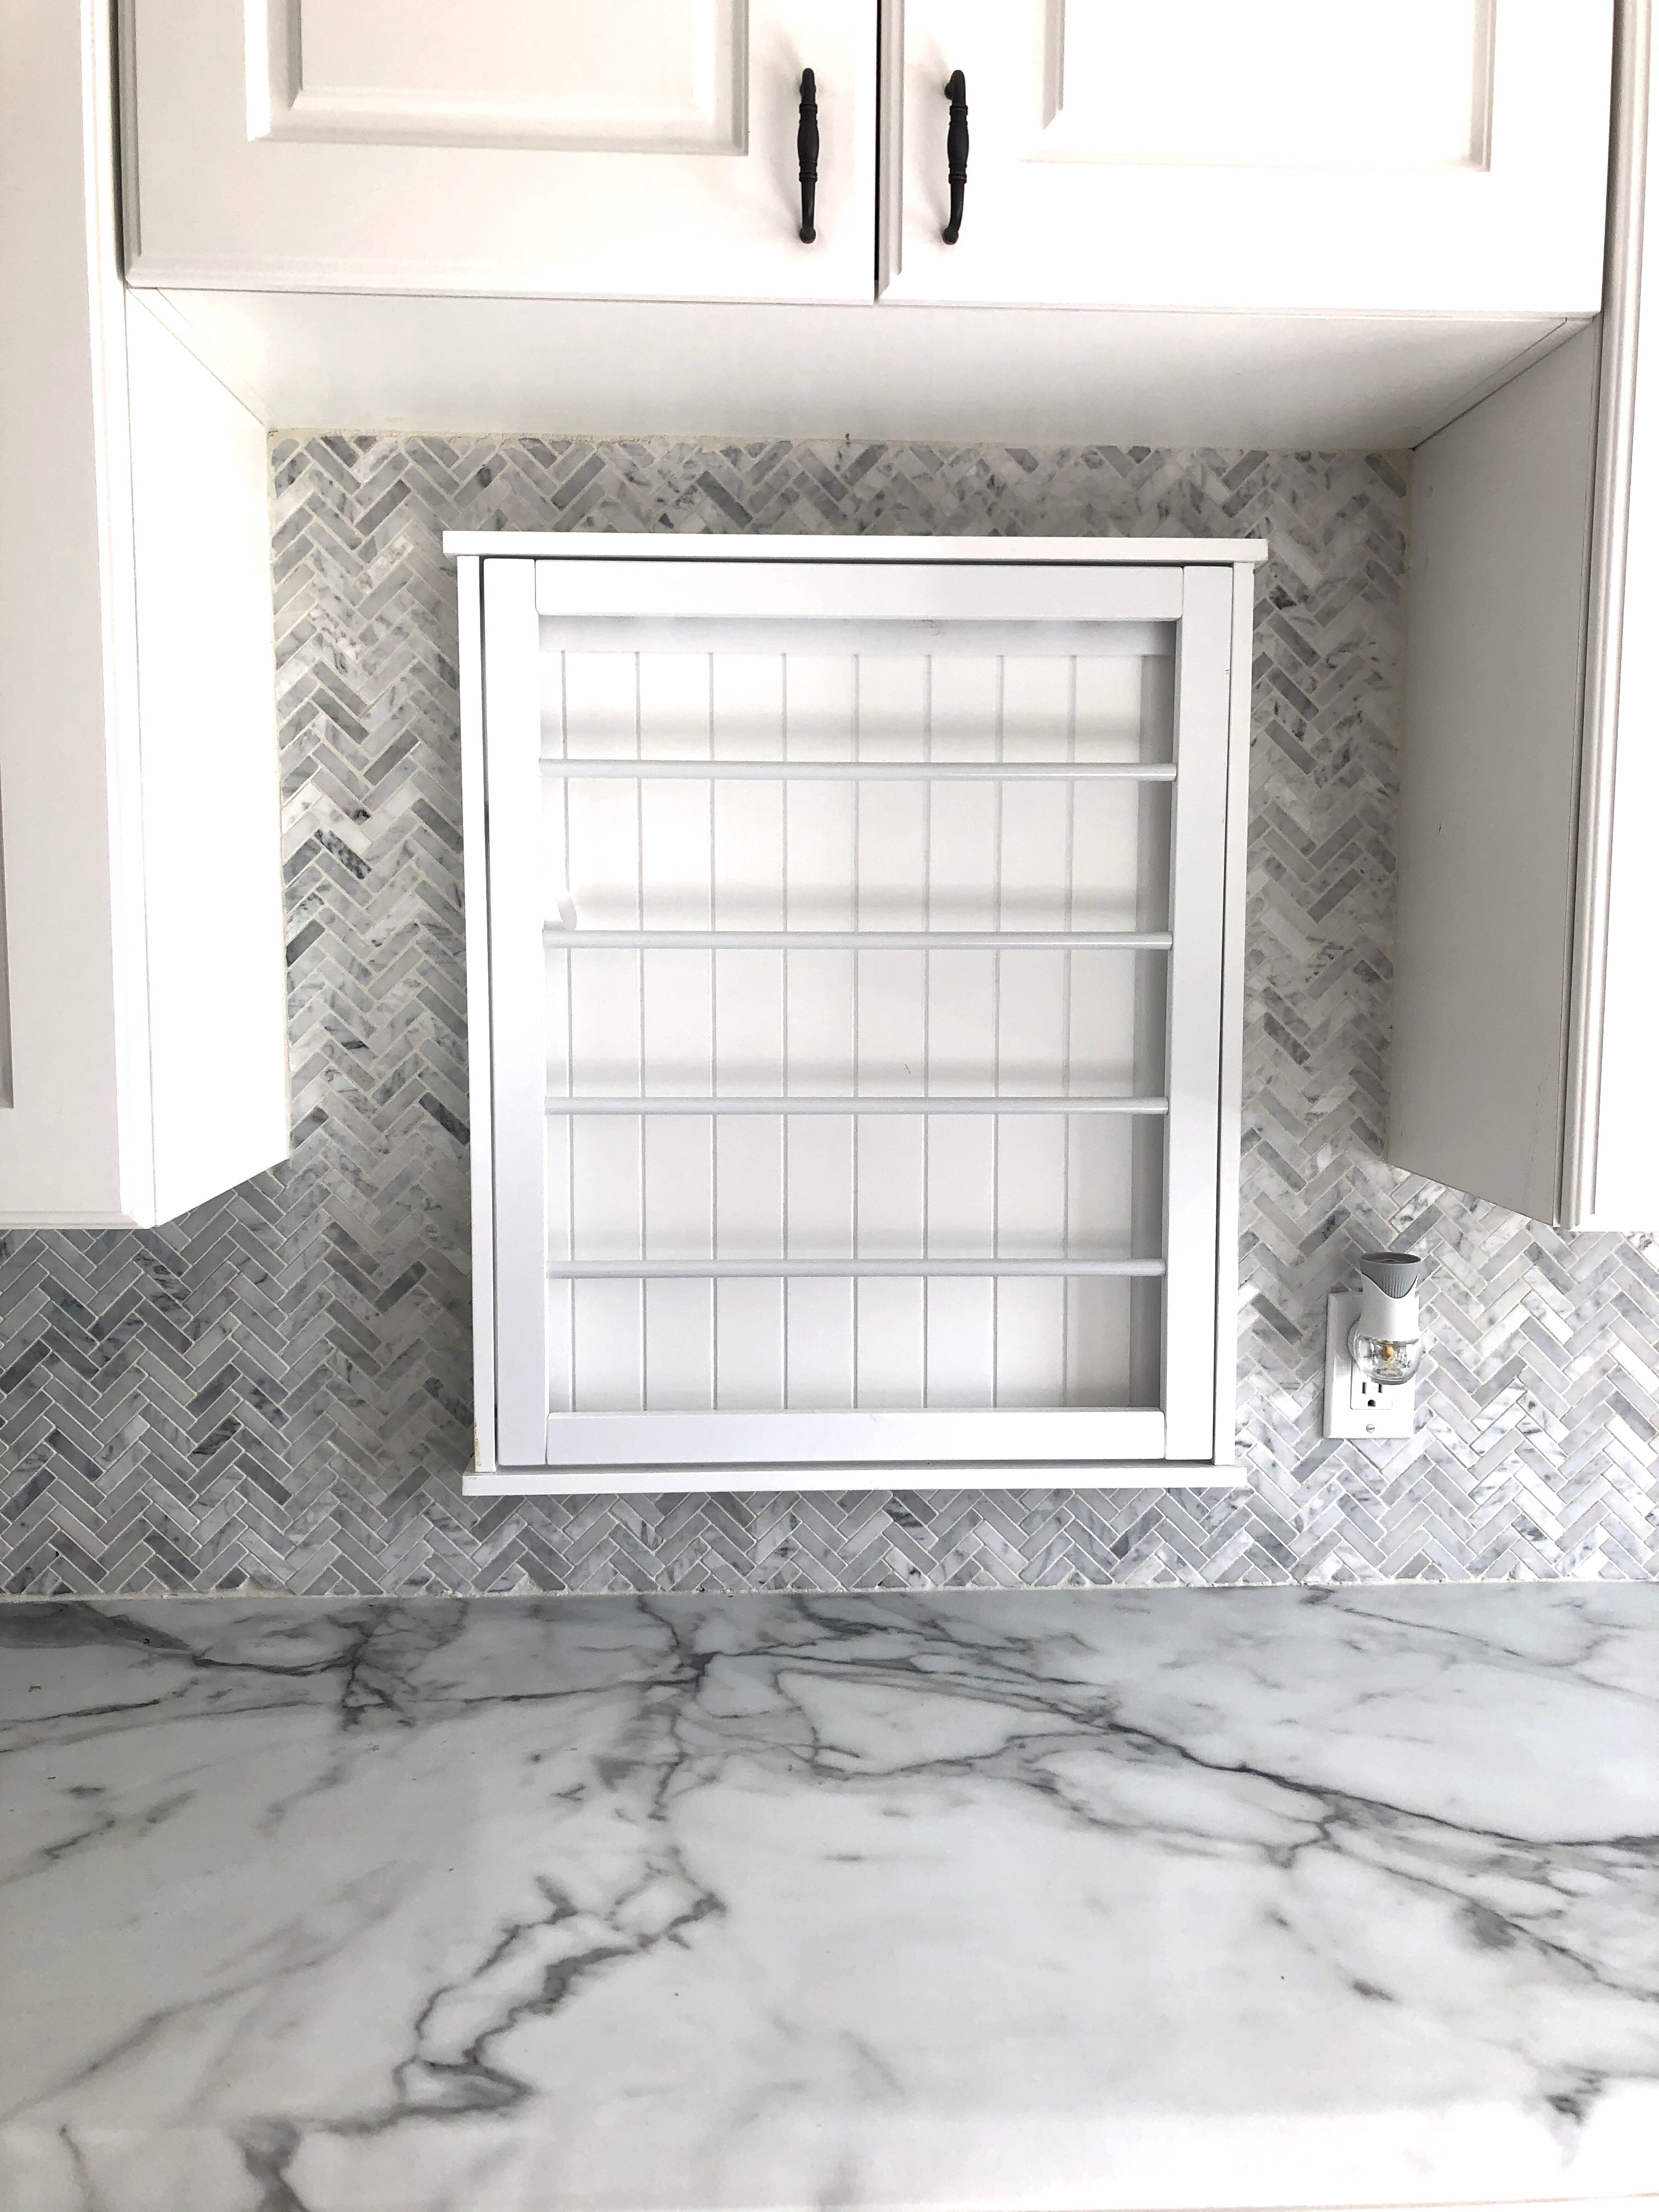
If you are going all out with a room dedicated to laundry, why not splurge and add a drying rack that doubles as classy decor?

In all the years we have been working on renovations, this is the first time that I have felt truly organized.
Up until now, nothing had a permanent “home” where it belonged and I ended up having to move things around from one place to the next as we worked on projects throughout the house.
Now, with all this storage space, I can organize my cleaning chemicals & detergent one one shelf and my batteries & light bulbs in another, while blankets and bed linens have their own unit!

Oh! And of course you can’t forget a cute coin collector for all the change claimed from pockets, right?
What do you think? Has this sparked the renovation inspiration for you? Drop a comment below with your next project!

It looks great! It’s fun to look back on what it looked like originally. I know you put in a lot of thought and hard work for the finished product!
LikeLiked by 1 person
There were certainly many late nights and many weekends spent on getting this all done!
Looking through old photos is a wonderful reminder of how far we have come!
LikeLike