


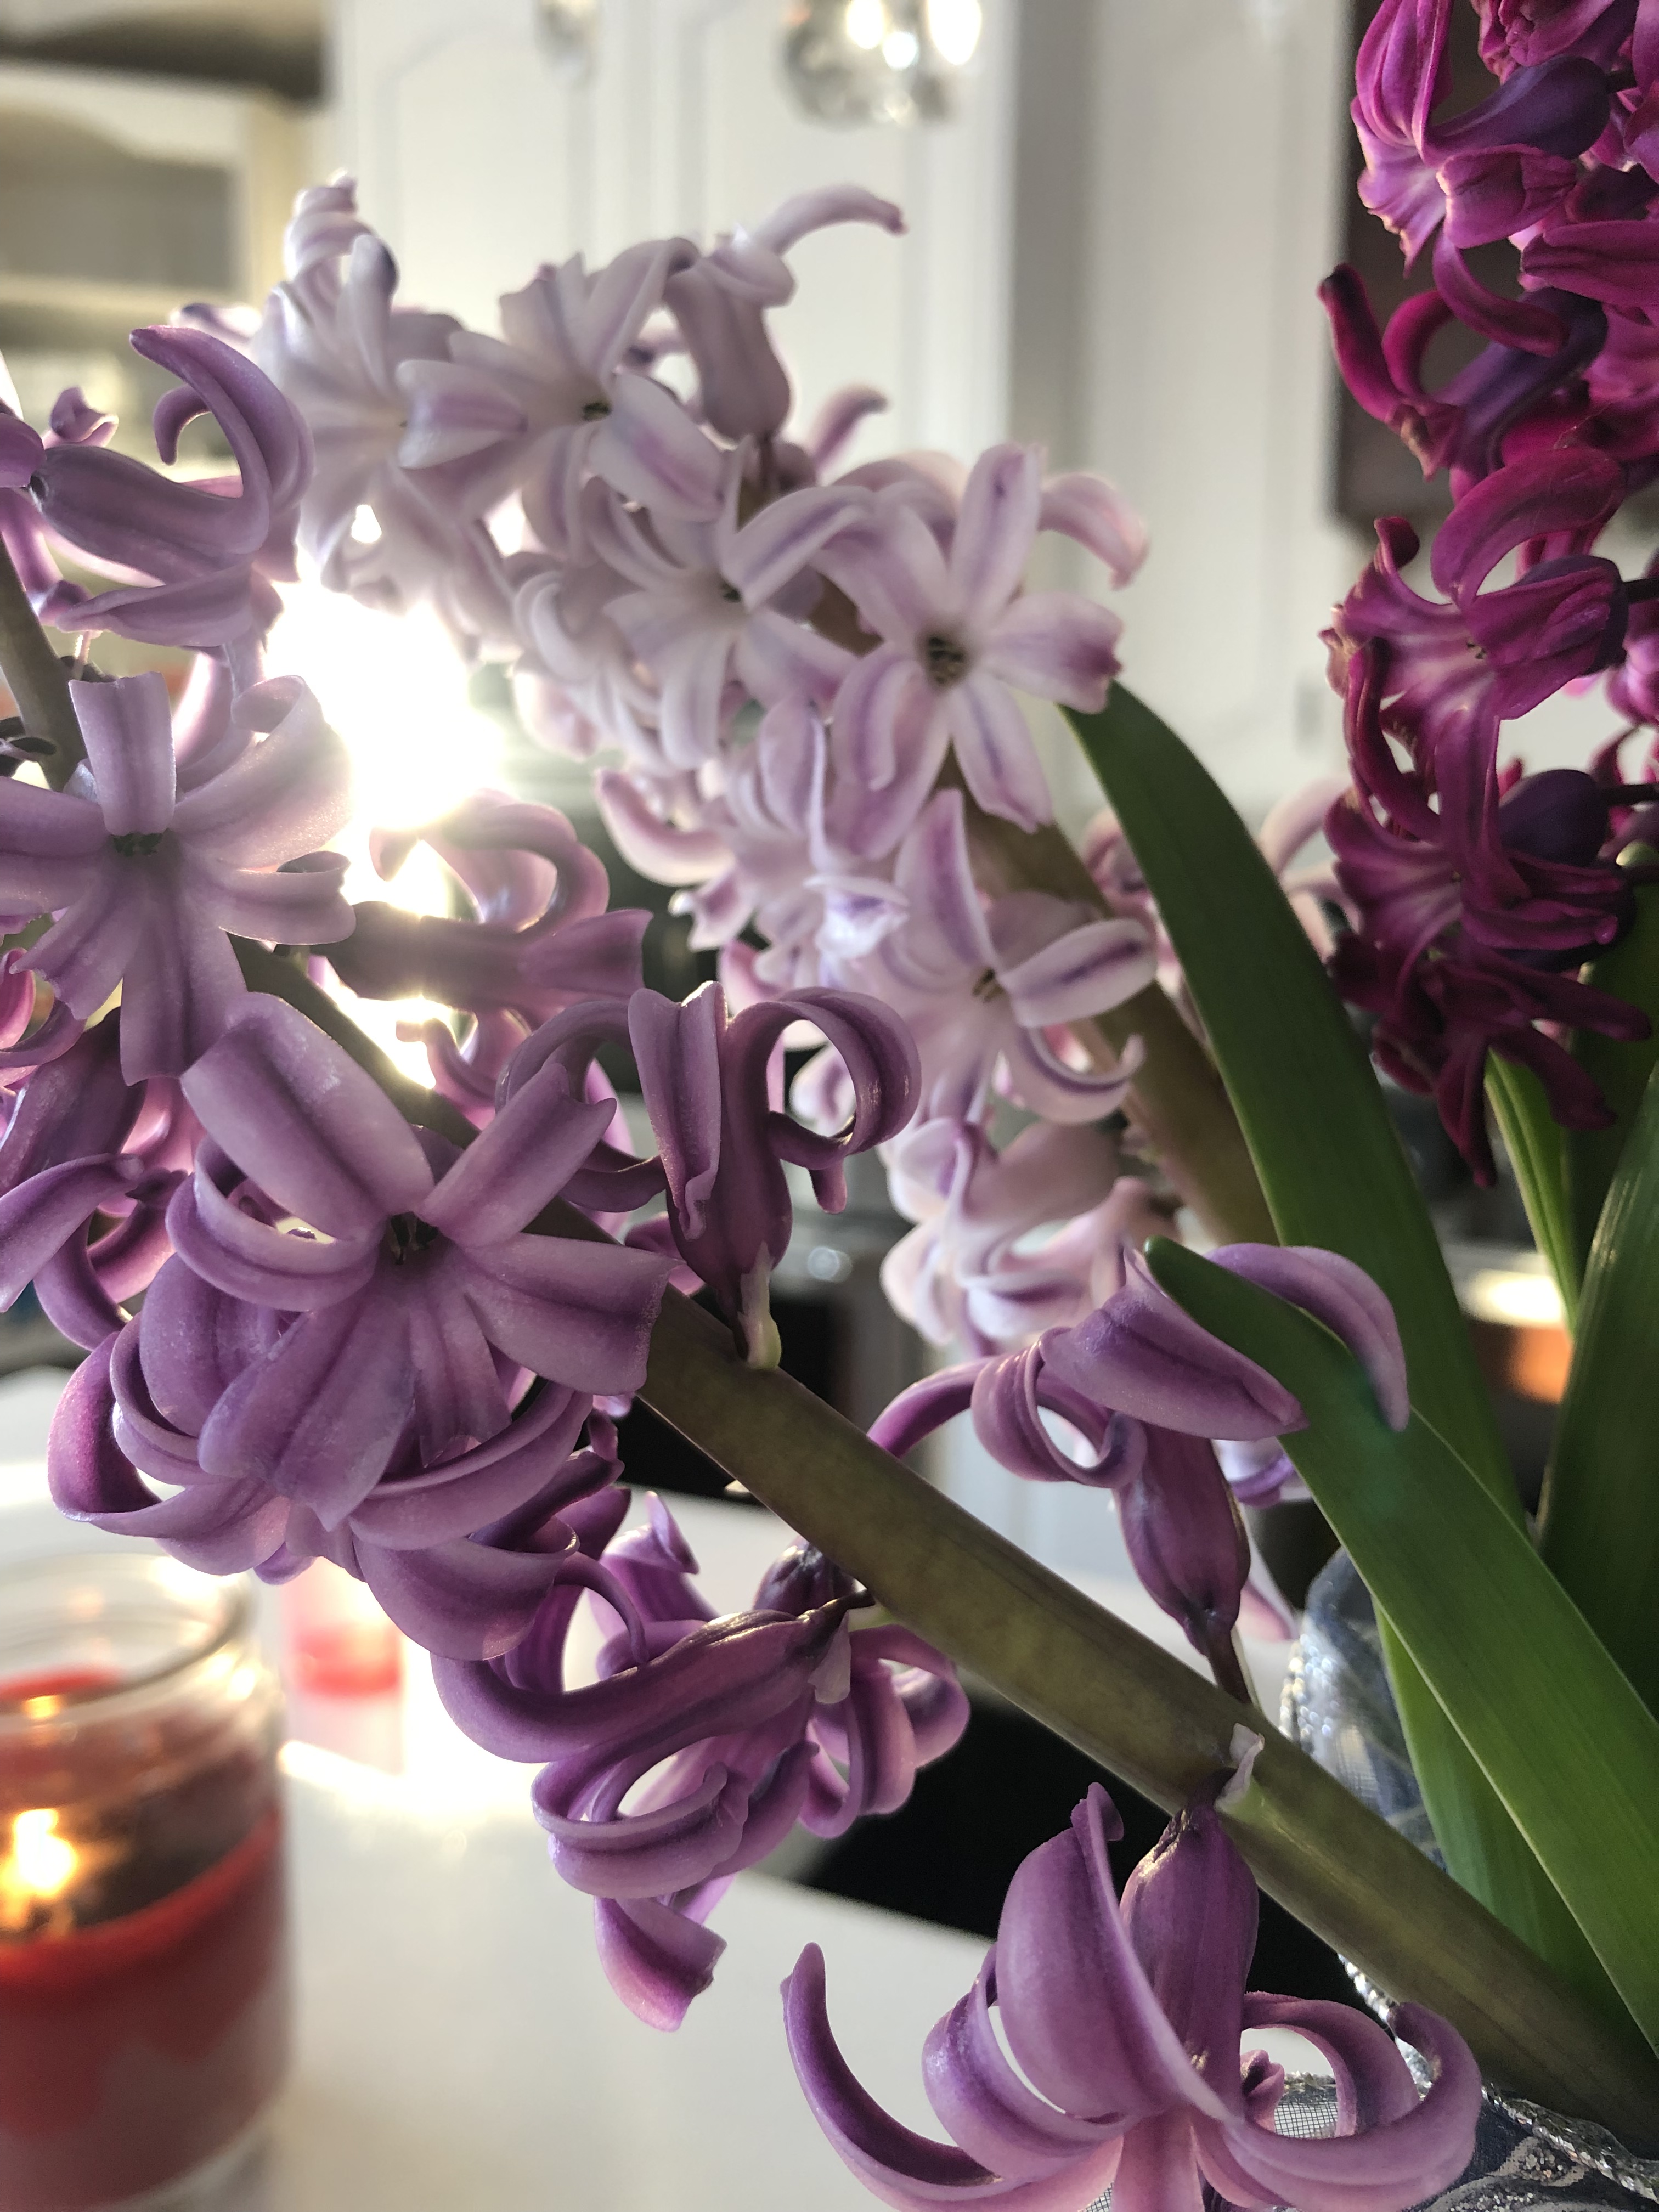
What better way to add tranquility to your space than these elegant Hyacinth flowers in the dead of winter?
Today, as I am writing this, we are the coldest place on earth at a harsh -40° C (-50° C with the windchill!) – therefore fresh flowers are a welcome reprieve from the cold and dark.
The gentle fragrance of the Hyacinths fills the room and adds the perfect pastel colours to my kitchen, dining room, and bedroom. I love flowers, and live flowers rather than cut flowers seem so much sweeter!
So how do you go about forcing these bulbs to flower in the middle of winter?
It will take planning, preparation, and a LOT of patience, but if you are willing to put in the work for the payoff in the end – you’ve come to the right place!
Obviously, the first step is to buy the bulbs; finding high quality bulbs will help give you the best results. You want bulbs that are a bit larger than a golf ball and are nice and firm.
Next, the bulbs need to be chilled in a dry, dark place. If you have a cold pantry, this works well; if not, you can chill them in your refrigerator in one of the drawers (just makes sure you do not have fruit near them as the gasses the fruit puts off are not good for the forcing process).
Most resources I have seen recommend chilling the bulbs for 12-15 weeks, although I only chilled mine for 10-12 weeks.

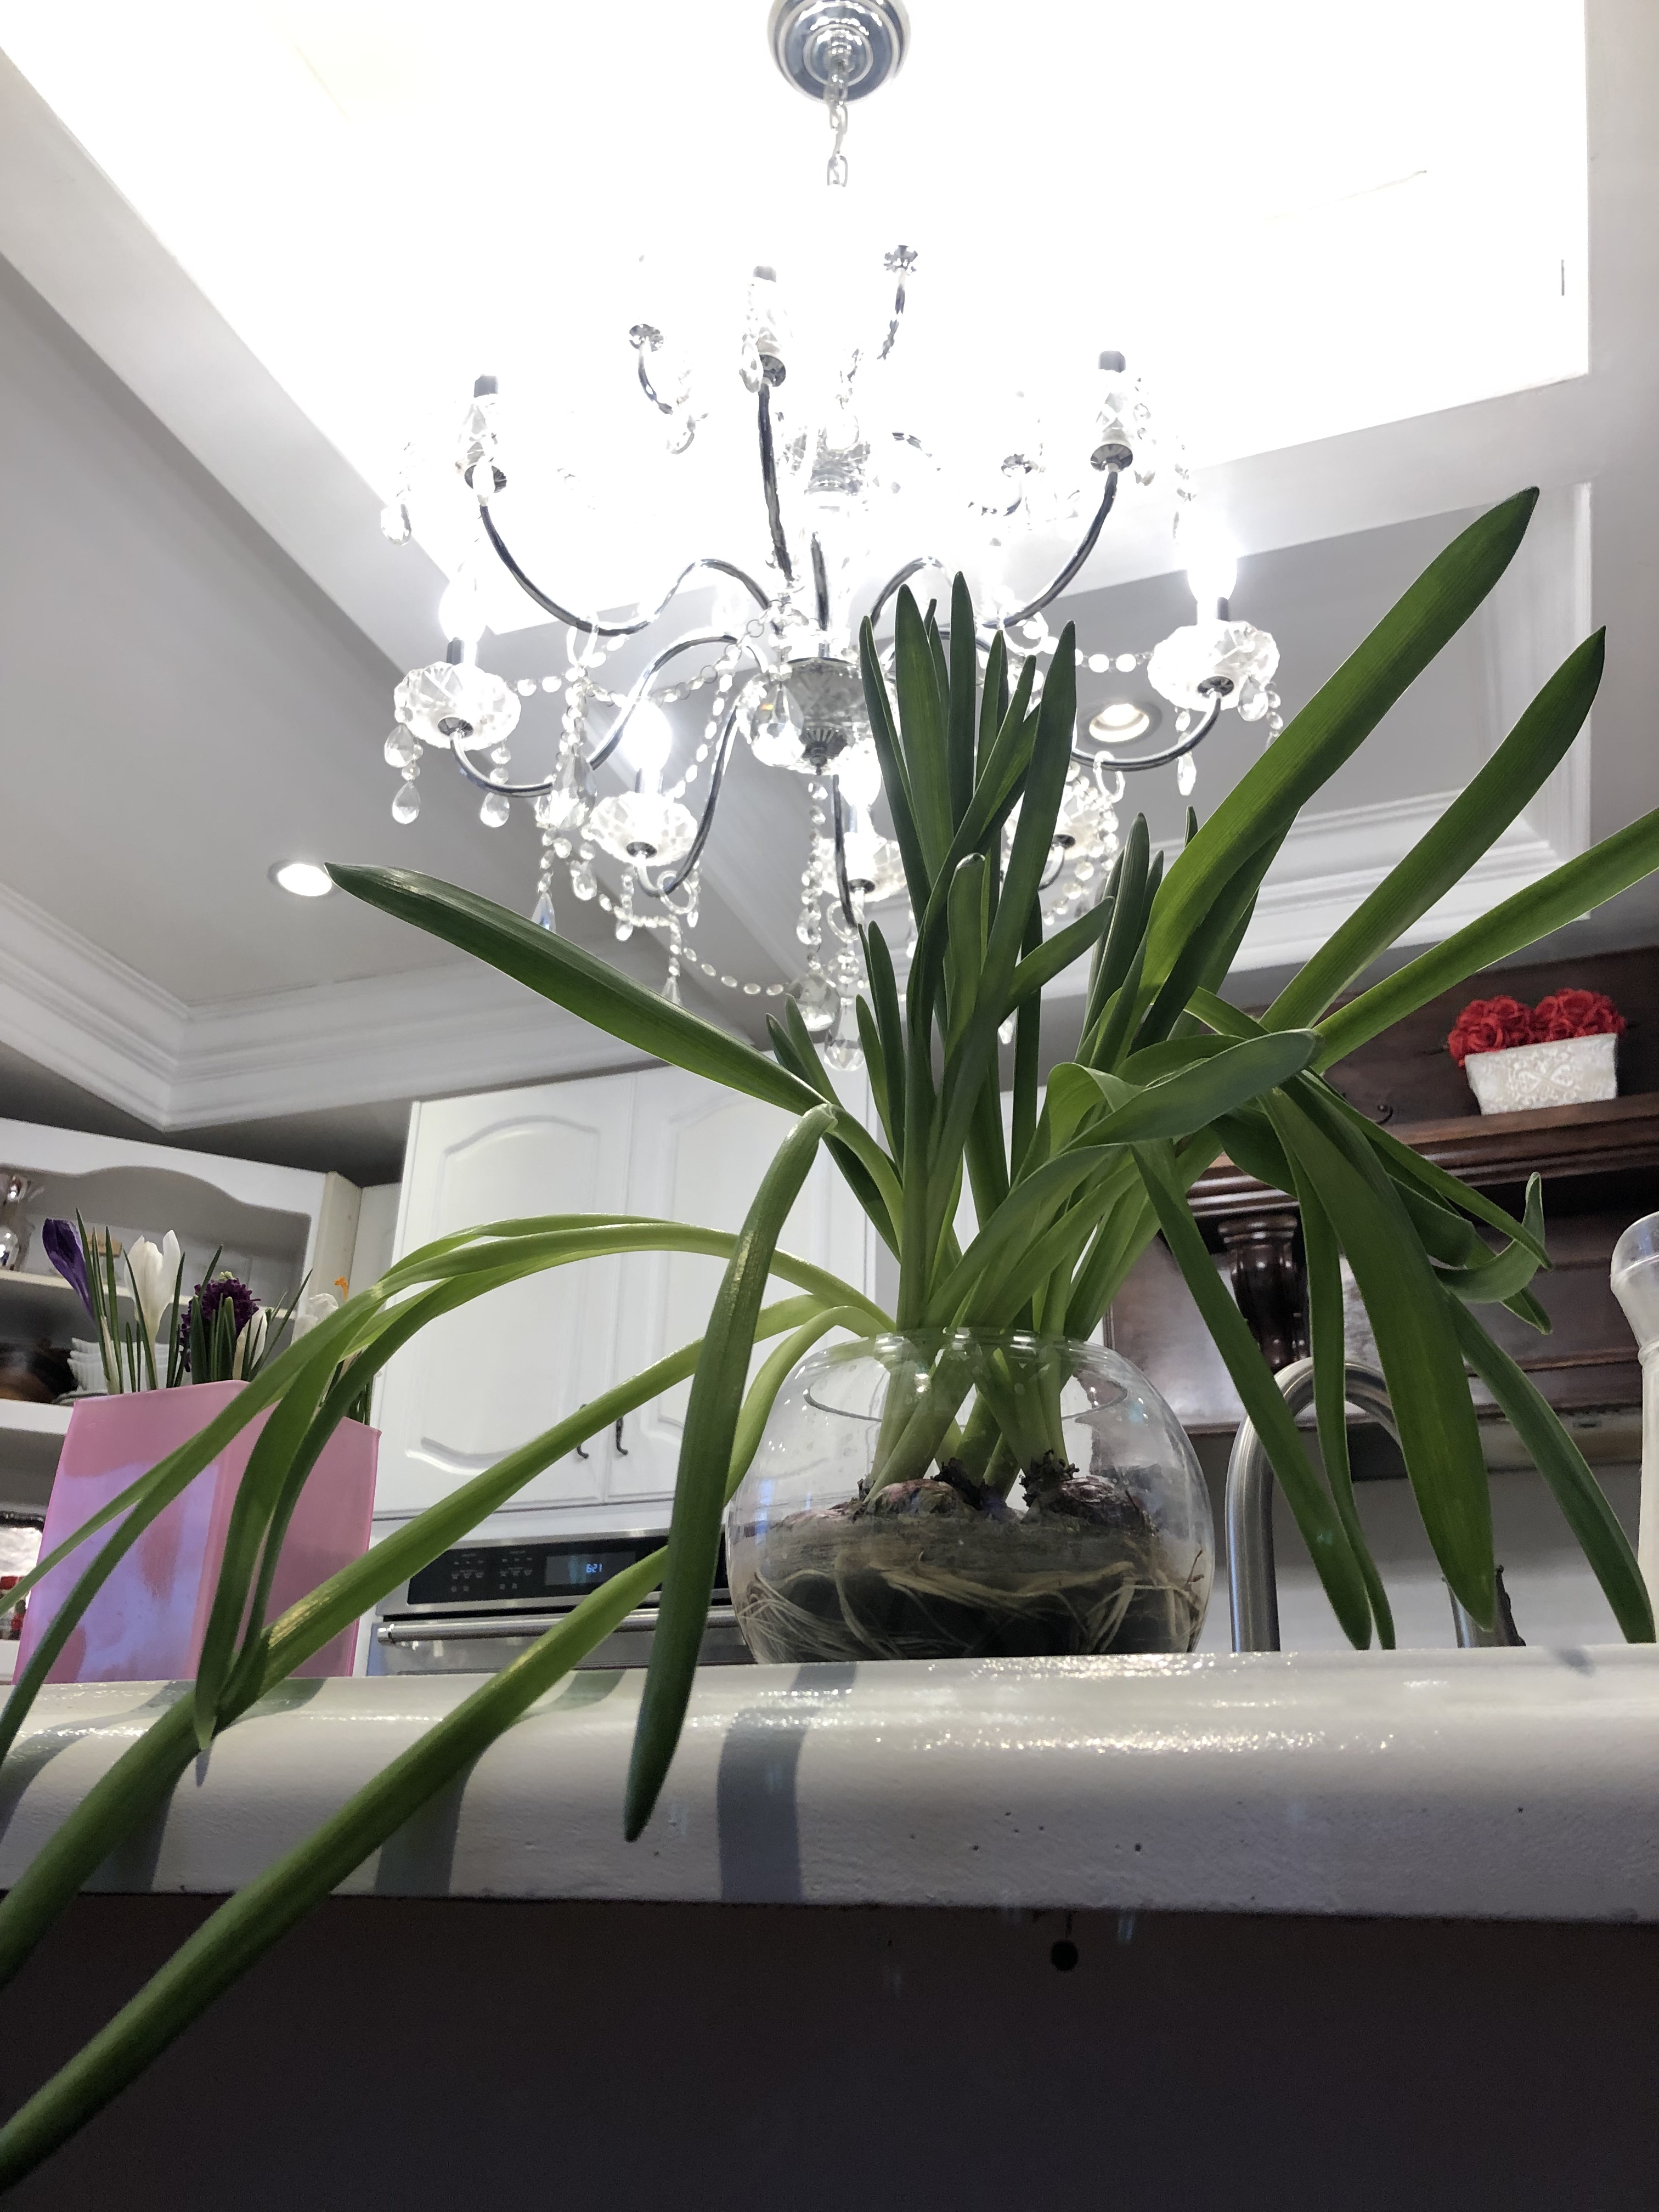
Once they had been chilled, I started the bulbs in batches every 3-4 weeks so I would have new blossoms forming as the previous ones were drying up. You will know they are ready to start as they will have 1-2 inches of green growth started by this time.


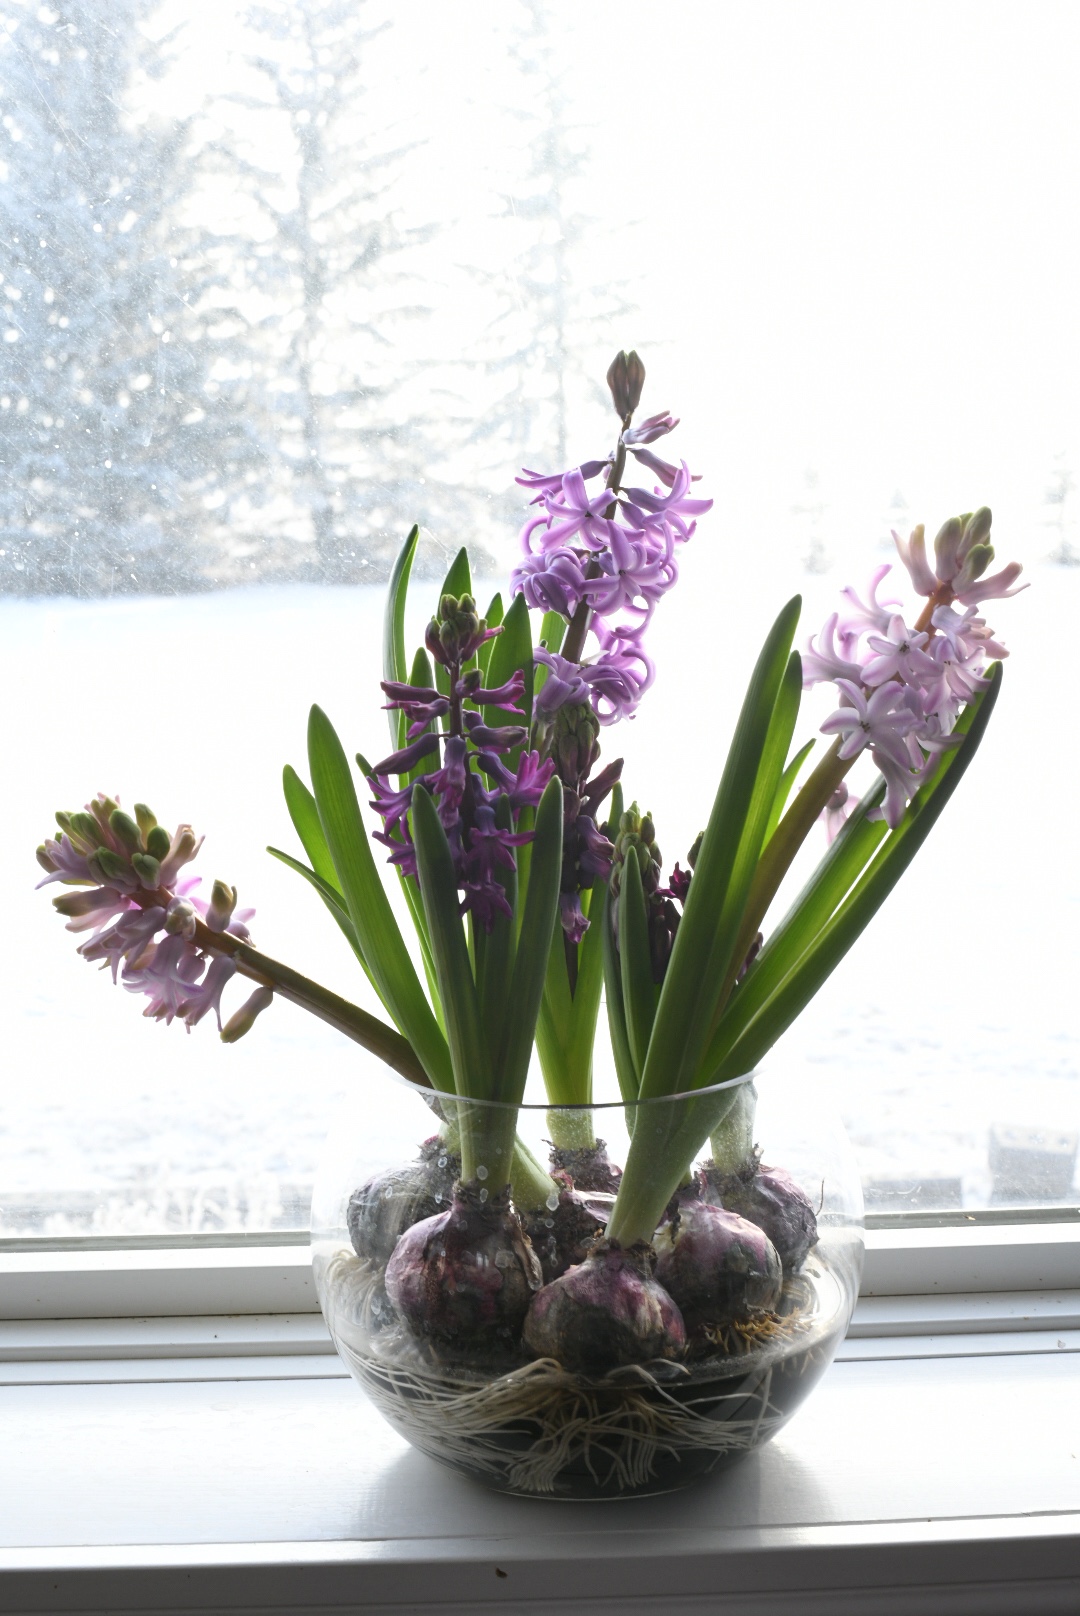
I put a layer of decorative stones in a vase, then added the bulbs, then added just enough water to touch the root of the bulb. Too much water touching the bulb will cause it to rot.

WARNING! The Hyacinth bulbs cause skin irritation, so you should either wear gloves or wash your hands immediately after working with them (do NOT touch your face like I did… I had to find out the hard way that they cause an itchy reaction).

Next, I added a few drops of bleach to help kill bacteria that can cause slime and a foul smell – you don’t want pretty smelling flowers in stinky water, right? Adding a little bit of rubbing alcohol at this point also helps keep the flower stems from getting tall and spindly.
Keep your bulbs in a cool, dark room for another 2 weeks. Once you bring them out into the warm part of the house, they will start growing over the next 3-4 weeks. Be sure to add water as needed to keep the water level right at the roots.

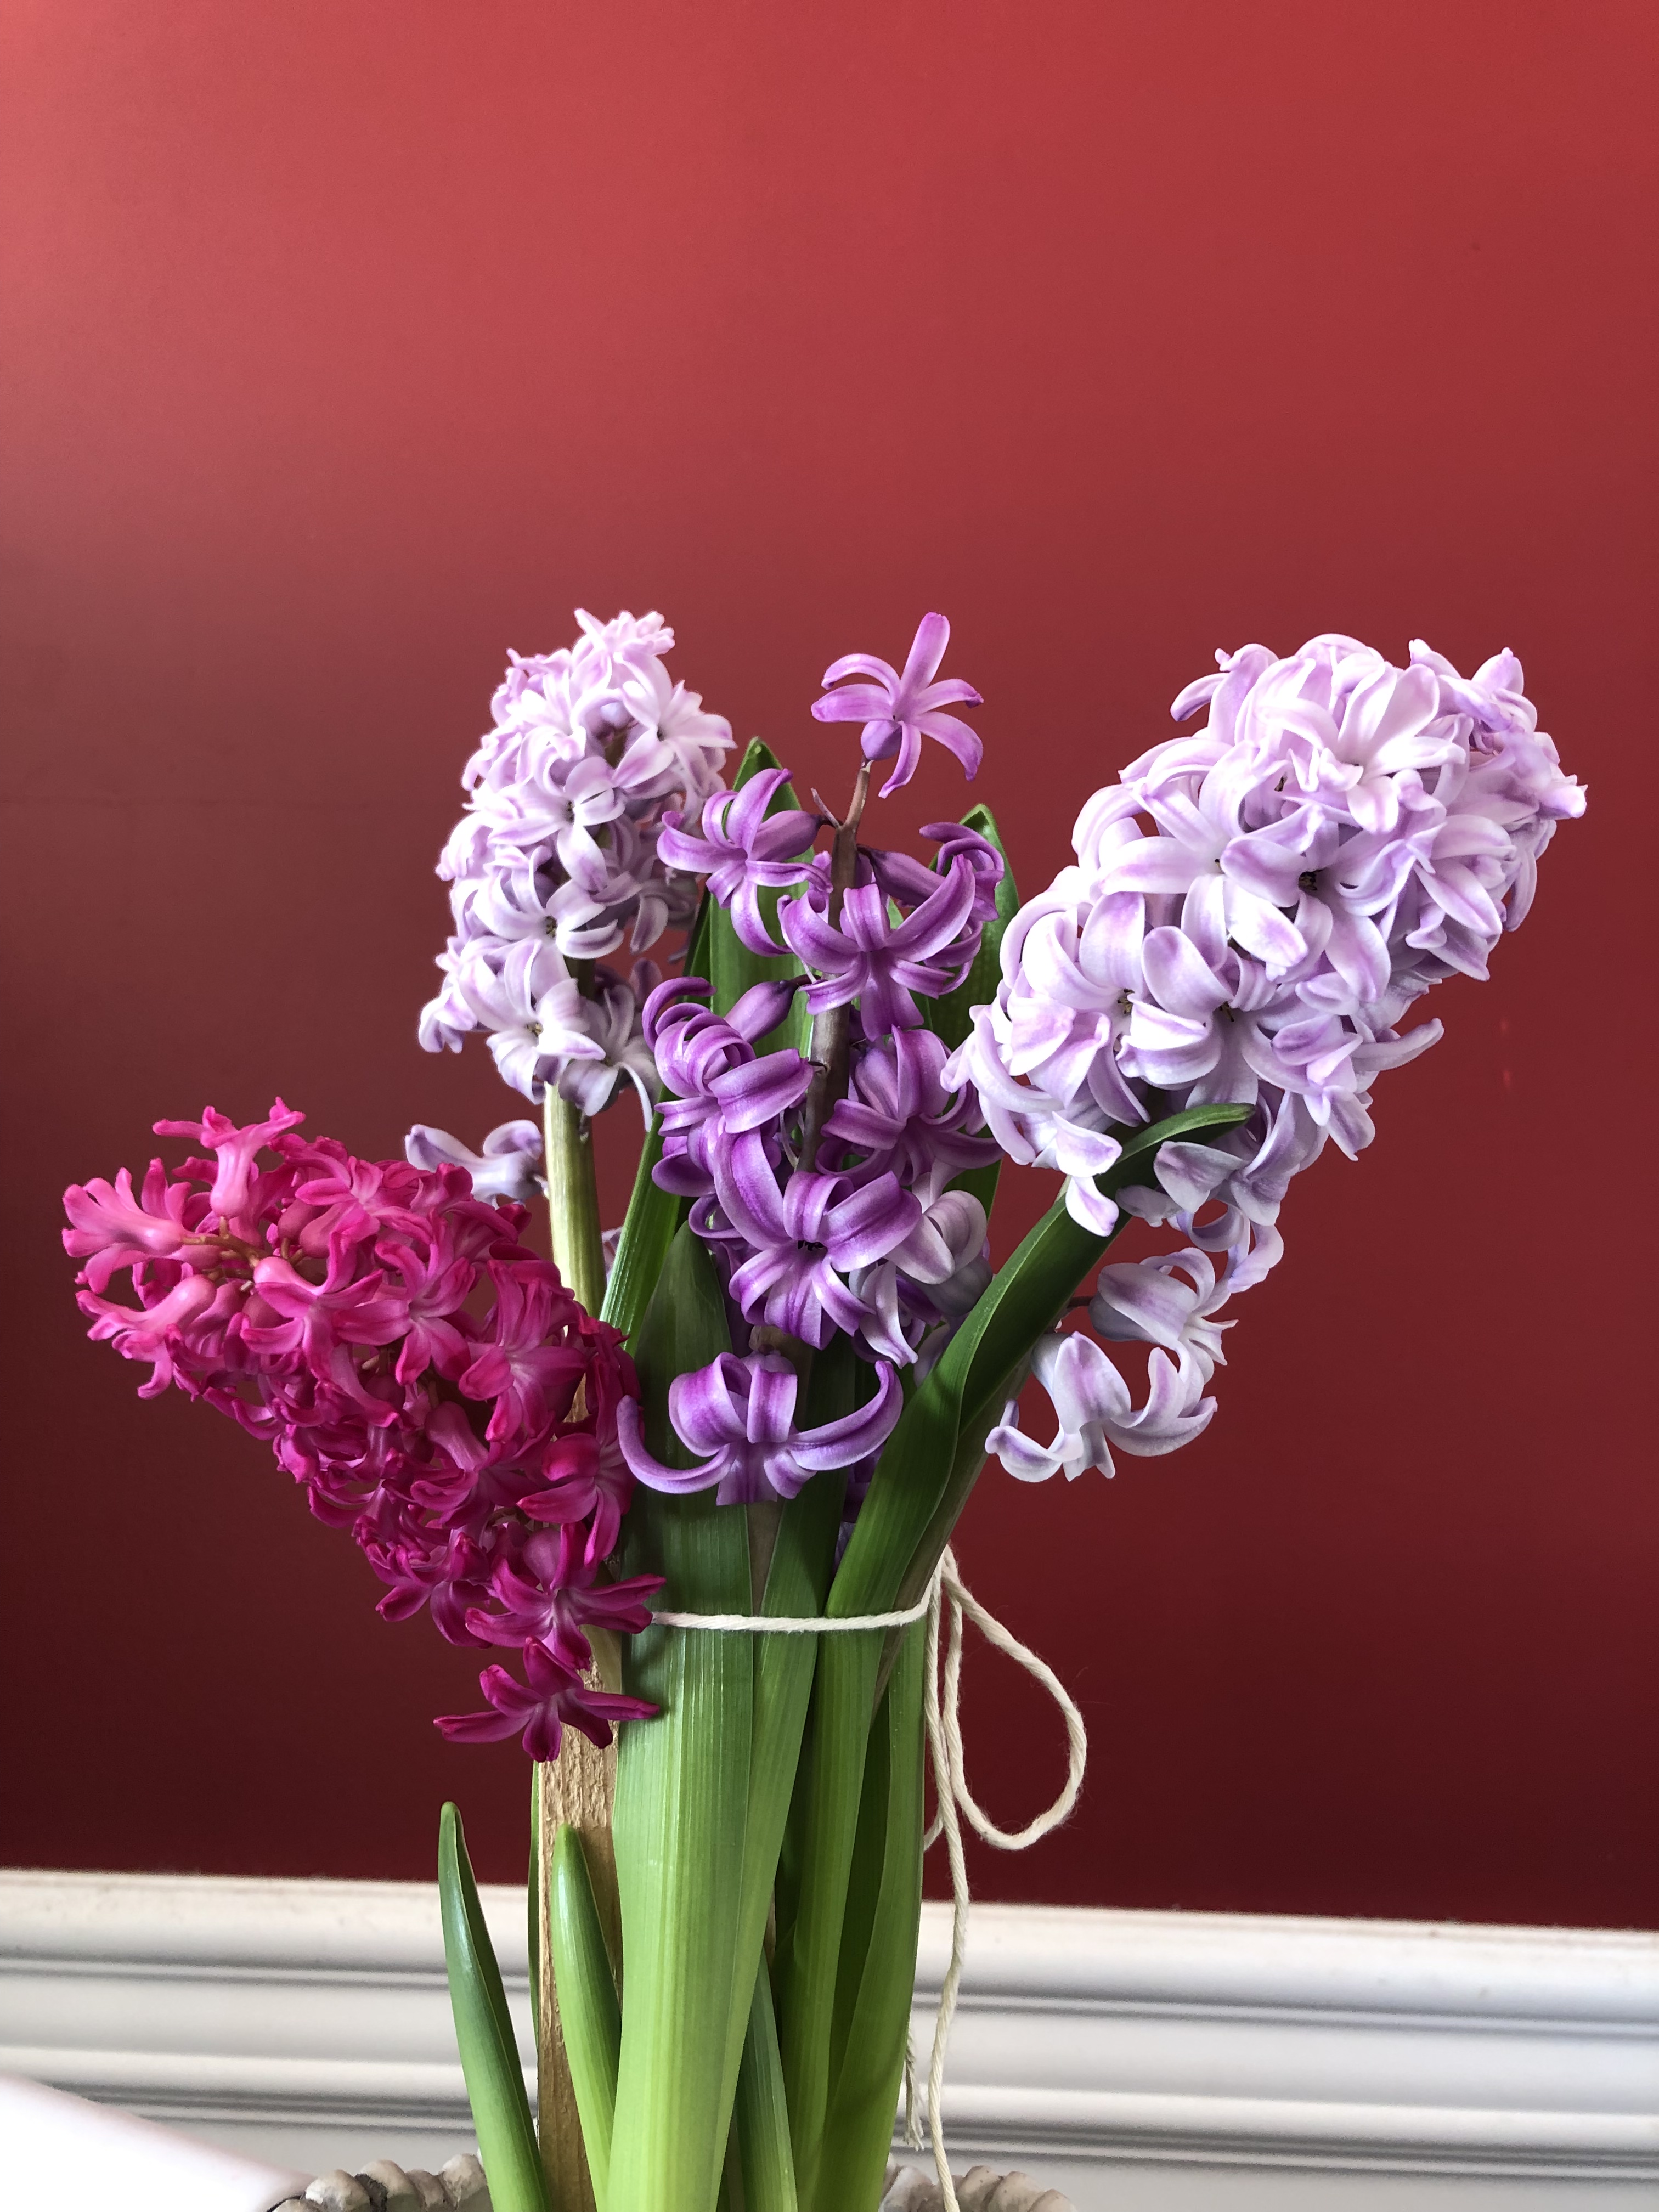
Once they start blooming, you can expect them to last about 3-4 weeks. The blossoms start out as a green cluster of nubs being pushed up through the center of the leaves, slowly turning color and opening as they mature.
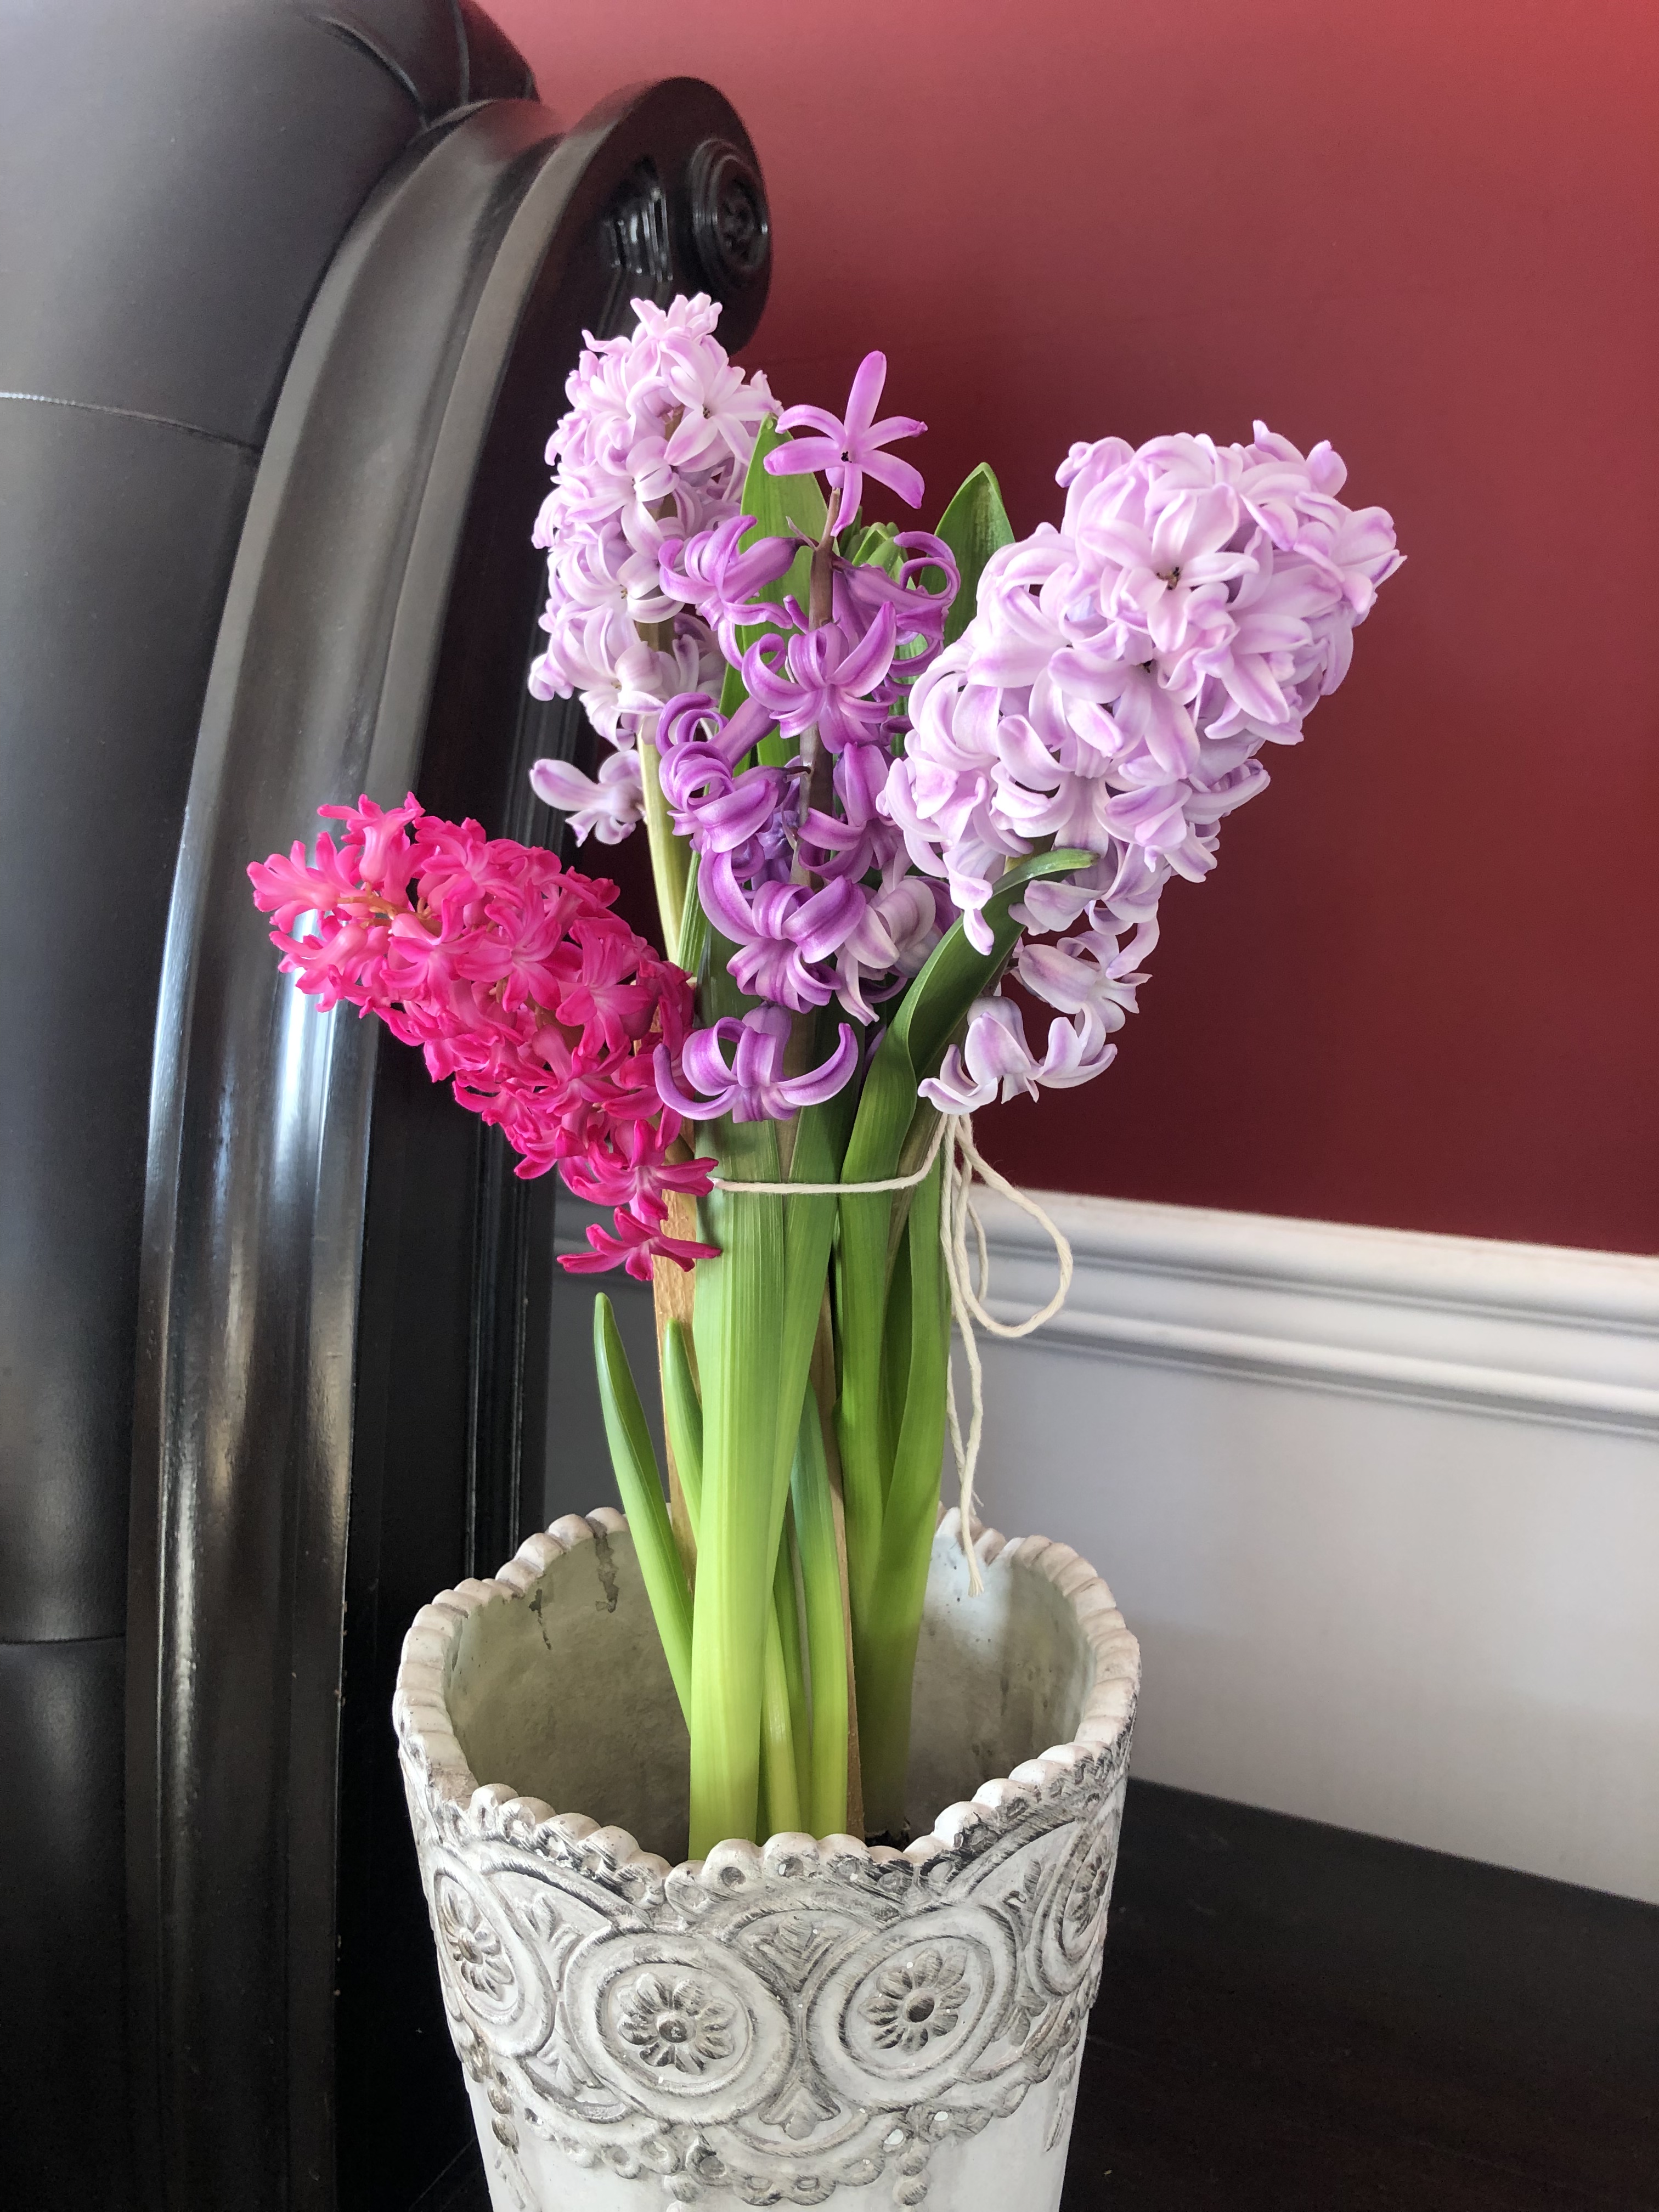
The fragrance is amazing! Once they turn color, they start wafting a beautiful scent around them. I added a vase of these glorious flowers to my nightstand and have been so content falling asleep to their soft aroma.
The next stage is taking care of the bulbs after the flowers have dried up. I trimmed the dead flowers off; right now, my first set of forced bulbs still have beautiful green leaves – even without the flowers they add a refreshing color to the house.
Now, I will wait for the leaves to die back and turn brown on their own. They still need some water, but cutting back on the amount they are given is supposed to help the bulbs know they need to store the energy required for the next season.
If you found this blog helpful or interesting, don’t forget to subscribe to see future “how-to” blogs for home, garden, and lifestyle!

Thank you for sharing how to do this! They are so beautiful!!
LikeLiked by 1 person
Let me know if you ever get a chance to try this! 😊
LikeLike