In this day and age, gardening isn’t just a plot of land that you till and plant.
Modern gardens range from traditional in-the-ground gardening, to window herb gardens in an apartment, to decorative raised garden beds that add to the back yard’s aesthetics.
Raised garden beds not only look nice, but they are easier on the back when planting, weeding, and harvesting.
They also keep the soil slightly warmer than ground-soil temperatures and make it easier to keep the pathways nice and tidy.
While you can buy kits to build your own raised beds, creating them from raw materials really isn’t that hard – and is a lot more cost effective!
You just need a few tools and a bit of know-how.
Obviously, the first part of planning is deciding where you would like to put the raised bed and the size you want.
For my most recent raised bed project, I wanted to have 2 identical raised beds that were 4’x10′ so I could add a decorative trellis arched between them for my beans and peas. (CLICK HERE FOR “HOW TO GROW GREEN BEANS!”)
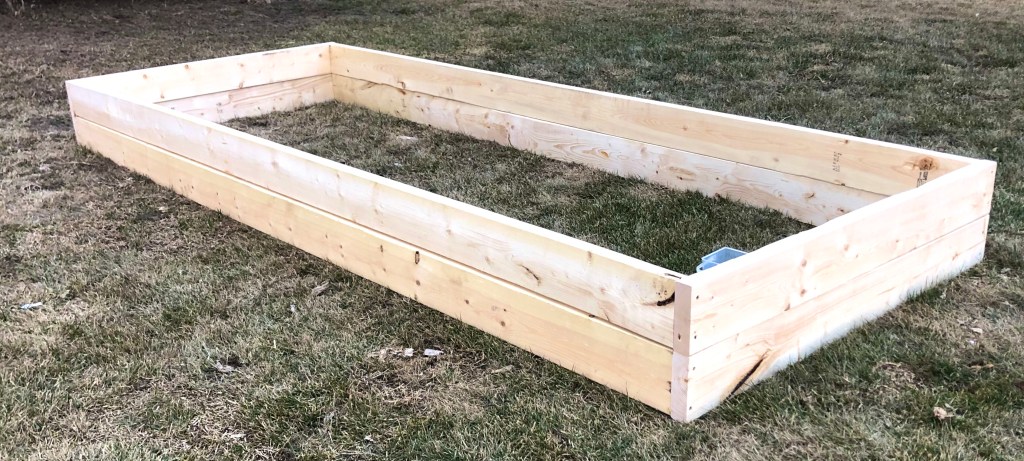
You can make your raised bed whatever depth you would like; I wanted mine 12″ deep for this project.
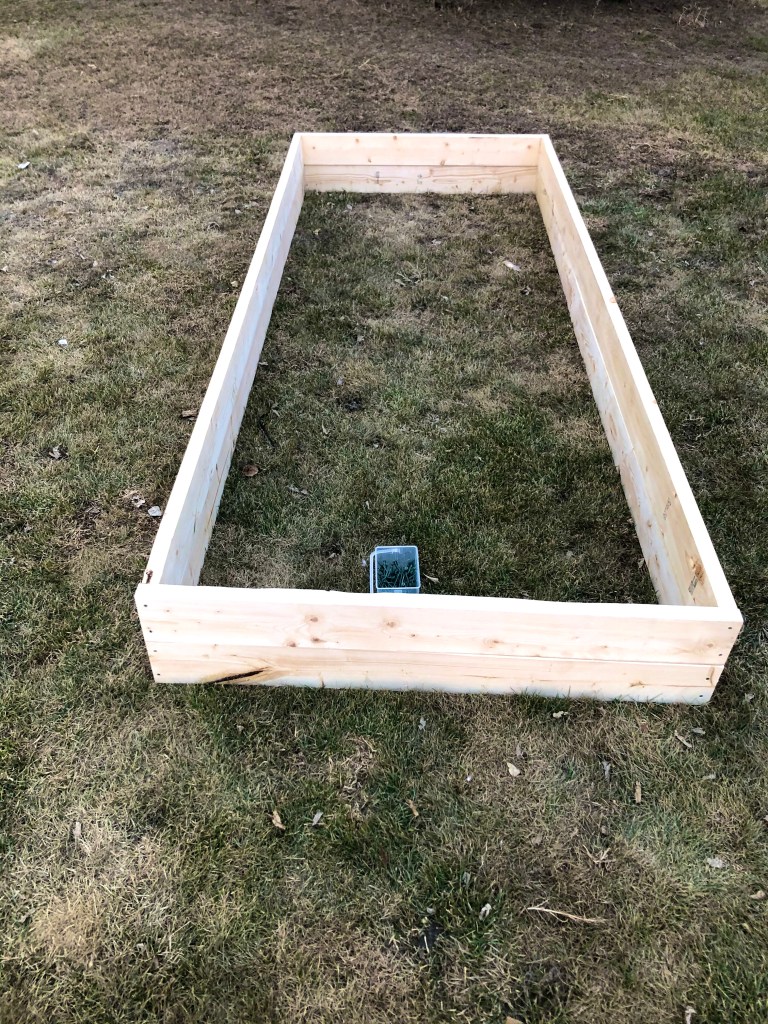
We used 2×6 boards rather than 2×12 because not only do they tend to warp less, but it was also less costly to do it that way.
Next, we cut our boards to length – 4 boards 4′ long and 4 boards 10′ long per bed.
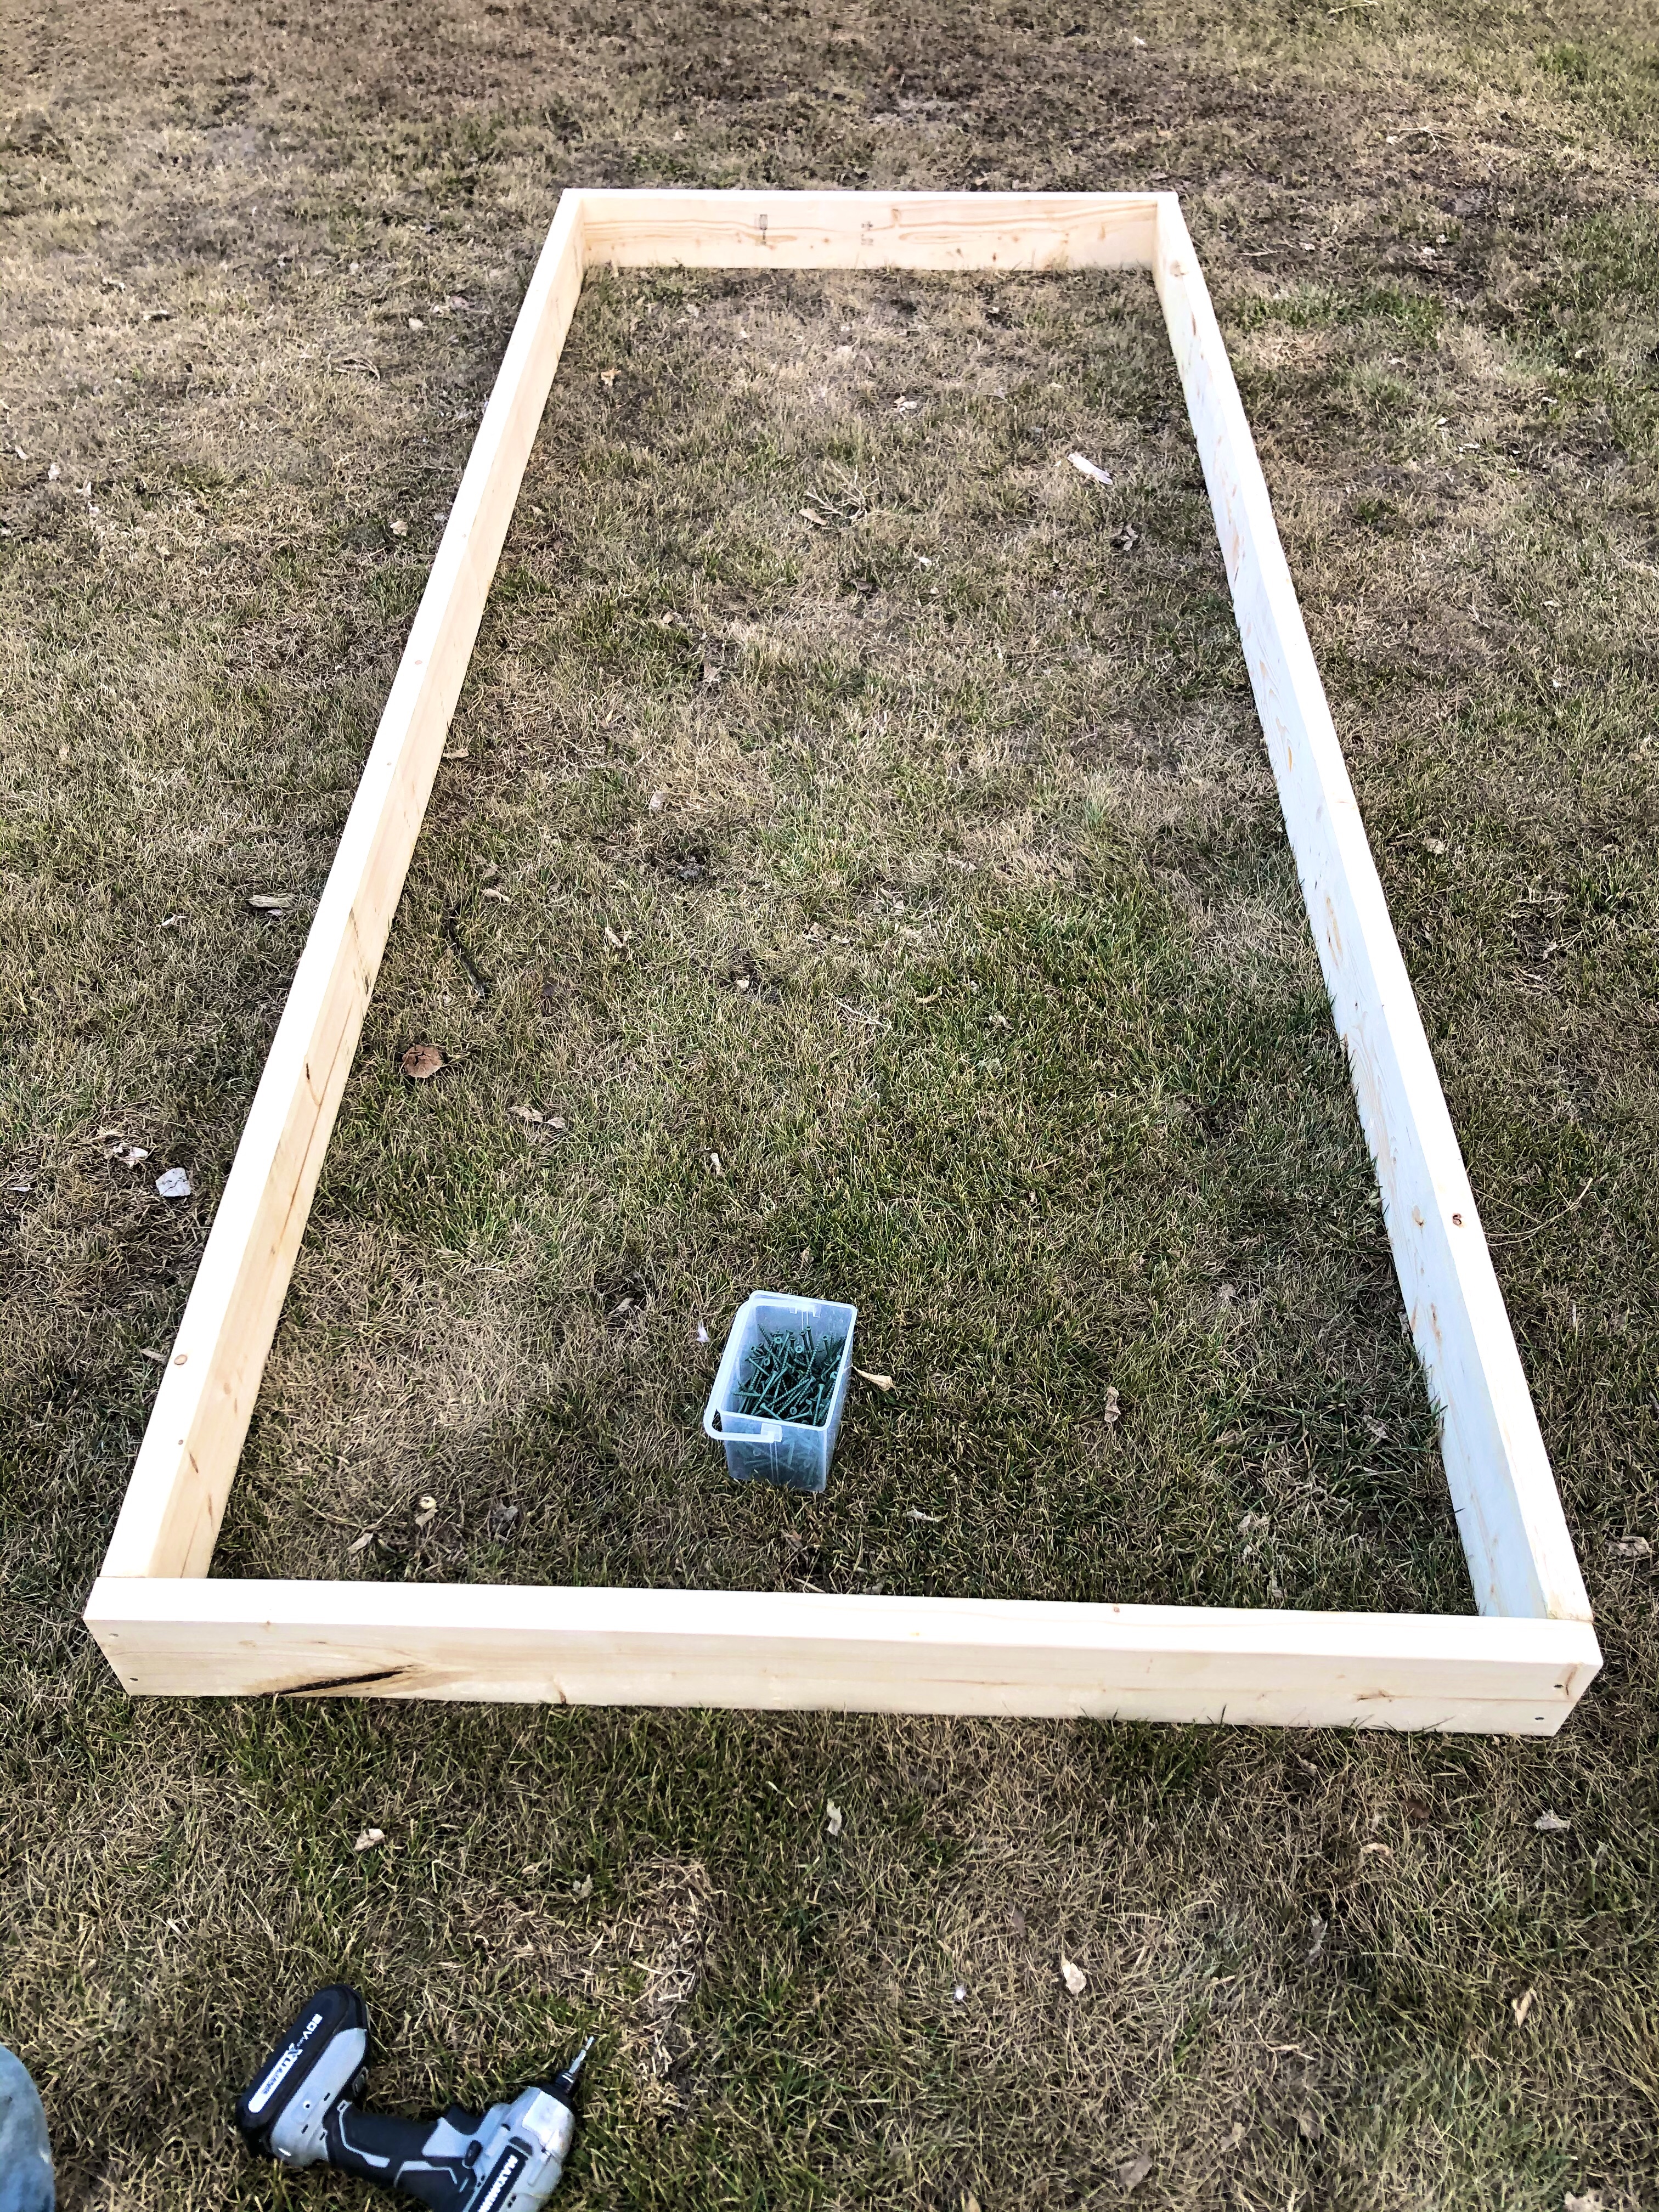
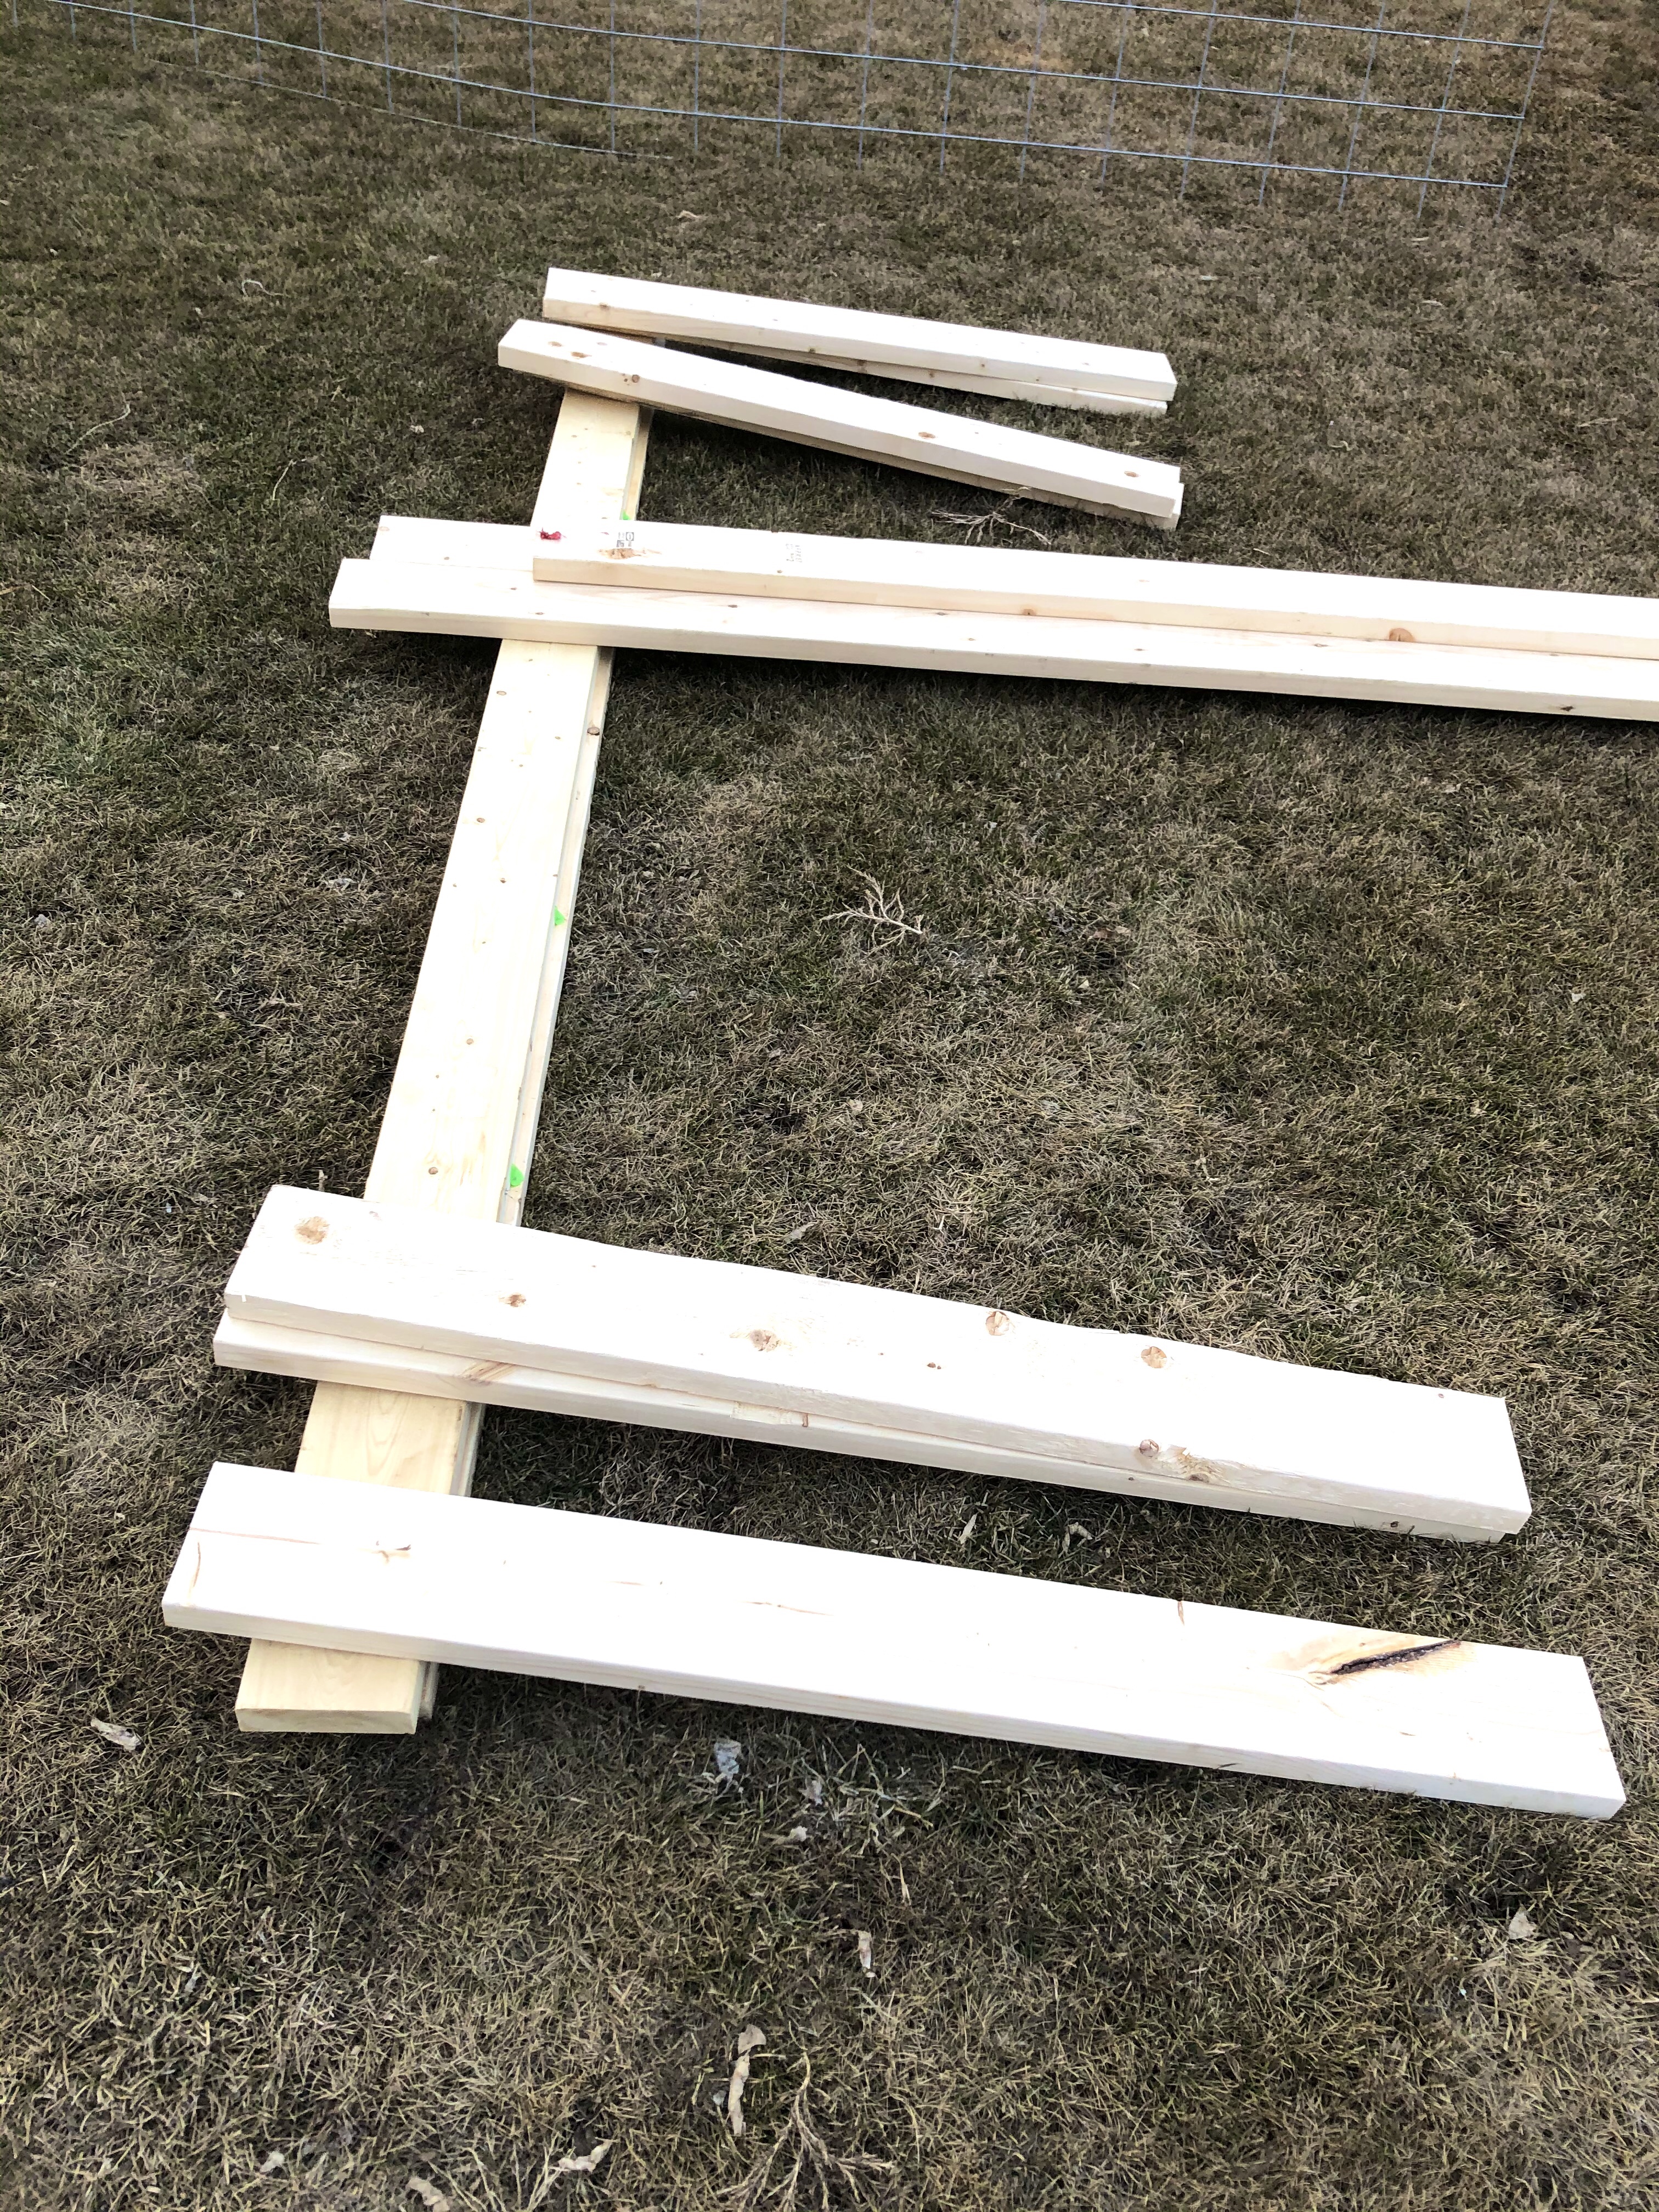
Then, we screwed the lower part of the box together and then added the top boards.
We added some supports in the middle and “toenailed” a few screws on an angle to hold the top and bottom sections together.
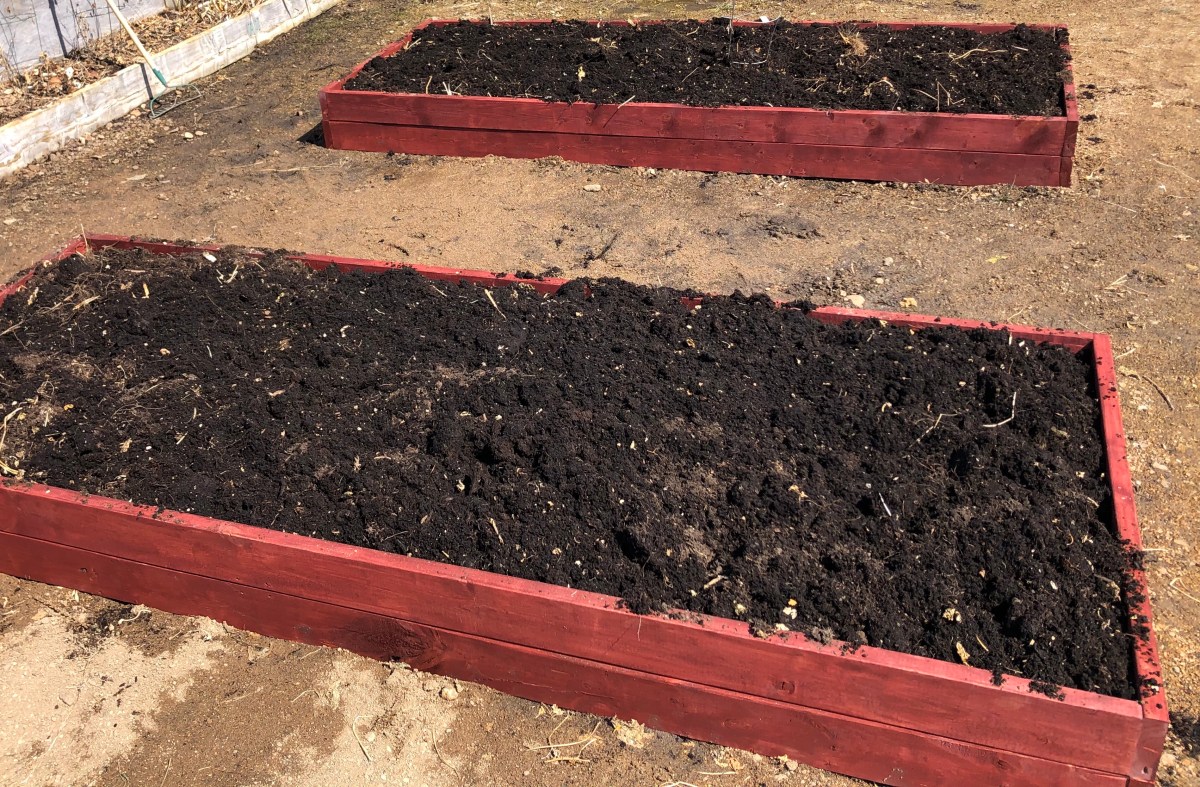
Staining was next! This was definitely the fun part! I personally love red tones, so we went with a deep red stain.

Not only does stain add to the overall look of the raised beds, but it also helps protect the wood against the sun and rain.
Once the beds were both built, stained, and dried, we moved them into place and squared them off against the greenhouse so the paths would be even and everything in line.

Filling the beds with dried out tomato plants, squash vines, and other plants from the summer before helped add some bulk to the base layer and add organic matter to break down over time.
We also had shavings and wood bark that needed to be cleaned up from around our wood pile, so we threw that in too! (I love the “two birds with one stone” projects like that!)

Finally, we topped it all off with a layer of good garden soil.
The project only took a few hours to finish in total and the updated look for my greenhouse area was well worth every minute of it!

Follow my blog for the trellis project yet to come!
So what do you think? Have I inspired you to give it a try yourself? Drop a comment below!
