Devilled Eggs

If you have ever been to a potluck, you know that devilled eggs are the star of the show!

They are usually cleaned out well before the last person makes it through the line.

And the person who brought them? Well, they practically get hero status!

Devilled eggs seem to have a reputation for being a tough appetizer to make, but if you know how to peel the eggs with ease you’re set!

The trick is to cook the eggs correctly.

This is KEY!

Advertisements
Advertisements

If you don’t cook them correctly, you will wind up with shells that don’t want to peel off or over-cooked, rubbery eggs that have green yolks.

It has taken me many batches of practice to get this part down, so here are my secrets to perfect devilled eggs!

Advertisements
Advertisements
Eggs in the ice bath.
Advertisements
Advertisements

I grew up believing that boiled eggs need to be started in cold water and brought to a boil.

Not only does this take longer, but the eggs also are difficult to peel with this method.

Pro tip #1: place the eggs in a large pot with HOT water.

Salt the water and bring it to a boil, then reduce heat to a simmer.

Advertisements
Advertisements

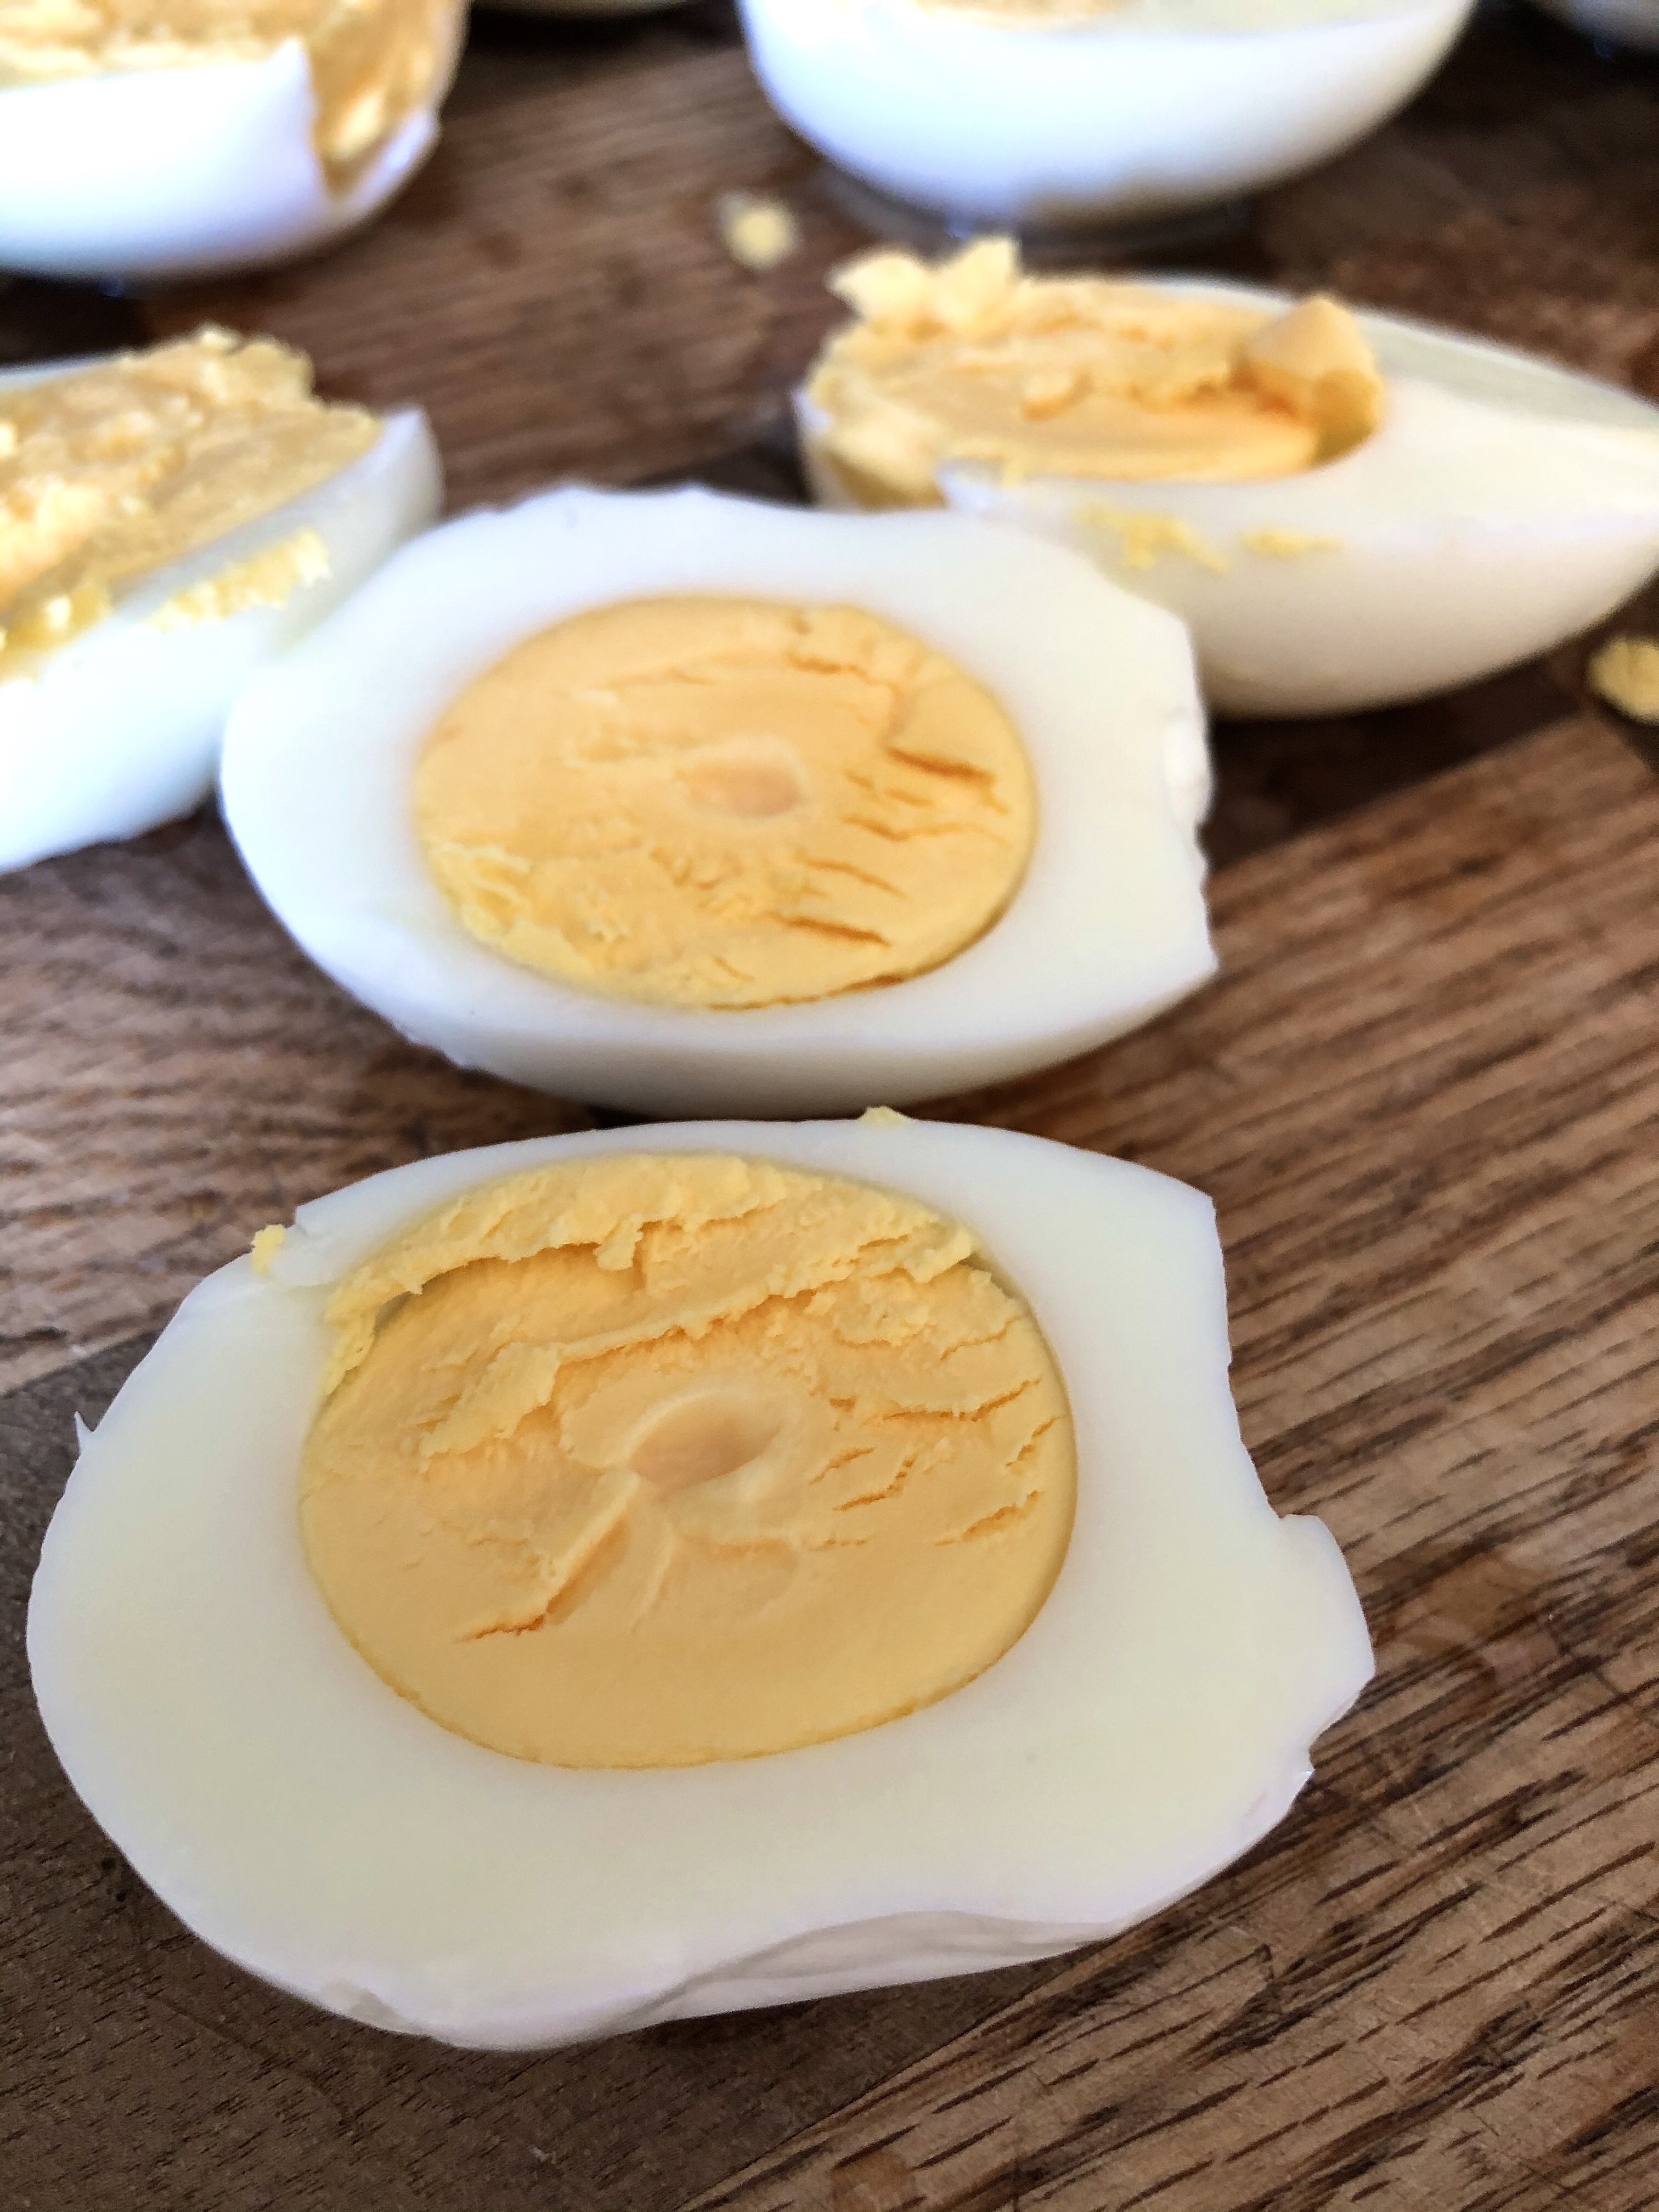
Pro tip #2: simmer for exactly 12 minutes!

I have tried different cook times to find that perfect balance of being fully cooked through to the yolk without getting that weird green tinge.

If you are hosting a Saint Patrick’s day event, green yolks may be a hit – otherwise it just looks gross.

Advertisements
Advertisements

Pro tip #3: IMMEDIATELY scoop the eggs out and plunge them into an ice bath.

This stops the cooking process and is the key for eggs that are easy to peel.

Allow them to cool fully in the ice bath before peeling.

Advertisements
Advertisements
Perfectly cooked eggs with bright yellow yolks.
Advertisements
Advertisements

Pro tip #4: peel the eggs under cold, running water.

Gently crack the egg on the counter (you don’t want to make the shells puncture the egg) so the shell is shattered on all sides.

Peeling the egg under running water helps pull the shell away from the egg.

Plus, you were going to have to rinse the egg anyway to make sure there are no surprise crunches when eating them.

So basically you are getting two birds with one stone… or should I say eggs..?

I find it easiest to start peeling at the rounded end of the egg rather than the pointed part.

Advertisements
Advertisements
Overcooked eggs with a green rim in the yolk.
Advertisements
Advertisements

Once the eggs are all peeled, cut them in half and carefully remove the yolk.

Pro tip #5: place the egg yolks directly into a ziplock plastic bag.

This makes for less dishes, which is ALWAYS a win in my books!

Add the Miracle Whip, mustard, salt, and a splash of pickle juice (not too much though, you don’t want the yolk mixture to be runny).

Advertisements
Advertisements

For you loyal Hellman’s Mayonnaise supporters out there, go ahead and ditch the Miracle Whip for your Hellman’s.

Zip the bag shut and mix the ingredients together with your hands until you have an even mixture with a creamy consistency.

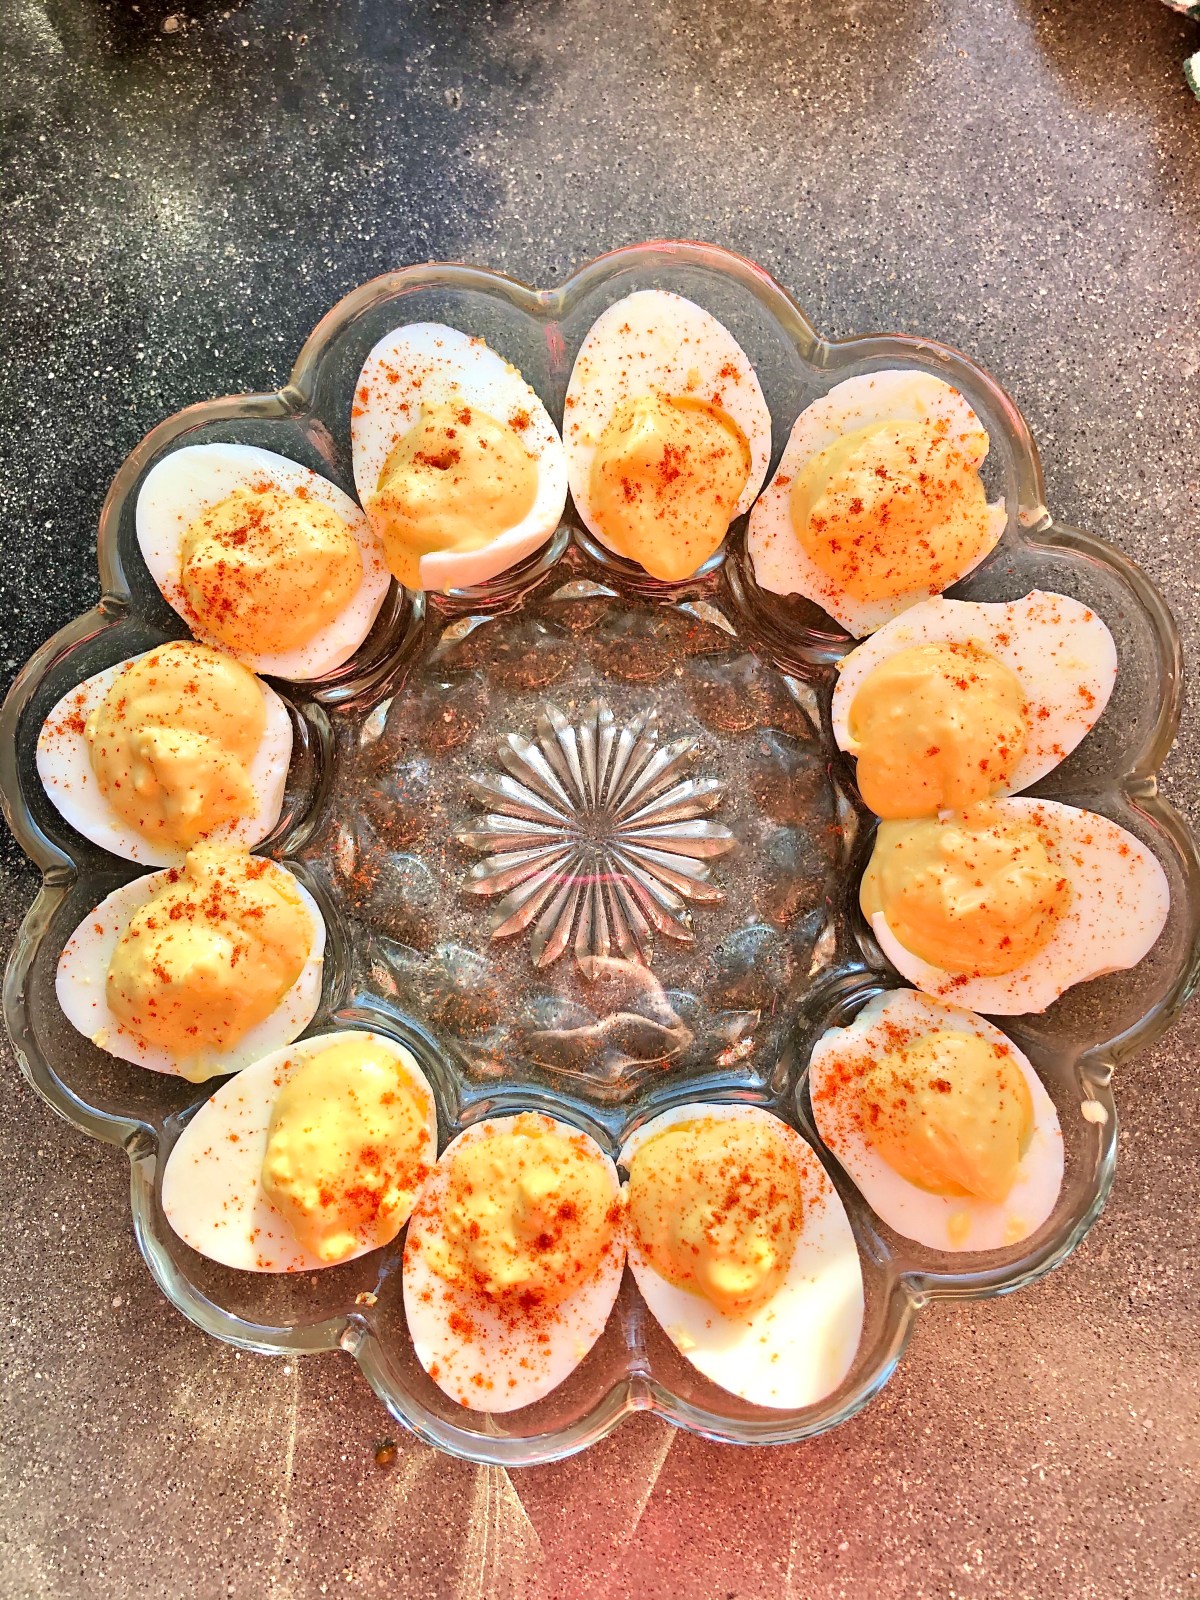
Snip a small hole in one corner of the bag and squeeze the mixture into the egg whites.

Advertisements
Advertisements
Classic devilled eggs.
Advertisements
Advertisements

Sprinkle with paprika and chill.

Enjoy being the hero who brought the rare delicacy to your next gathering!

Advertisements
Advertisements

Pro tip #6: egg freshness

I know many people believe that older eggs are easier to peel, and for this method I agree with them!

However, you don’t want them to be too old because the yolk color is so much better and – more importantly – are centred in the egg with fresher eggs!

Older eggs tend to have the yolk more to the rounded end of the egg, which gives you a very thin egg white on that edge to hold the yolk mixture.

If you want the very best yolks, go with free-range eggs.

The difference in color is amazing!

Plus, free-range eggs are packed with nutrients.

Advertisements
Advertisements

Pro tip #7: easy-peel Instant Pot method

If you have joined the Instant Pot fan club, this is another great method to get easy-peel boiled eggs in a short amount of time.

I have also found that it works well even on super fresh eggs, like we get from our chickens here on the homestead.

You can find the full instructions here: Easy-Peel Boiled Eggs

Advertisements
Advertisements

Recipe

6 large eggs

1/3 cup Miracle Whip

1 tablespoon mustard

1/2 teaspoon pickle juice

1/4 teaspoon salt

Advertisements
Advertisements

Directions

Add eggs to large pot with hot water.

Bring to boil, then reduce heat to a simmer for 12 minutes.

Immediately remove from heat and place eggs in an ice bath.

Allow to cool fully, then peel under running water.

Cut in half and remove yolks.

Combine yolk, Miracle Whip, mustard, pickle juice, and salt and mix until creamy.

Use a plastic bag to squeeze the yolk mix into the egg whites.

Sprinkle with paprika.

Chill fully, then serve!

Makes 12 devilled eggs

Enjoy!

Advertisements
Advertisements
Advertisements
Classic devilled eggs.
Advertisements
Advertisements

If you liked this recipe, don’t forget to subscribe and check out my potato salad recipe that is a hit for BBQ season!

Advertisements
Advertisements

Processing…
Success! You're on the list.
Advertisements
Advertisements
Advertisements
Advertisements

Scalloped Potatoes

Scalloped potatoes are a rare treat in our home, simply because I get into a rut and end up making the same 5 or 6 meals on repeat.

Who else has been there?

It can be so frustrating trying to break out of that cycle and think up something new and exciting to make for dinner!

And that is where scalloped potatoes come in to save the day!

Advertisements
Advertisements
Advertisements
Advertisements

Yes, they take a little longer to make than those easy meals-on-repeat, but it is so worth it for a fabulous dish that the whole family loves.

I tend to triple or even quadruple this recipe so I can freeze extra trays for an easy side dish with the prep time already out of the way.

Scalloped potatoes go well with so many meals, but meatloaf has been my go-to dish to serve it with (no, my recipe is not the notorious “MYSTERY” meatloaf!).

Advertisements
Advertisements
Advertisements
Advertisements

So let’s get down to it!

First, chop the onions, mushrooms, and garlic and sauté in butter until soft.

Add salt and pepper to taste.

Meanwhile, slice the potatoes into thin rounds of equal thickness.

Advertisements
Advertisements

Once the onions are soft and translucent, add the flour to the pot and mix well with the buttery mixture.

Allow it to brown, stirring occasionally so it doesn’t burn.

This step adds so much flavour and is the “secrete” to good sauces and gravy.

(I remember a family friend being impressed that I knew to brown my flour when I was only 14 years old)

Next, add the cream of mushroom soup and milk, stirring out any lumps.

Bring to a boil and remove from heat.

Advertisements
Advertisements
Advertisements
Advertisements

Layer the sliced potatoes in a greased pan and spoon the cream sauce over the potatoes, one layer at a time.

Typically this will take 4-5 layers in a standard 9×9 pan.

If you want a faster, easier option you can cube the potatoes rather than slice them and simply mix everything together in the baking pan.

I find that I am much faster at cubing potatoes than slicing them and then I can skip the layering step, however it does not get the traditional scalloped potatoes look.

Advertisements
Advertisements
Advertisements
Advertisements

Once you have layered all the ingredients, cover with tin foil and place in the pre-heated oven for an hour at 350º or until fork tender.

Remove the foil and allow to bake for another 5-10 minutes to brown the top.

Serve with your favourite main dish and veggies – and enjoy!

Some optional ingredients you can add are cheese on top, bacon bits mixed into the cream sauce or garnishing with green onions.

Advertisements
Advertisements
Advertisements
Advertisements

Recipe

4 medium potatoes, sliced

2 cups milk

1 large onion, finely chopped

2 cups mushrooms, chopped

3 cloves garlic, minced

3 tablespoons butter

2 tablespoons flour

1 teaspoon salt

1/4 teaspoon pepper

1 can cream of mushroom soup

Advertisements
Advertisements

Optional Ingredients

Cheddar cheese

Bacon bits

Green onions

Advertisements
Advertisements

Instructions

Slice potatoes into thin rounds of even thickness.

Sauté onions, mushrooms, and garlic in a large sauce pan with butter until soft.

Add salt, pepper, and flour and allow to brown before adding the cream of mushroom soup and milk, stirring out any lumps.

Bring to a boil and remove from heat.

Advertisements
Advertisements

Layer potatoes in a 9×9 greased baking pan and cover with sauce, then layer again and cover with sauce.

Repeat until all potatoes have been added and cover with a final layer of sauce.

Cover with tin foil and bake at 350º for 1 hour or until fork tender.

Remove foil and bake for another 5-10 minutes or until golden brown.

Enjoy!

Advertisements
Advertisements
Advertisements

Processing…
Success! You're on the list.
Advertisements
Advertisements
Advertisements
Advertisements
%d bloggers like this: