Cinco De Mayo was just last week and I decided a taco salad for lunch seemed like a tasty way to celebrate Mexican inspired cuisine!
I have a special appreciation for authentic Mexican food, but also enjoy our North American version of this style of cooking.
Sure, taco salad has a heavy dressing and even CHIPS – but it is loaded with nutritional veggies that I personally feel balance it all out.
It is like comfort food and health food in perfect harmony.
Advertisements
Advertisements
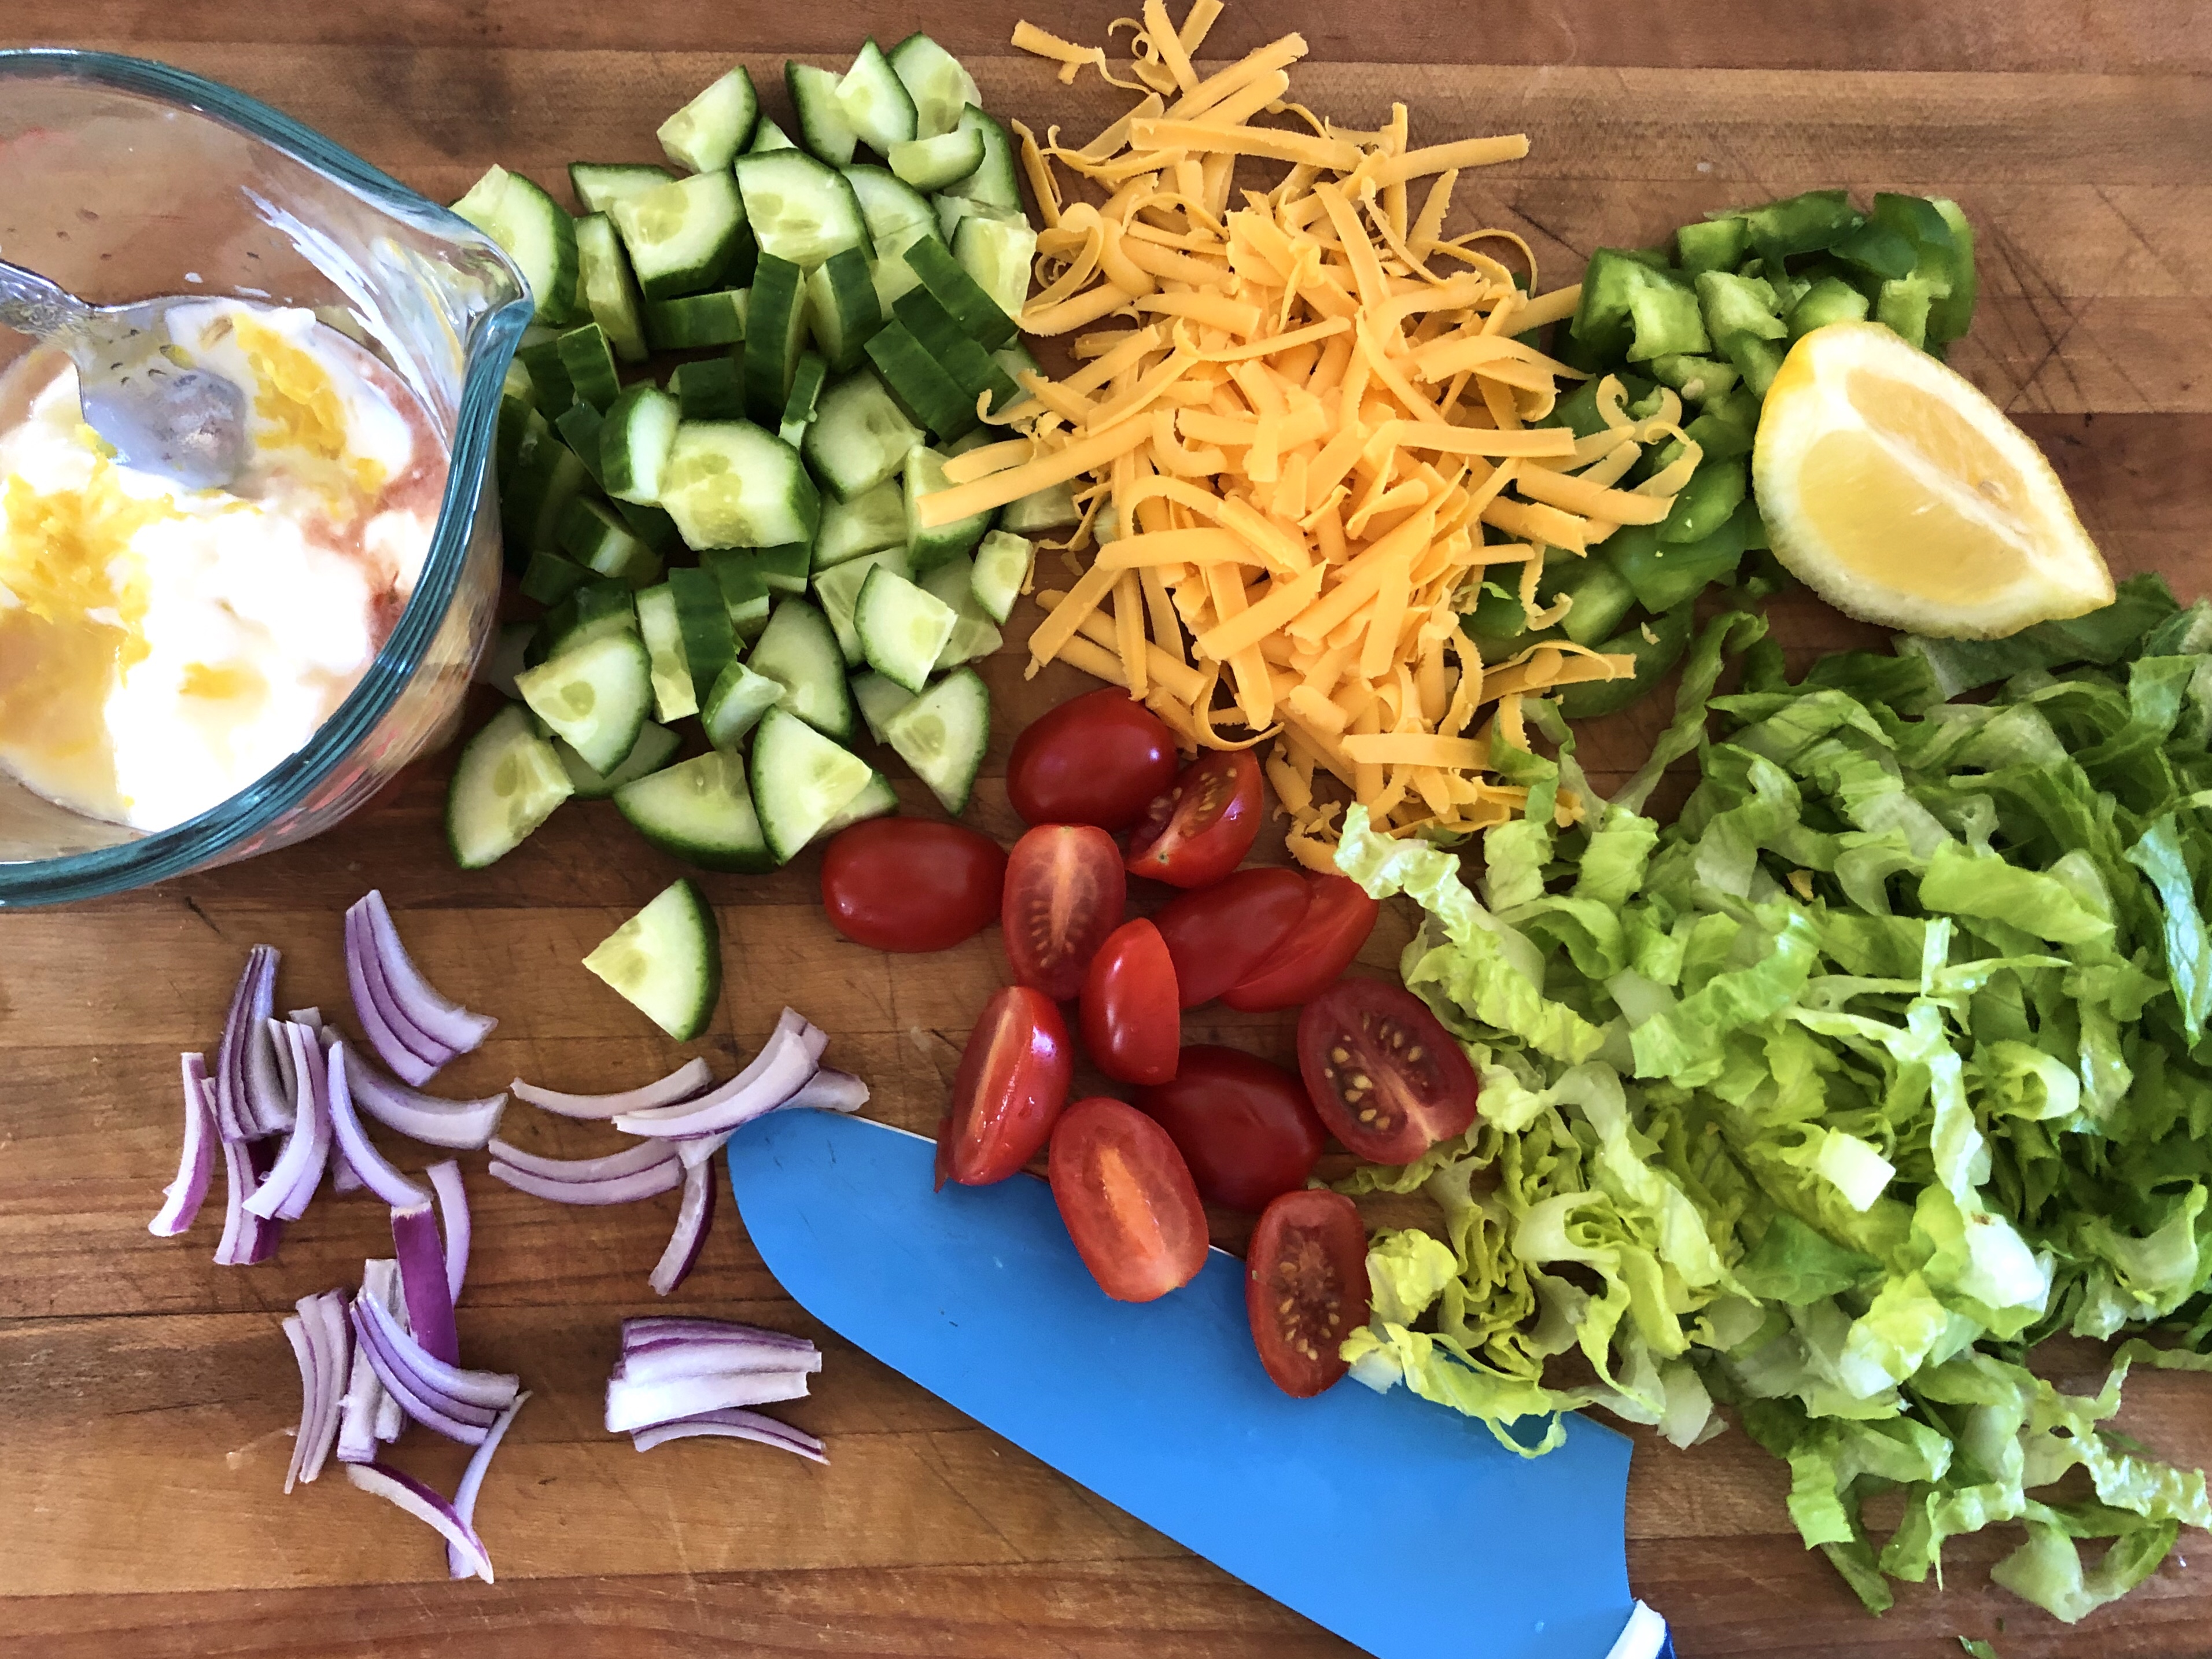
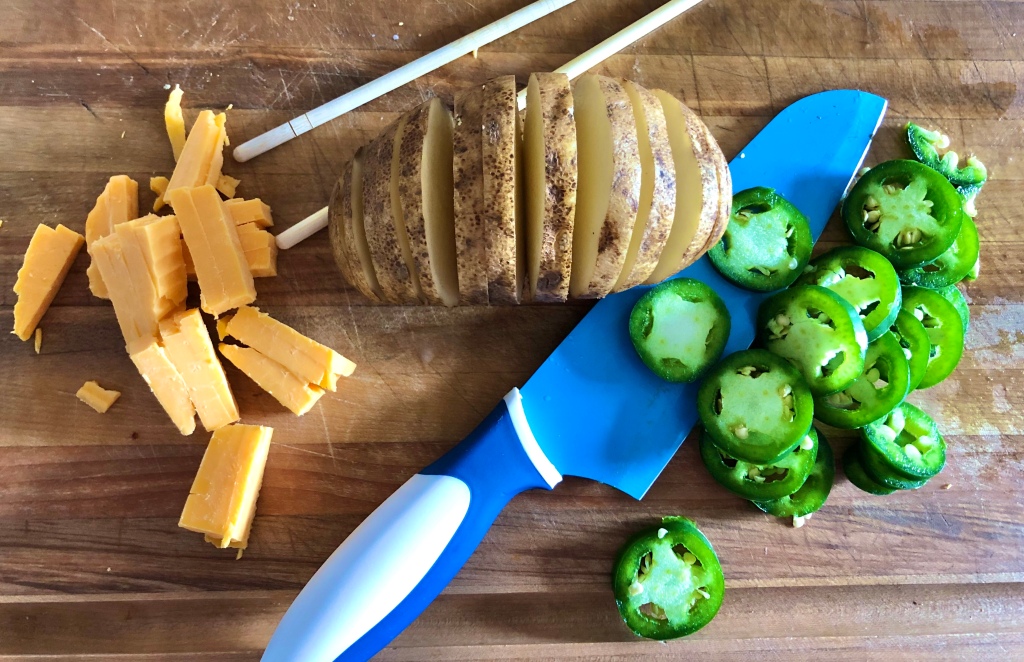
Slice all your veggies.
When it comes to making a good salad, the thiner the pieces the better; the more flavour you get on your fork in one bite the better the salad will taste!
We have all had that hugely chopped salad where one cucumber piece is an entire bite – or you are left to cut all your own veggies up on your plate.
For the salad mix, I prefer romaine lettuce, cherry tomatoes, bell pepper, cucumber, and red onion.
Advertisements
Advertisements
Some optional ingredients that I have used in the past and quite enjoy are corn, black beans or even sliced black olives.
For the dressing, I add 1 part salsa and 1 part sour cream – finishing it off with lemon zest and freshly squeezed lemon.
Combine all ingredients in a mixing bowl, along with shredded cheddar cheese and taco meat.
Advertisements
Advertisements
Advertisements
Advertisements
Drizzle dressing over the salad and mix well.
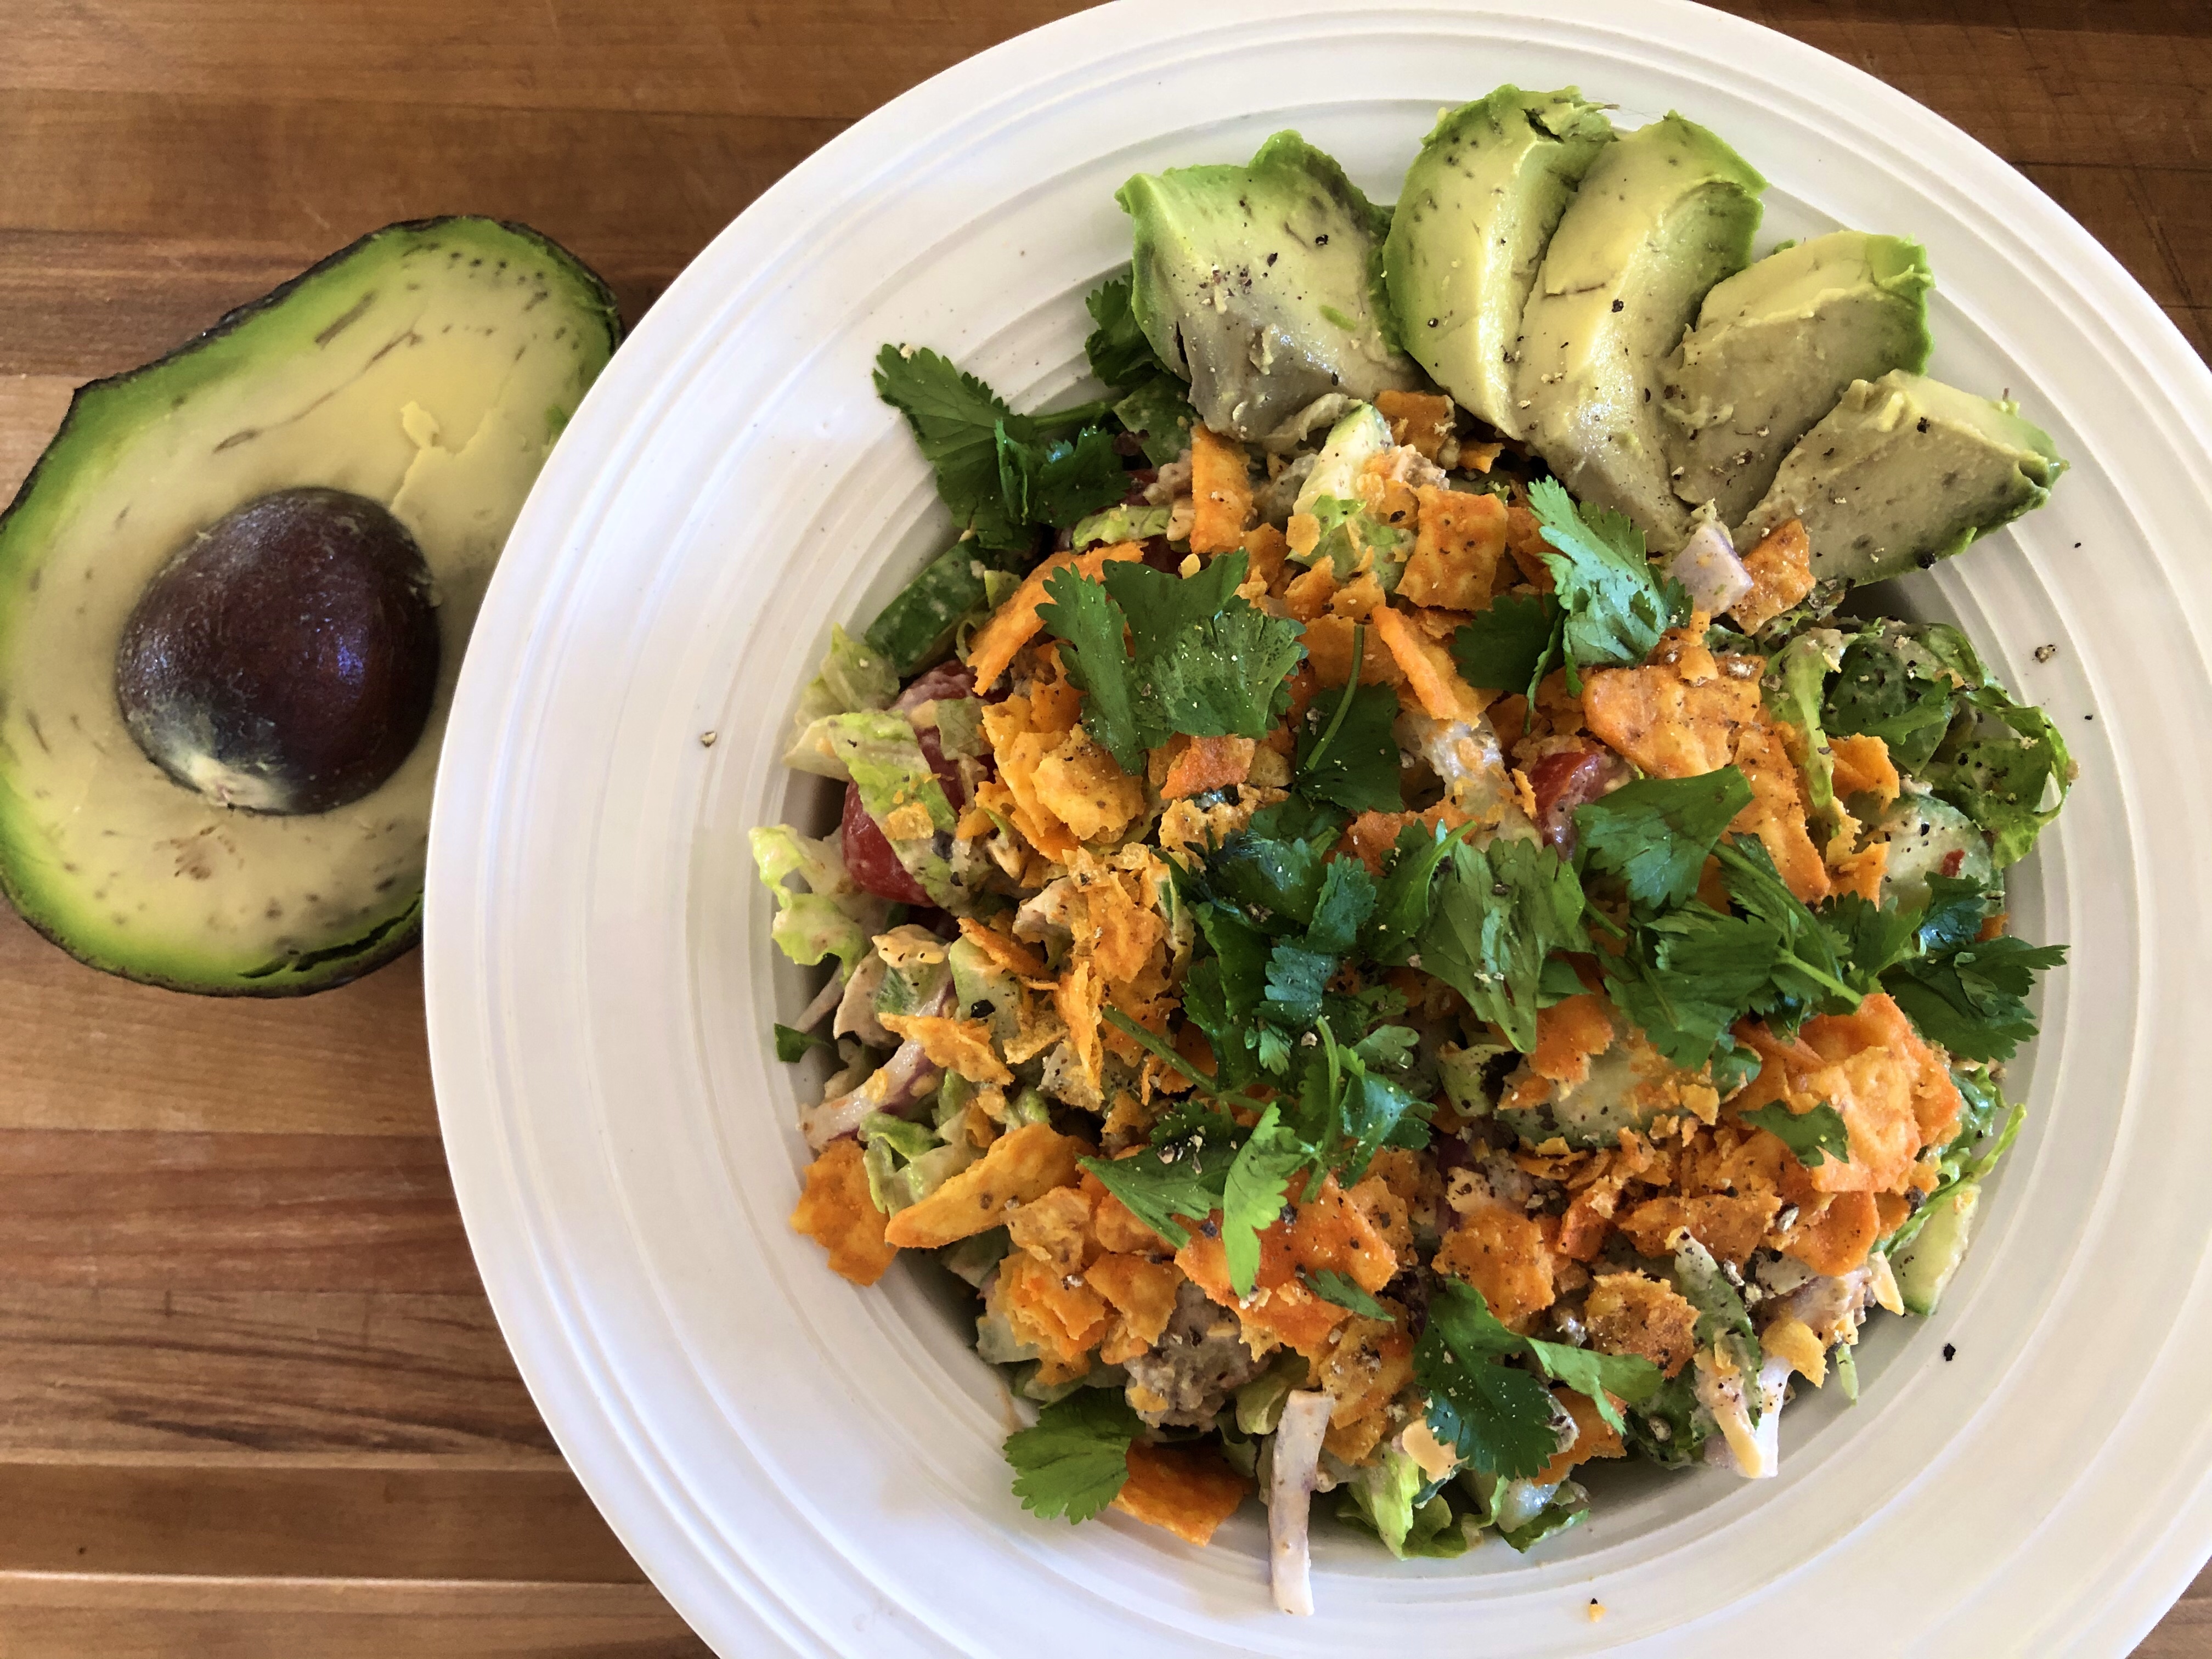
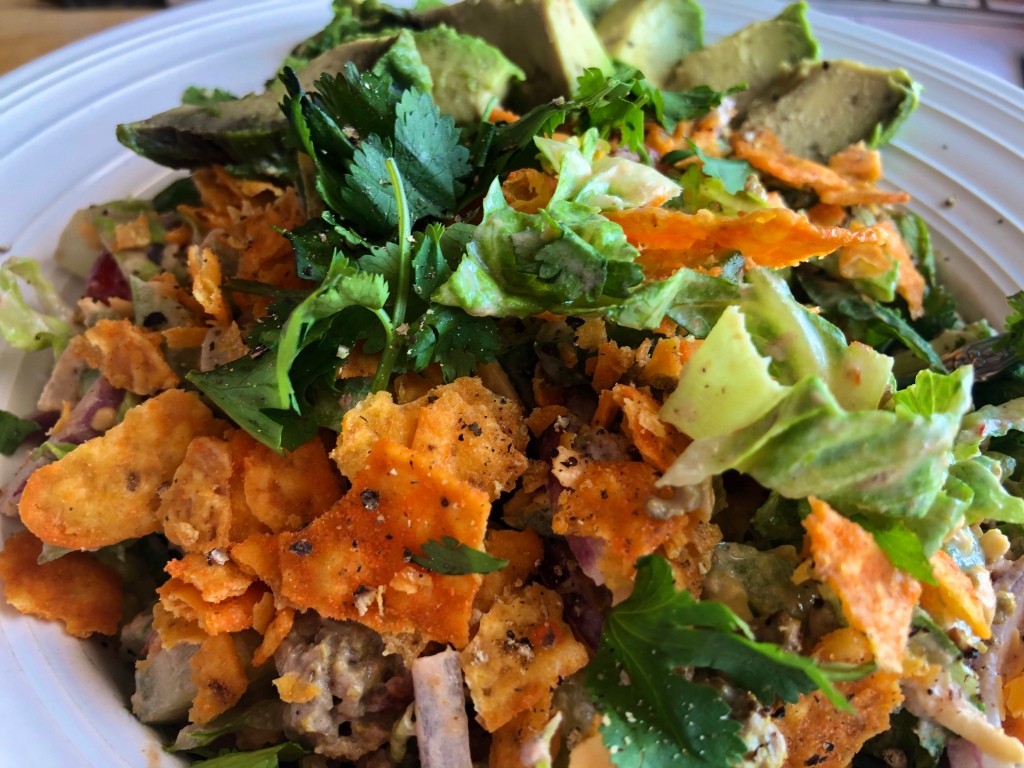
Plate and top with crushed corn chips of choice.
I have used anything from plain corn chips, to cheese chips, to jalapeño cheese chips.
The choice is up to you!
Next, add a side of avocado and sprinkle with cilantro.
(Cilantro seems to be a “love it or hate it” herb, so if you hate it, just skip this step. I won’t judge!)
Finish off with some freshly ground pepper.
Advertisements
Advertisements
You can treat this as a main course (like I did for lunch) or serve as a starter salad with Chicken Fajitas or Beef Taquitos.
Advertisements
Advertisements
Recipe
Salad Mix
1/2 head of romaine lettuce, shredded
6-8 cherry tomatoes, halved
1/4 bell pepper, chopped
1/2 English cucumber, chopped
Red onion, sliced thinly, to taste
1/4 cup cheddar cheese, shredded
Optional ingredients:corn, black beans, and sliced black olives.
Advertisements
Advertisements
Dressing
1/4 cup salsa
1/4 cup sour cream
1/4 lemon zest
1/4 lemon, juiced
Advertisements
Advertisements
Topping
Corn chips, crushed, to taste
Cilantro (optional) to taste
1/2 avocado, sliced and split between servings
(serves 2 as starter salad)
Advertisements
Advertisements
Directions
Slice vegetables, add to a mixing bowl with shredded cheddar cheese and taco meat.
Drizzle with salad dressing and mix well.
Plate and top with crushed corn chips, garnish with cilantro, and add a side of sliced avocado.
Enjoy!
Advertisements
Processing…
Success! You're on the list.
Whoops! There was an error and we couldn't process your subscription. Please reload the page and try again.
Roast beef is a classic Sunday dinner, its mouth watering aroma wafting through the house.
I am sure many of you have memories of rushing around the kitchen on Sunday morning, trying to eat breakfast and get the roast into the oven before arriving a tad late for church.
But, coming home to the glorious smell filling the house and food ready to dig into made it all worthwhile!
Advertisements
Advertisements
This roast beef recipe is a bit different than I grew up with, but is oh-so-tasty!
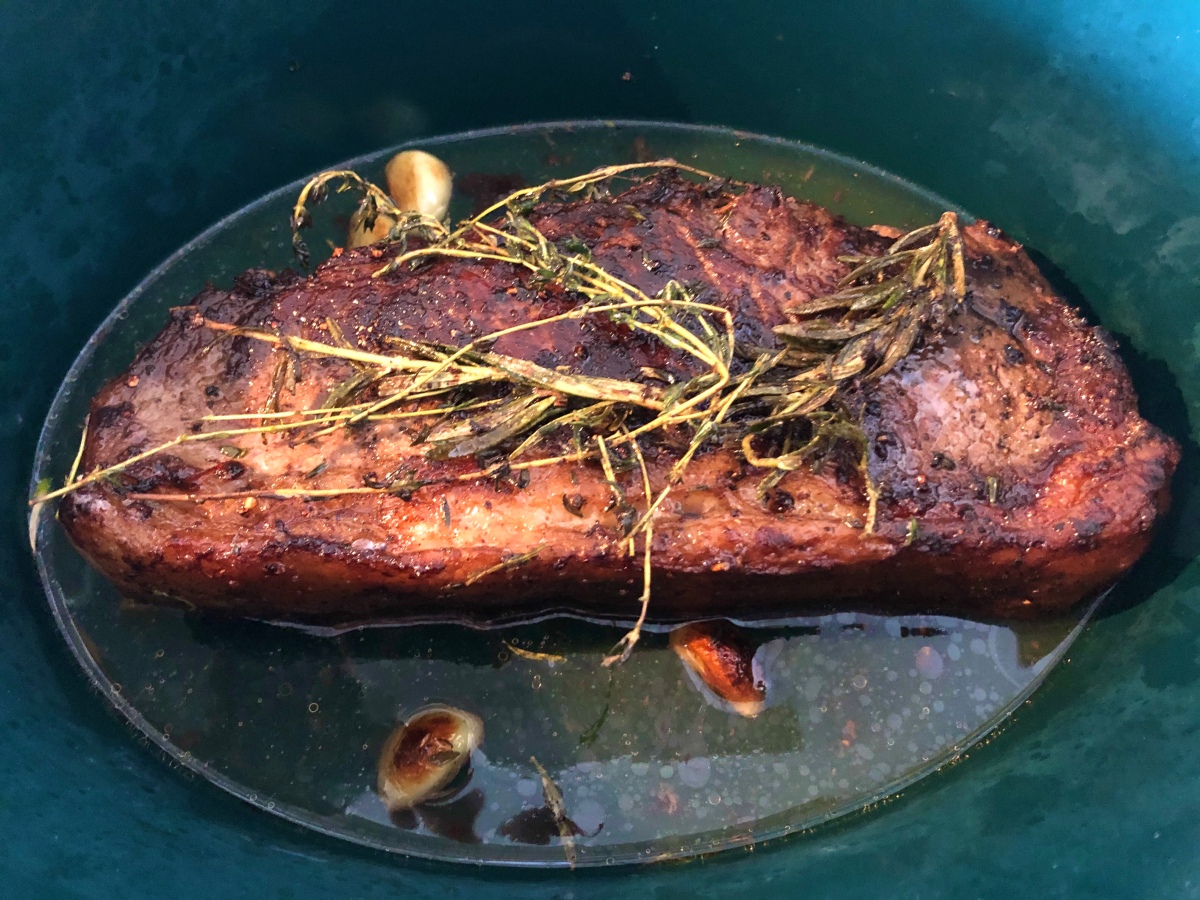
The added fragrance of garlic, rosemary, and thyme with the seared roast is wonderful!
Plus, searing the roast in butter adds so much flavour.
It must be my mom’s side coming out in me; butter = flavour!
Advertisements
Advertisements
Strip Loin
Advertisements
Advertisements
Strip Loin is a fabulous cut to use for this recipe.
I buy the huge slabs from Costco and cut them into roasts, freezing 7 or 8 meals worth from one slab.
They kind of end up looking like big steaks and make a meal for 2, at least the size I cut them.
Once thawed, I pre-heat a pan on high heat and add butter, garlic, and rosemary & thyme sprigs.
Next, I sear all sides of the roast until golden brown, spooning the hot garlic butter over the roast.
Oh! And of course salt & pepper are always a must.
Advertisements
Advertisements
Advertisements
Advertisements
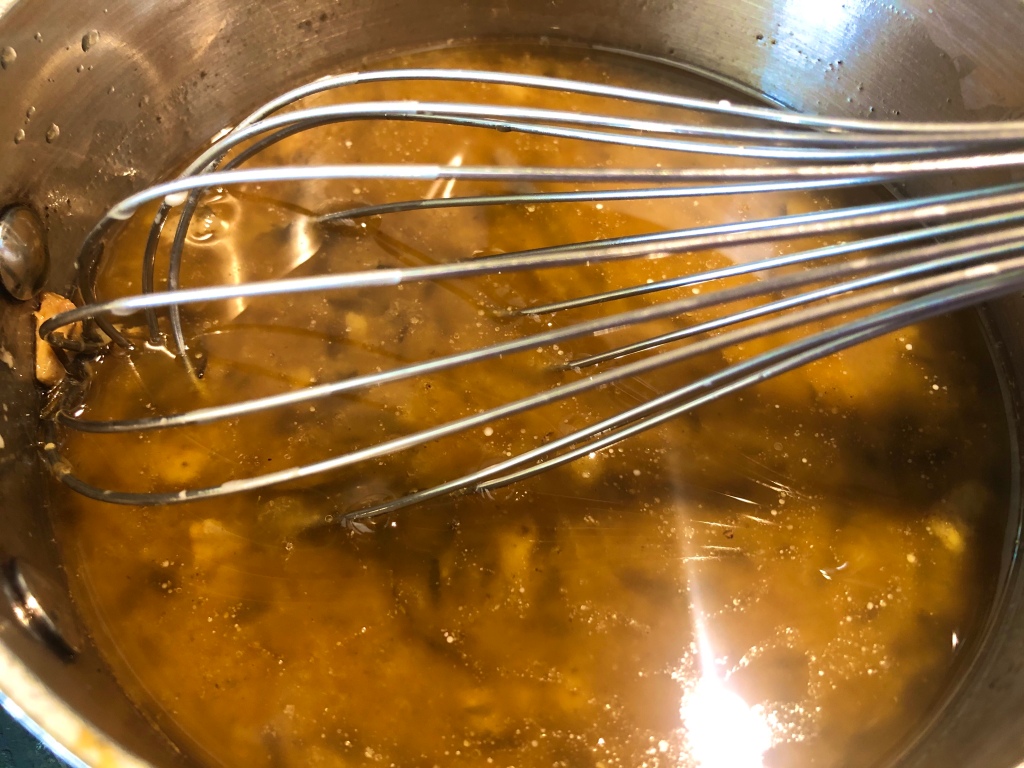
Once it is browned on all sides, I place it in the crockpot with white cooking wine and Worcestershire sauce, adding the rosemary and thyme sprigs on top and the garlic on the sides.
Drizzle with butter from the pan.
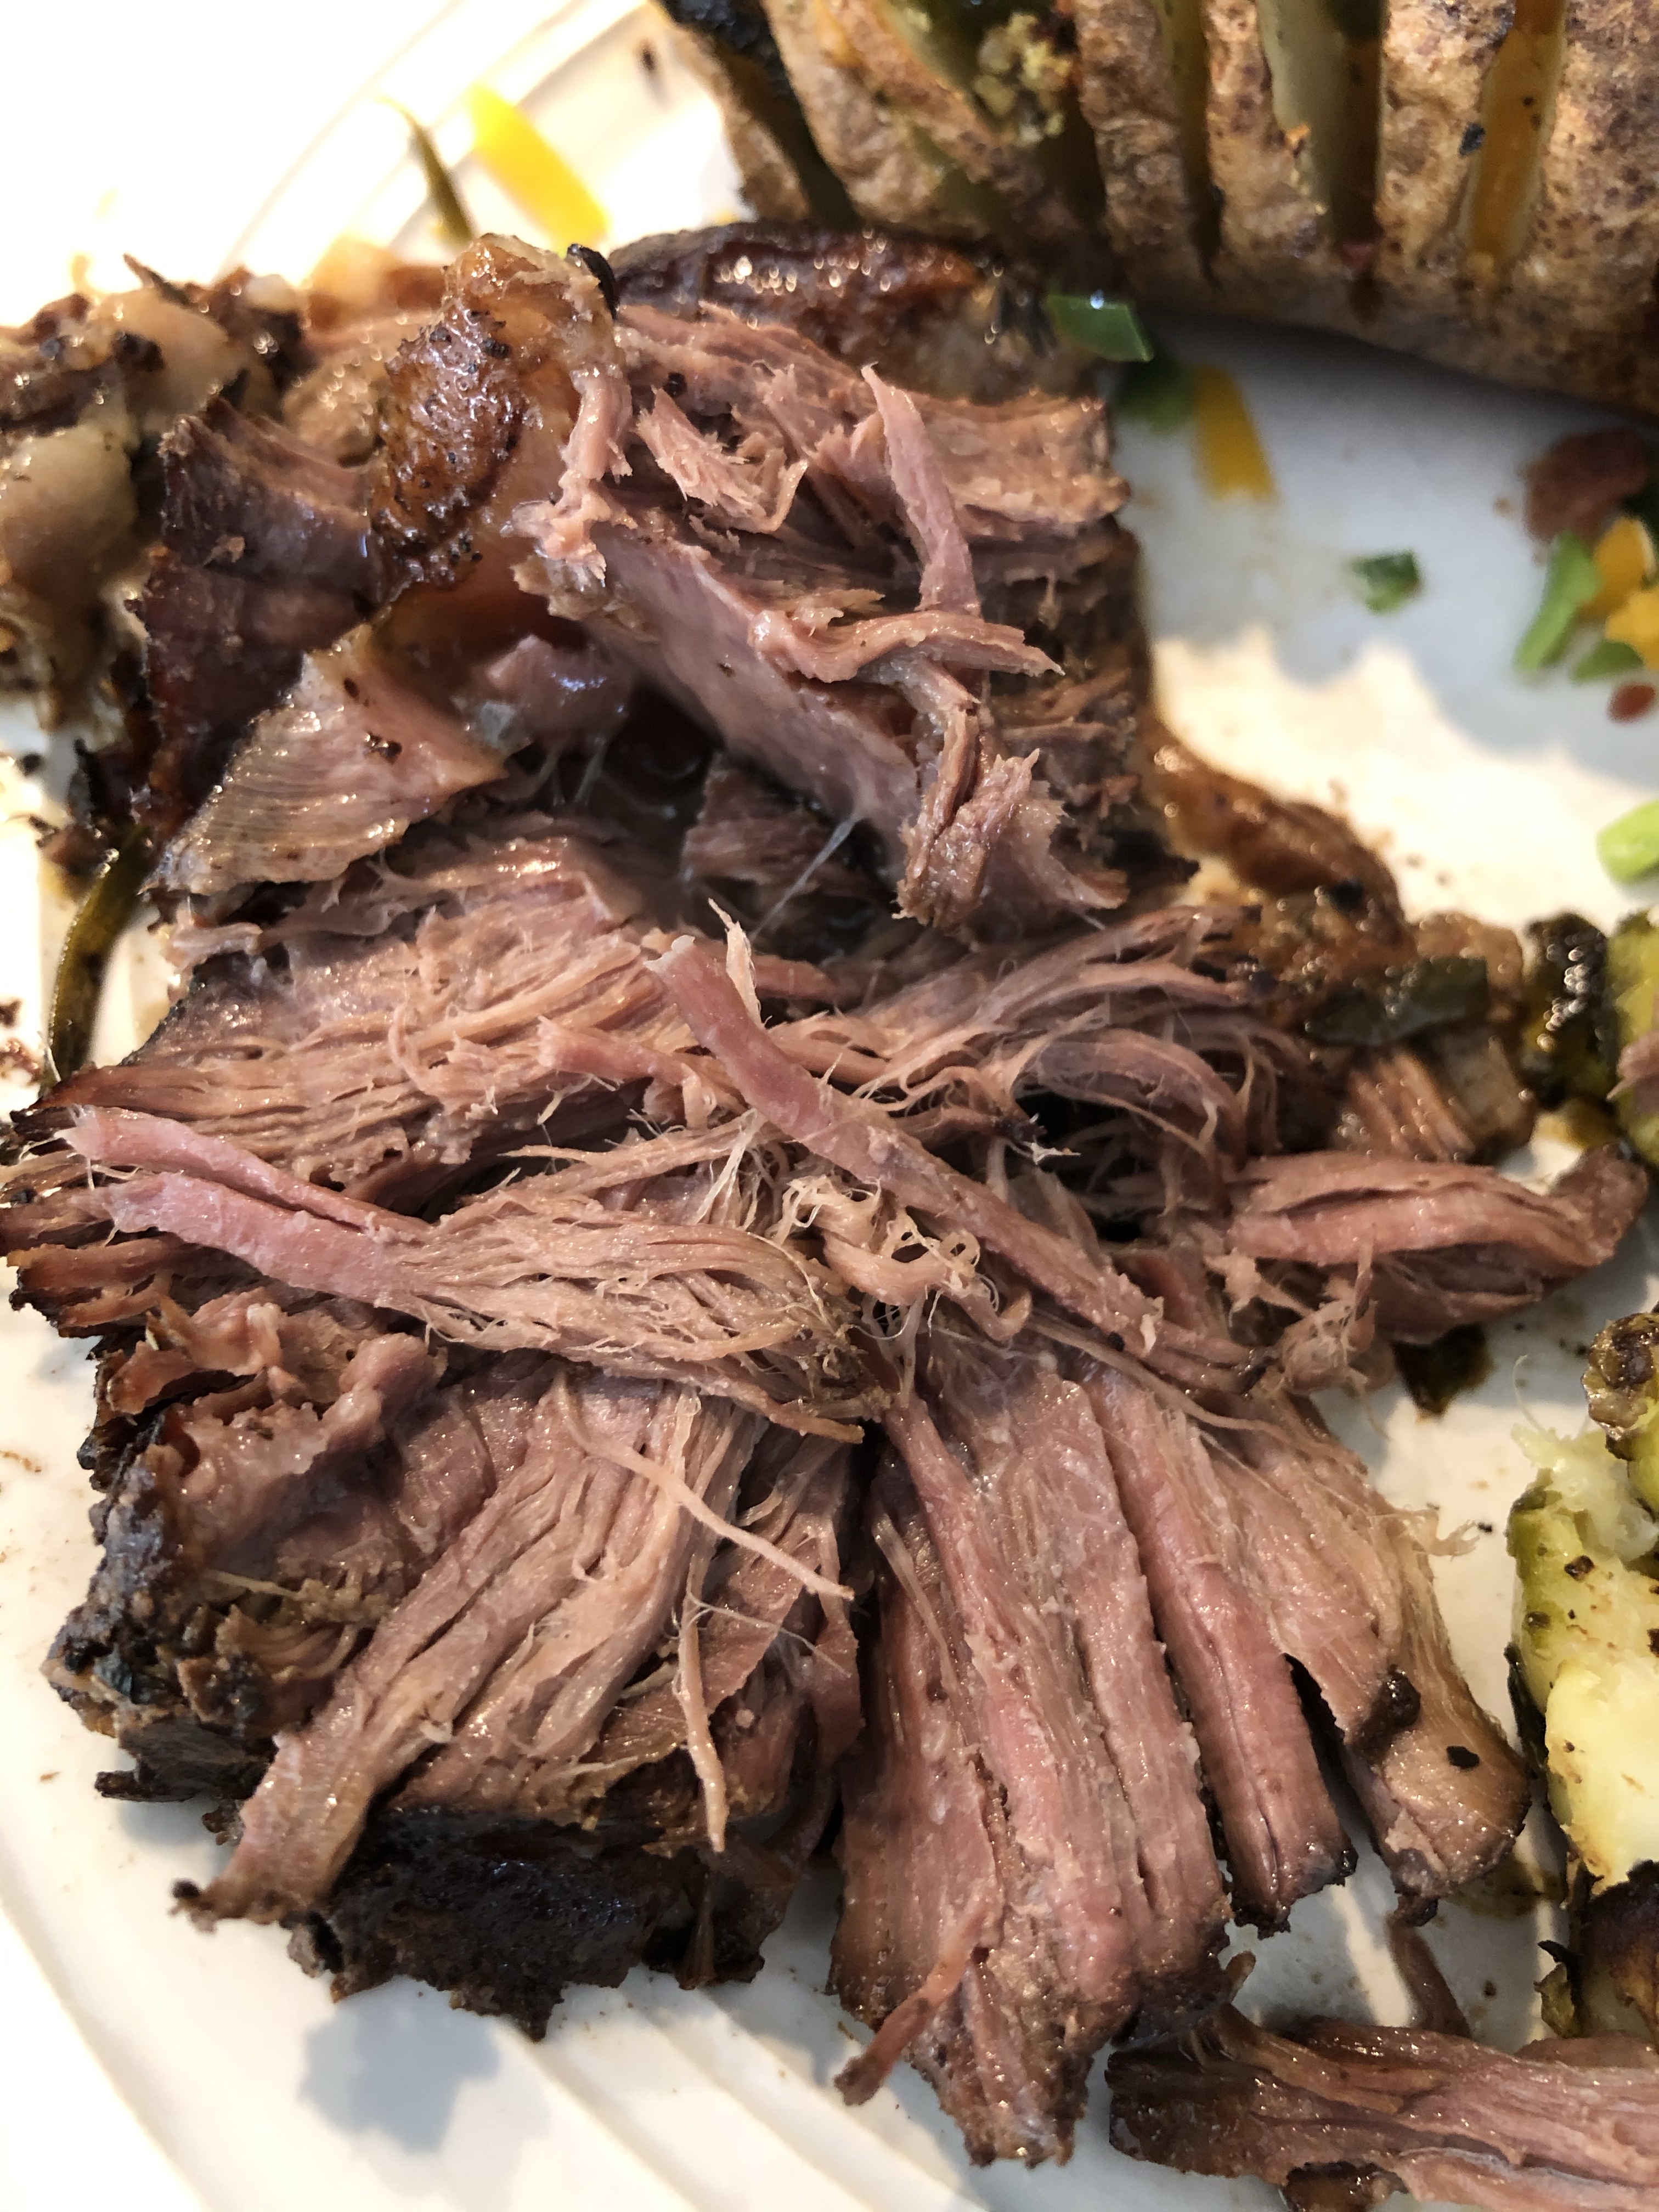
Now the wait begins… part of the tender, fall-apart-on-your-fork process is a looong, sloooow cook time on low temperatures.
I set the crockpot on low and leave for 4-5 hours.
Advertisements
Advertisements
An hour or so before you plan to serve the roast beef, start on the sides.
Or do you simply eat them to get your dose of greens like you’re supposed to?
I personally love most veggies, but Brussels Sprouts had never been in my top 10 picks.
With grocery stores having shortages and limited supply on a lot of the vegetables I typically would buy, I ended up substituting Brussels Sprouts so we had at least somegreens to go with our meals.
Turns out I like them a lot better when they are home-cooked!
This simple recipe only requires 5 ingredients – including the Brussels Sprouts!
Advertisements
Advertisements
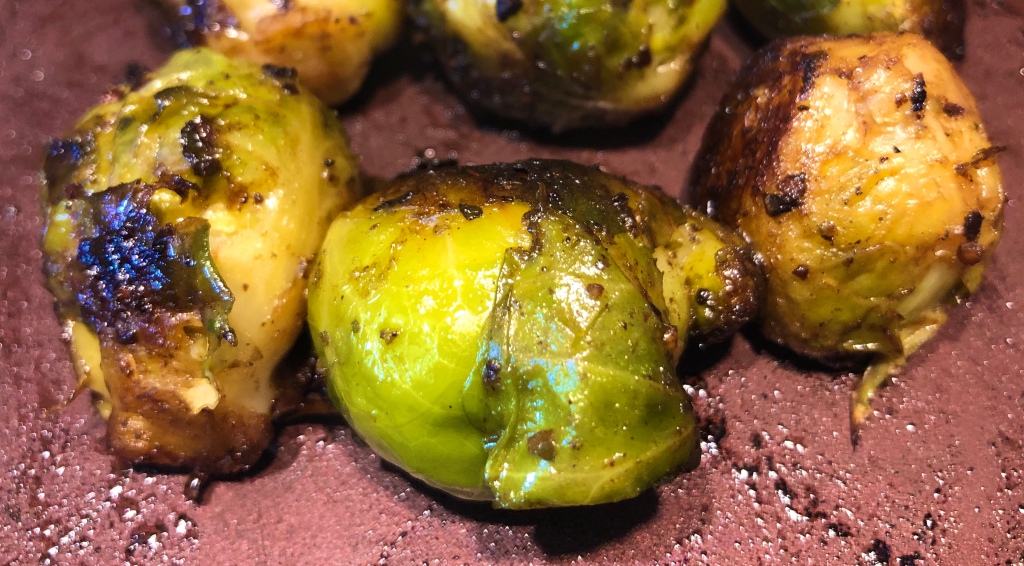
Start by adding butter to a pan on medium heat.
Once it is melted, add the Brussels Sprouts and sauté until they are fork tender.
If they are fresh, this doesn’t take very long; if they are frozen, plan for it to take a few minutes more.
Salt and pepper to taste.
Drizzle with balsamic vinegar, leaving on heat for 1-2 minutes.
You can serve the sprouts whole or cut them in half.
Bring to boil, then reduce heat to a simmer until potatoes are fork-soft.
This will take about 8-10 minutes.
Advertisements
Advertisements
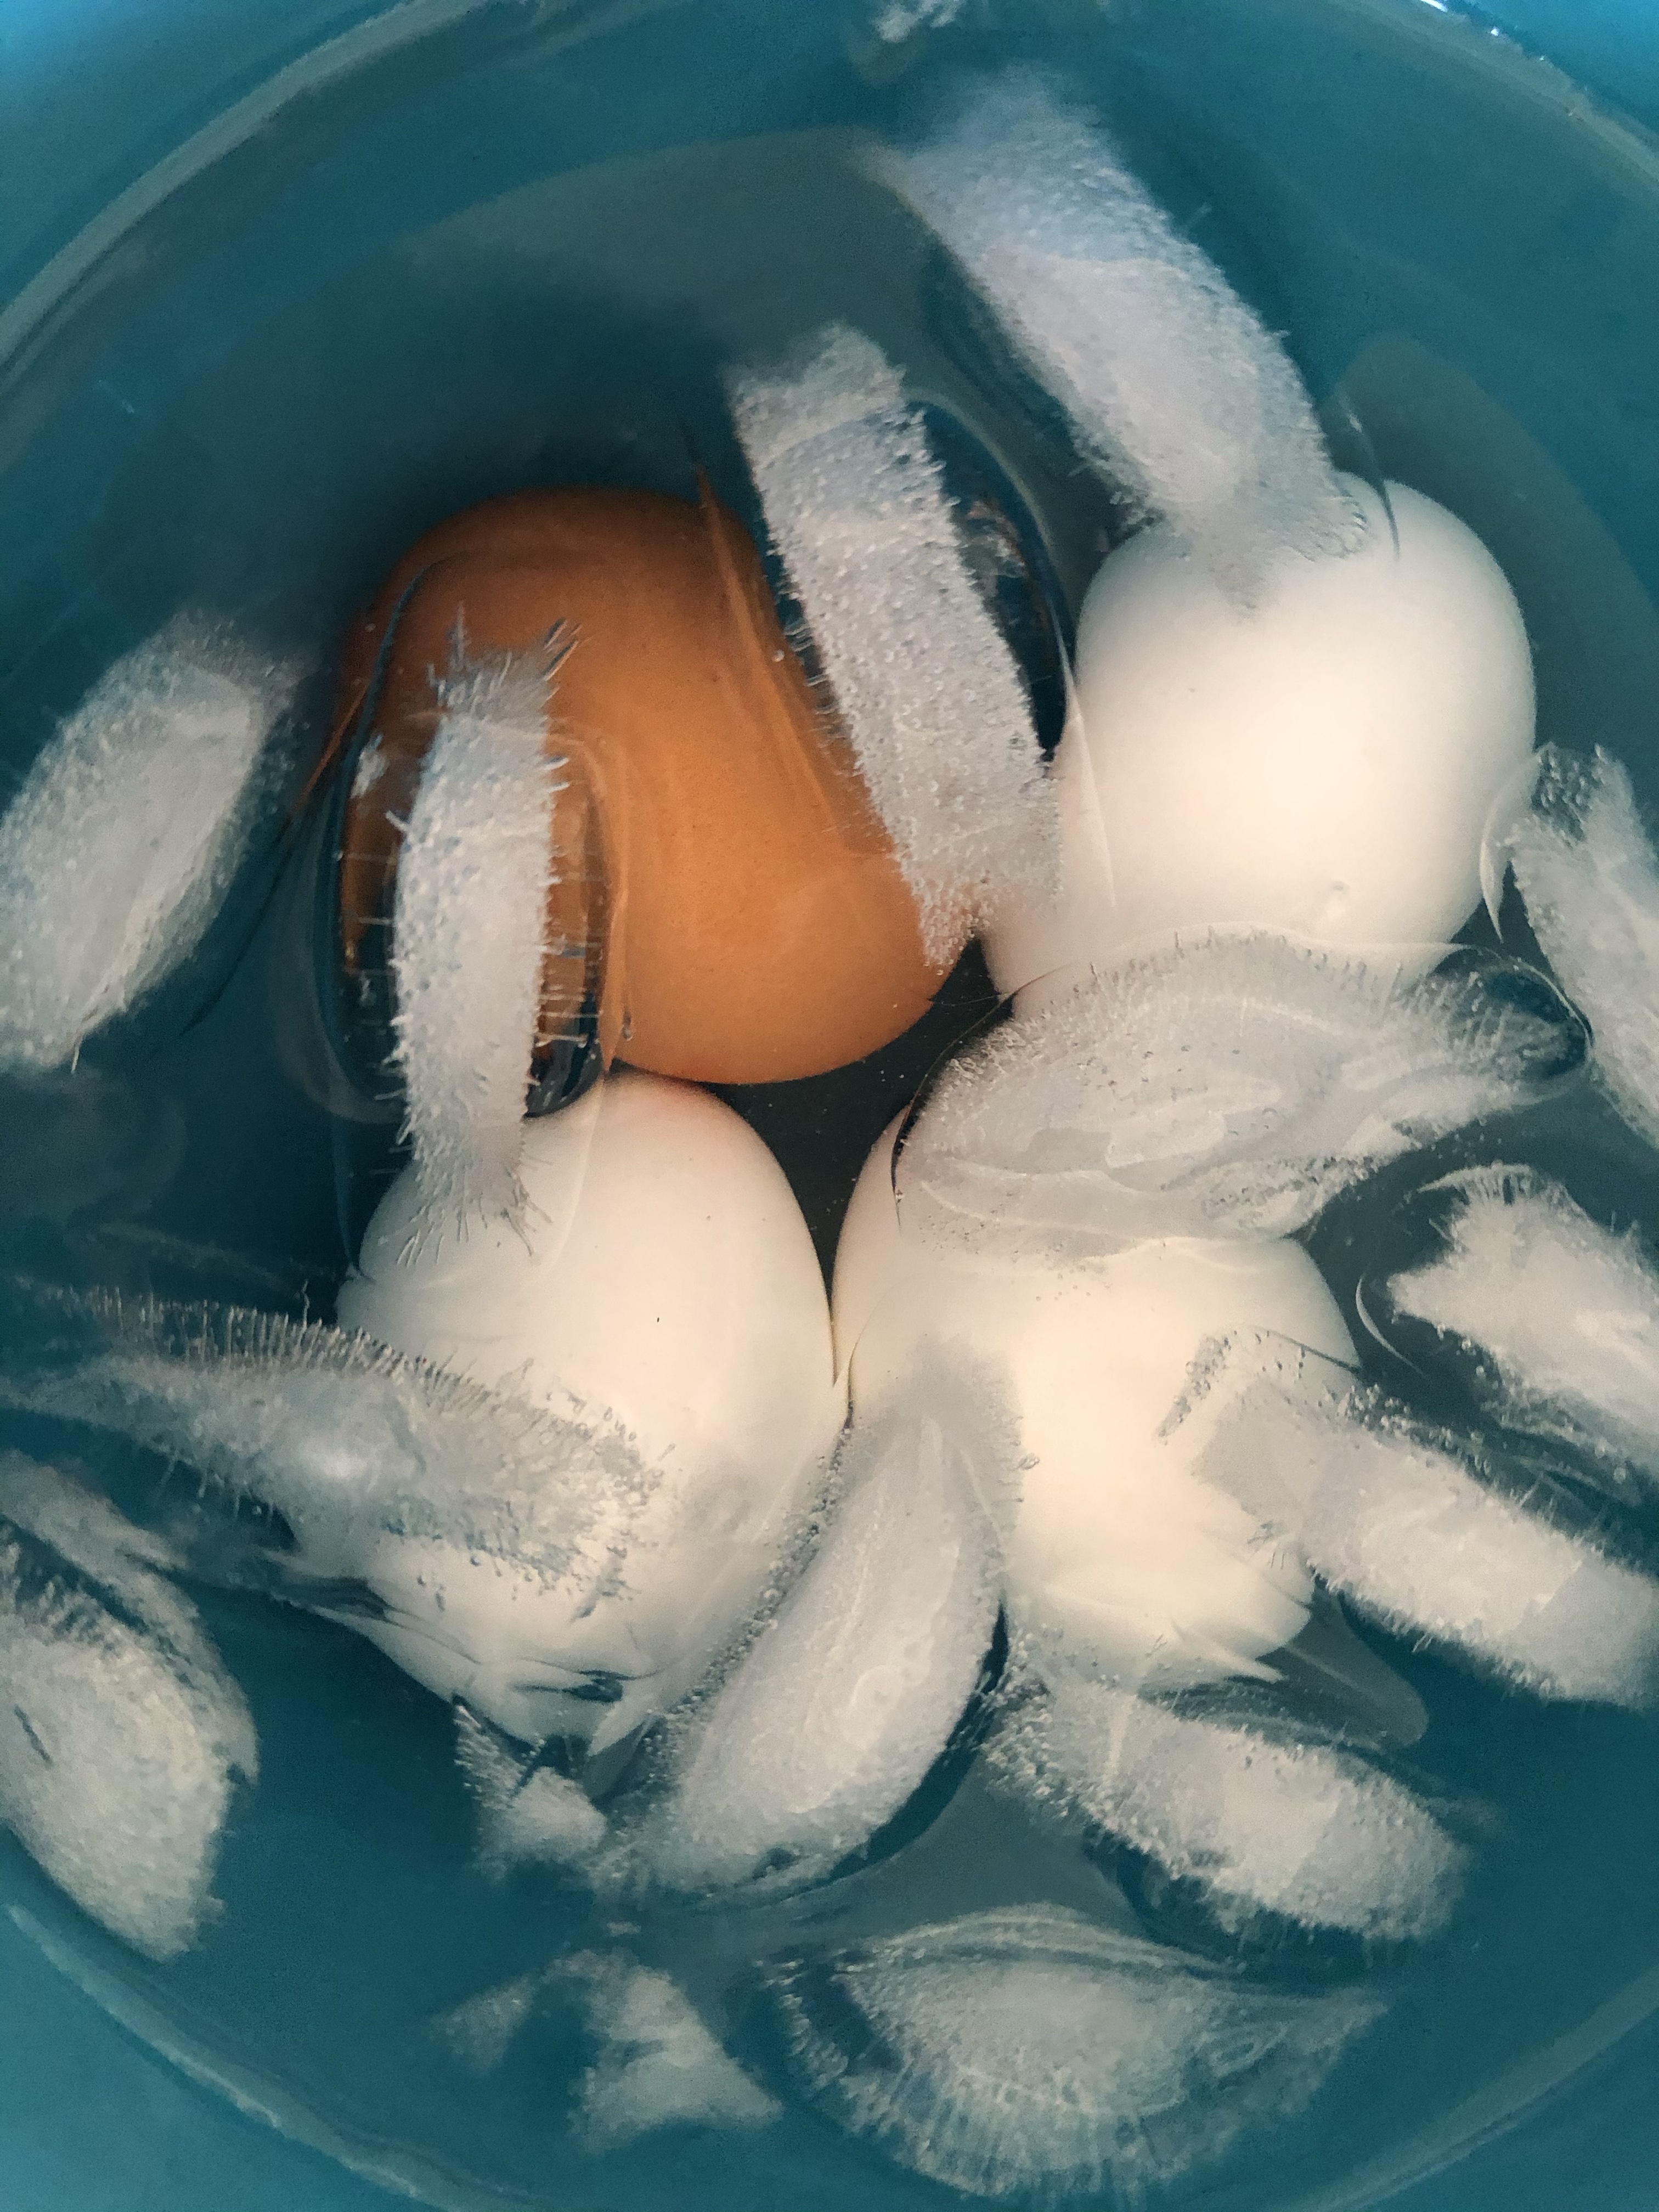
Next, drain the water and place the eggs in a bowl with ice water until they are fully cooked.
While the eggs cool, add Miracle Whip, mustard, dill, and diced pickles.
I usually add a splash of pickle juice for a bit of extra zip.
Advertisements
Advertisements
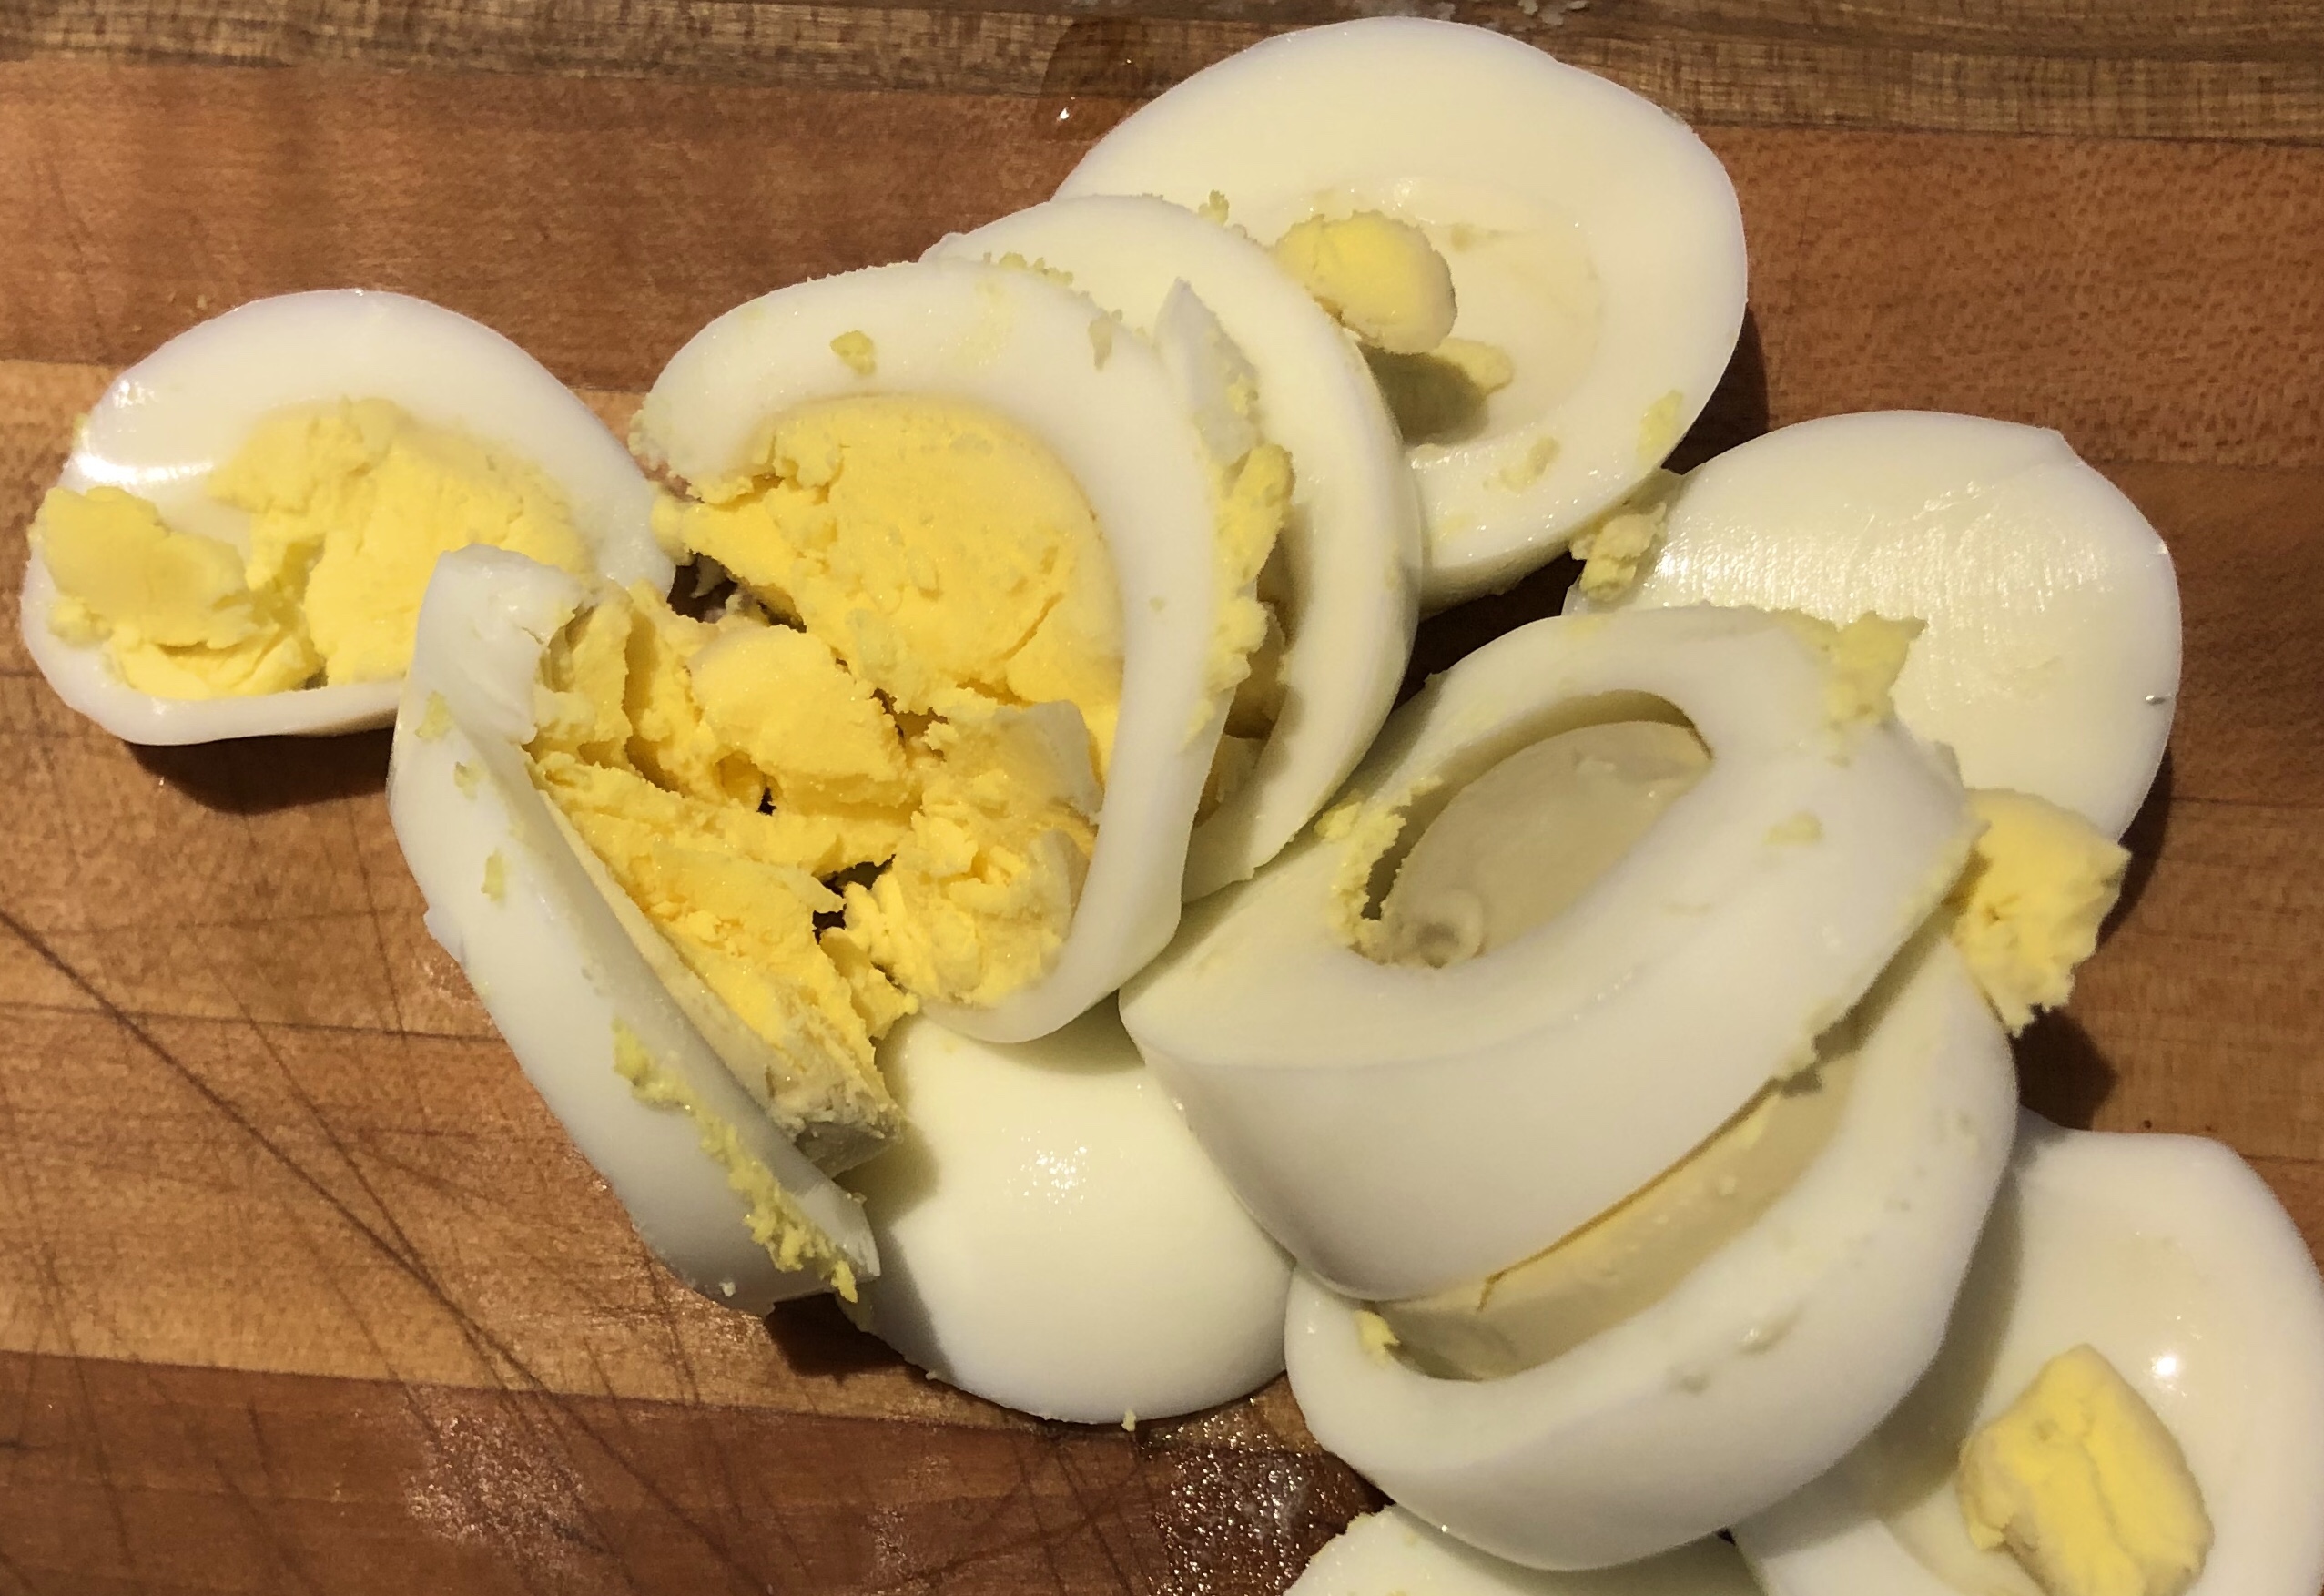
Peel the egg, add half of them to the bowl with the potatoes and mash slightly.
If you prefer to chop the eggs rather than mash, go for it! I find using a fork just as easy as cutting them and it makes less mess.
Advertisements
Advertisements
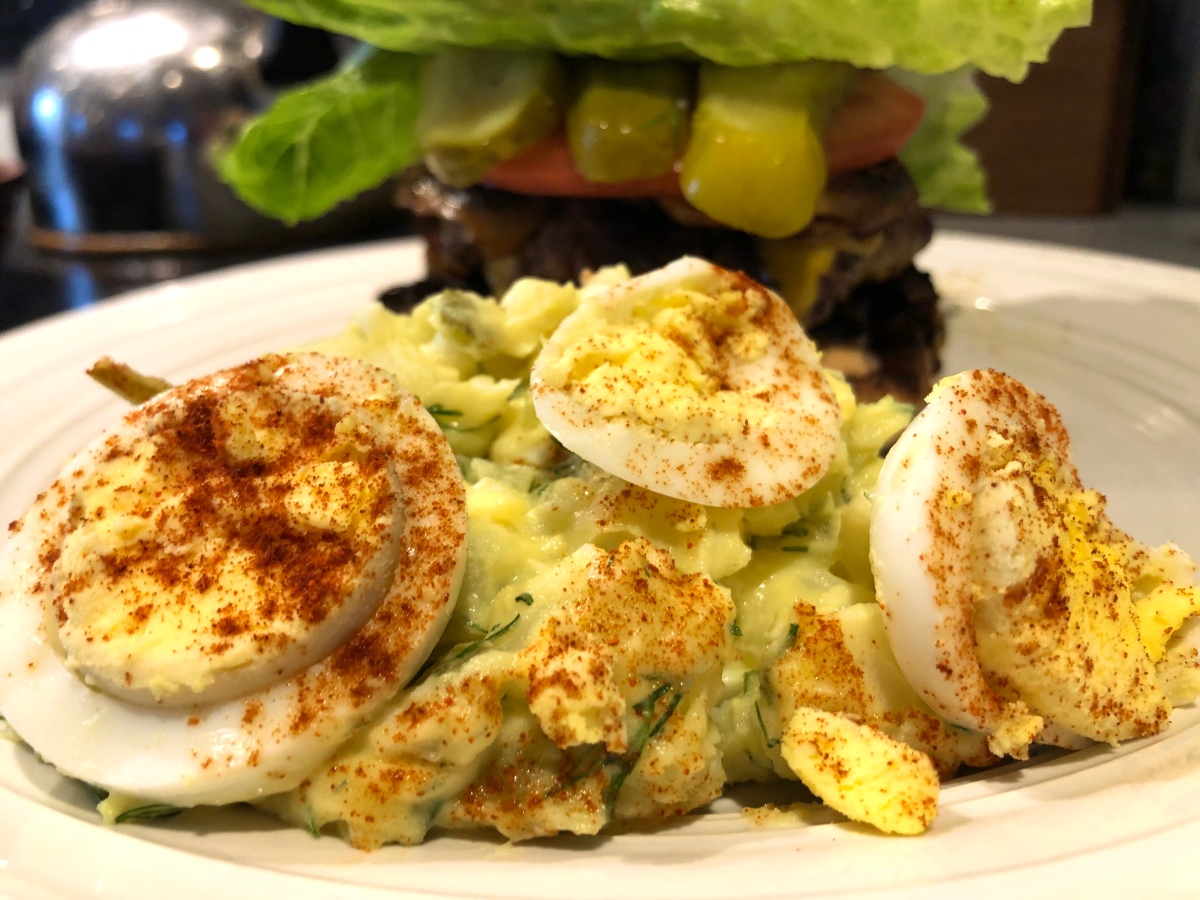
Slice the remaining eggs into rounds.
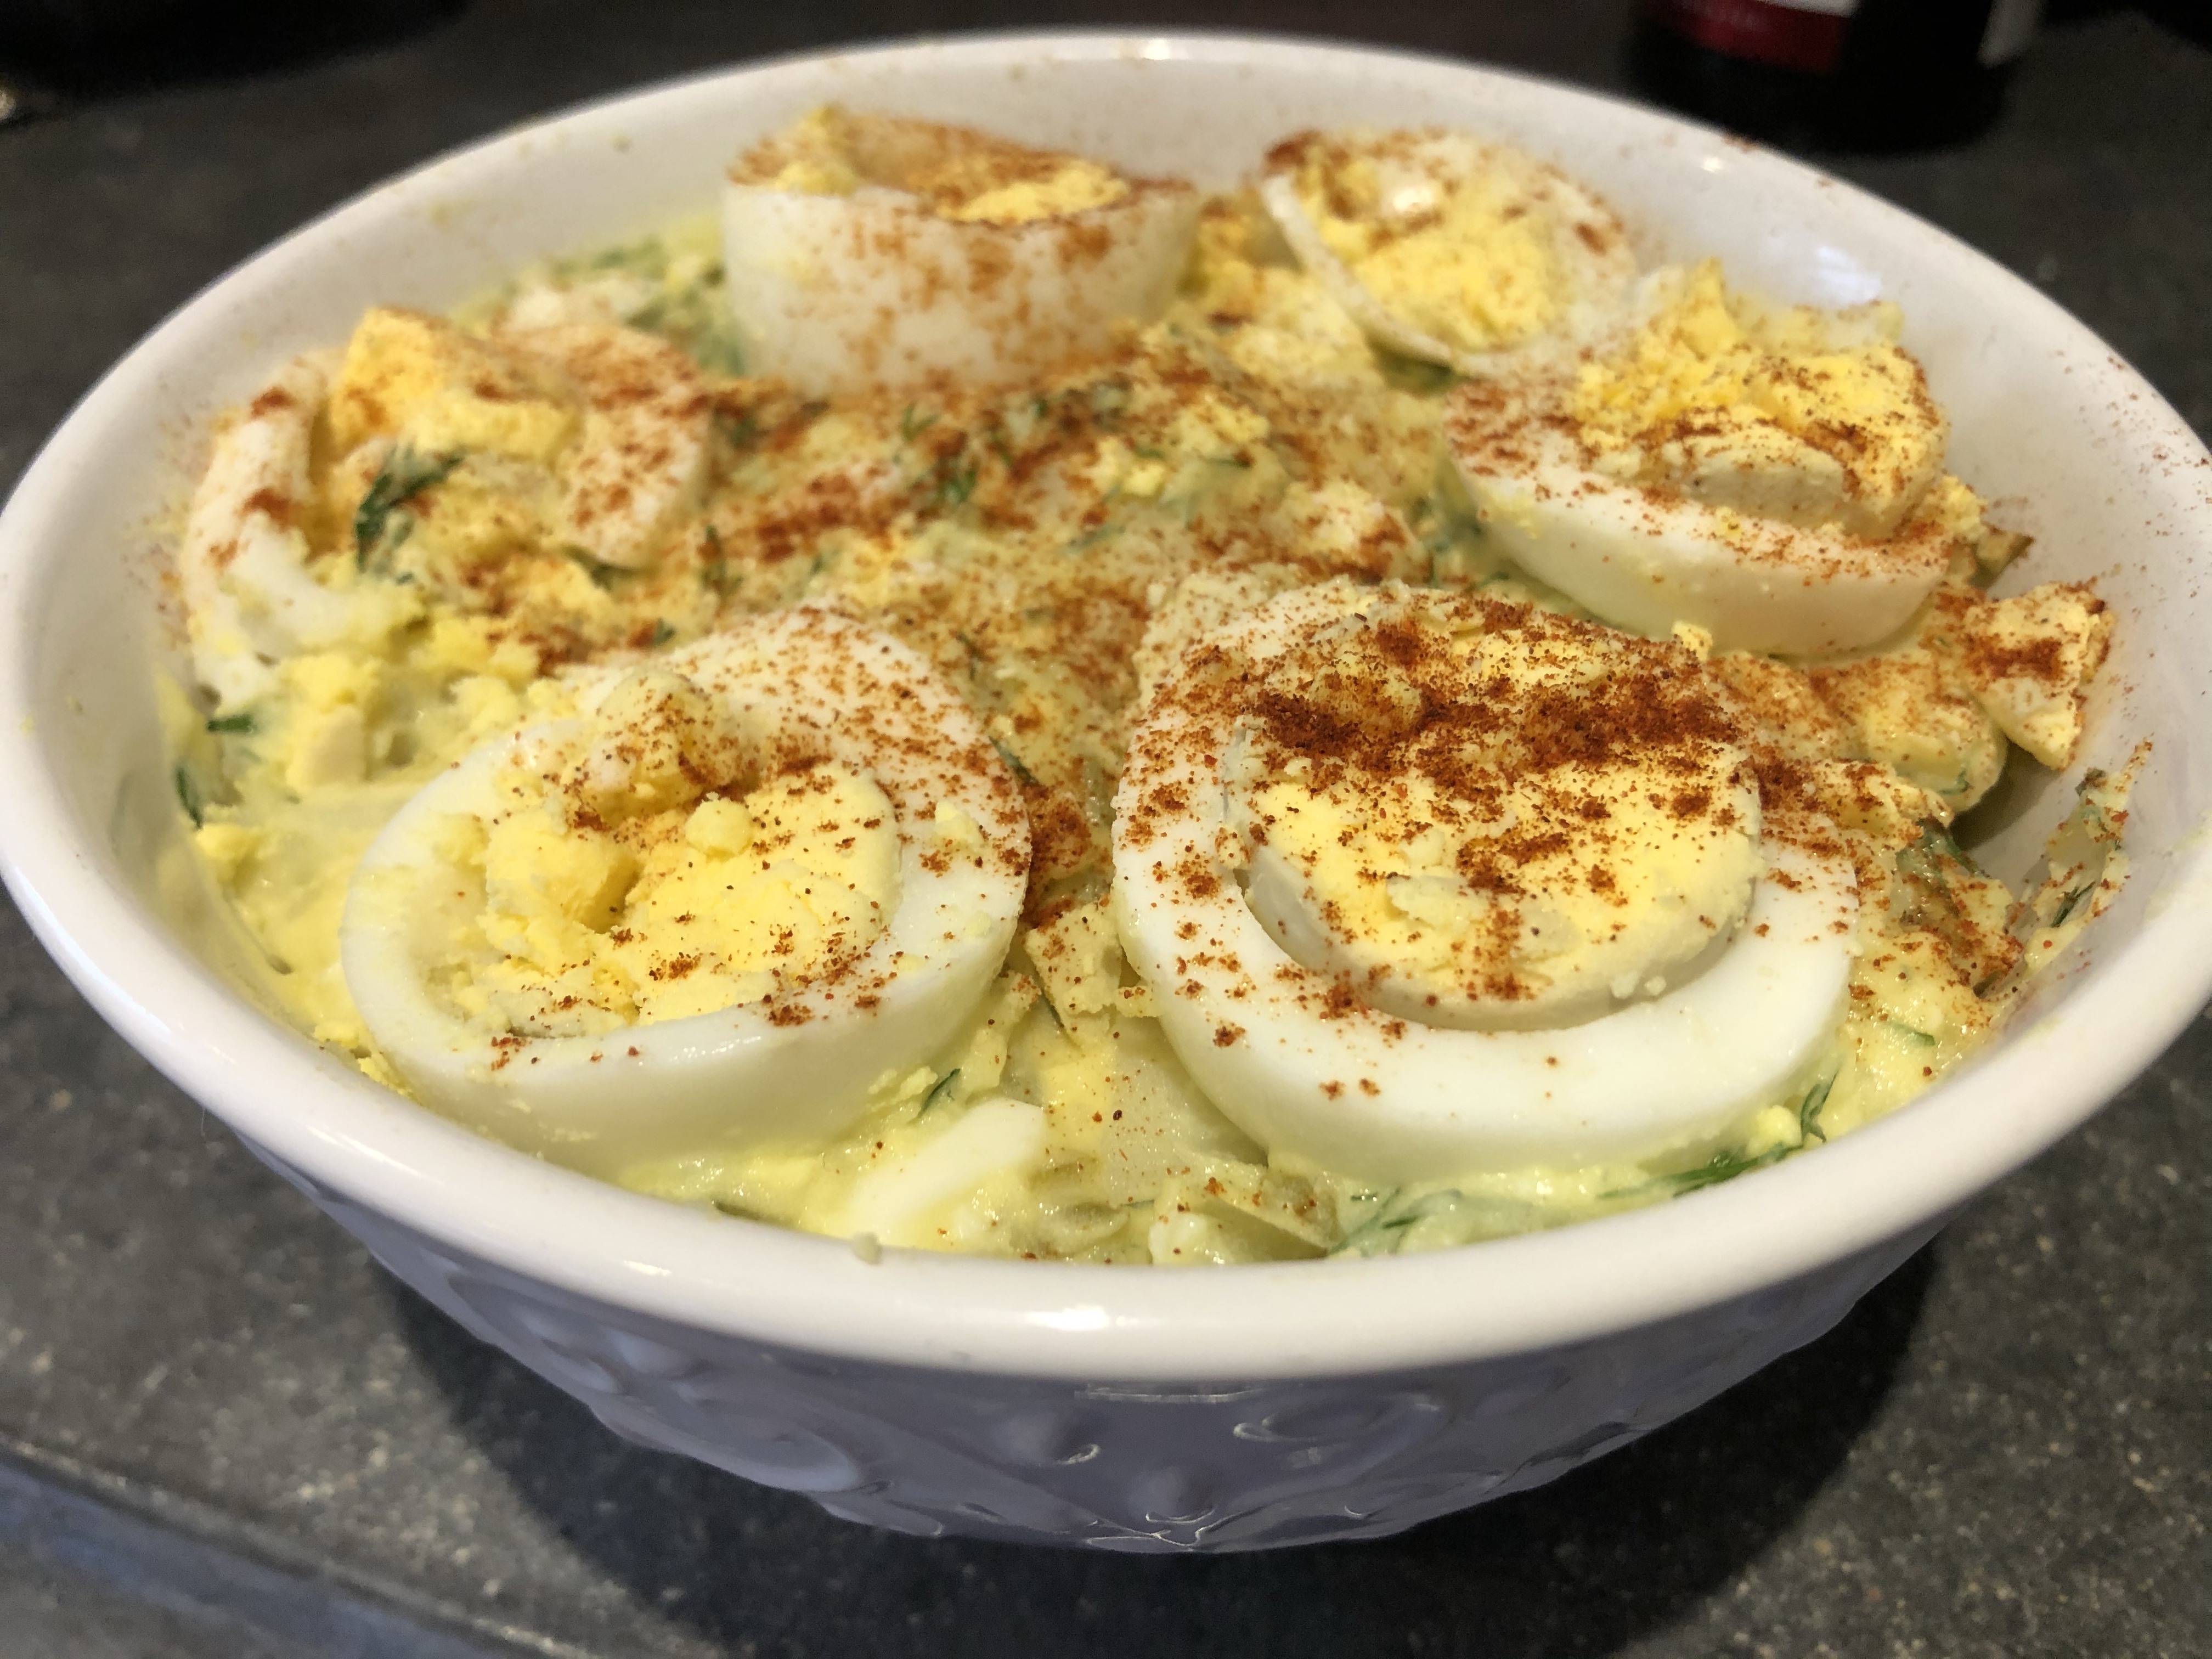
Scoop the potato salad into your serving dish and top with the sliced eggs.
Sprinkle with paprika.
Chill until fully cooled and enjoy!
Potato salad makes a great side to go with hamburgers fresh off the grill, smothered in toppings, and finished off with homemade sourdough hamburger buns!
Advertisements
Advertisements
Recipe
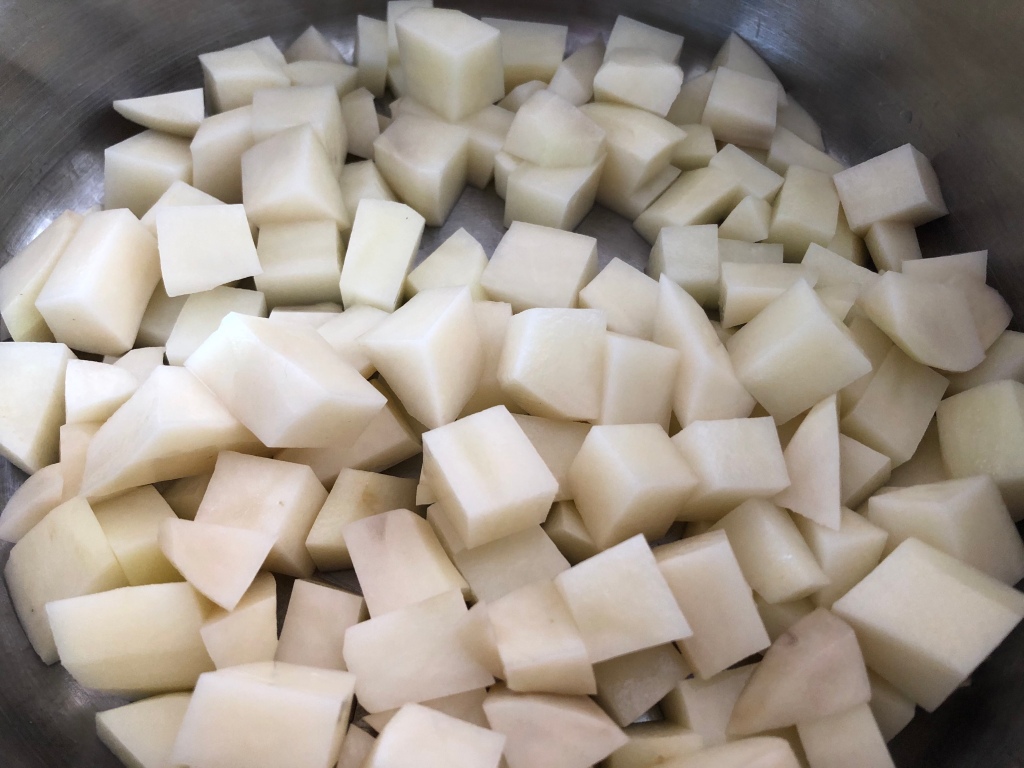
2 medium sized potatoes, peeled and cubed
4 eggs
1/2 cup Miracle Whip
1 tablespoon mustard
2 large pickles, diced
2-3 sprigs dill, chopped
1 teaspoon salt (added to pot while cooking potatoes)
Paprika, sprinkled to taste
Advertisements
Advertisements
Boil the potatoes and eggs together in salted water until potatoes are fork tender, about 8-10 minutes.
Place eggs in ice water until cool and drain potatoes.
Mix potatoes, Miracle Whip, mustard, pickles, and dill.
Add 2 eggs and mash slightly with a fork.
Transfer potato salad to serving dish.
Slice remaining 2 eggs into rounds and place on top of potato salad.
Sprinkle with paprika.
Chill until completely cool.
Enjoy!
(Serves 2)
Advertisements
Processing…
Success! You're on the list.
Whoops! There was an error and we couldn't process your subscription. Please reload the page and try again.
Want to make a fancy meal that isn’t expensive and is even pretty easy to make?
This recipe is bound to impress!
Not only does it taste amazing and look like a gourmet chef created it, but it is also easy to make – and won’t break the bank!
I am a big fan of foods with a bit of heat, so I took the concept of Cordon Bleu and spiced it up a bit. (It has Jalapeños, so yep! It had a bit of kick!)
Advertisements
Advertisements
First, thaw 2 large chicken breasts. If you want to go with fresh cuts, go for it! Frozen tends to be less expensive and lasts longer.
Prep your ingredients: shred your cheese, dice the jalapeños, mince the garlic, and soften the cream cheese.
Combine these ingredients, along with the salt, pepper, and cayenne powder and mix well.
Advertisements
Advertisements
Advertisements
Advertisements
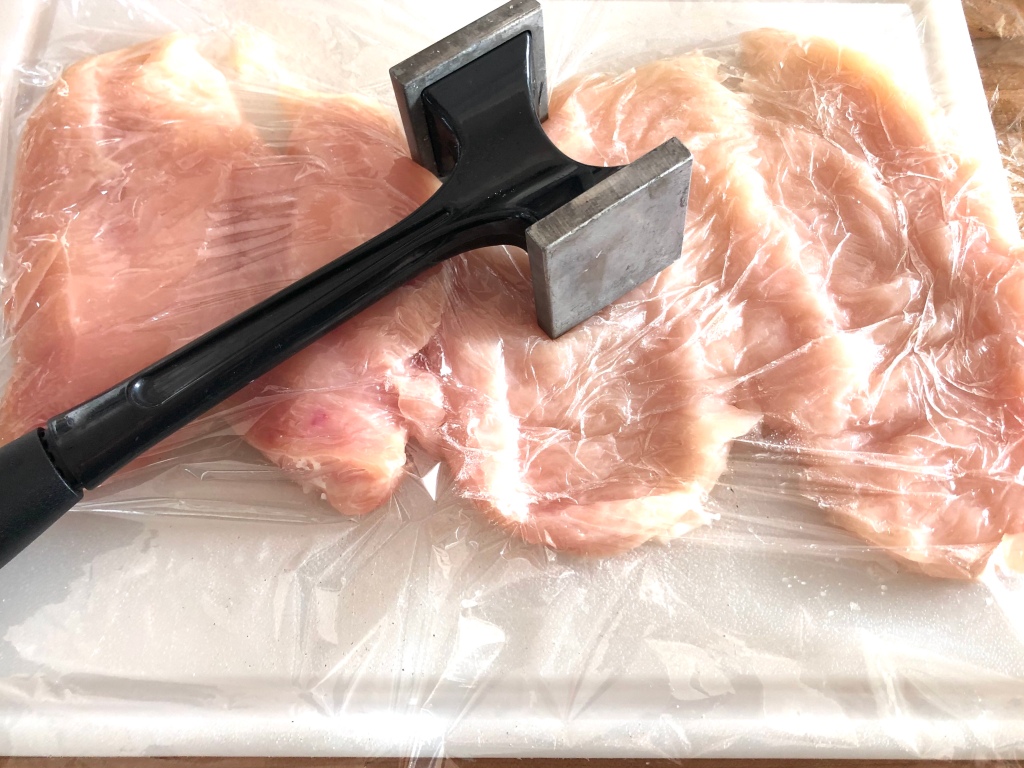
Next, butterfly cut your breasts. This simply means cutting it almost in half between the top and bottom of the breast, but leaving it attached at one side.
Cover with plastic wrap and flatten with a meat tenderizer. Don’t hammer it too thin, though!
Pat the chicken dry with paper towel.
Advertisements
Advertisements
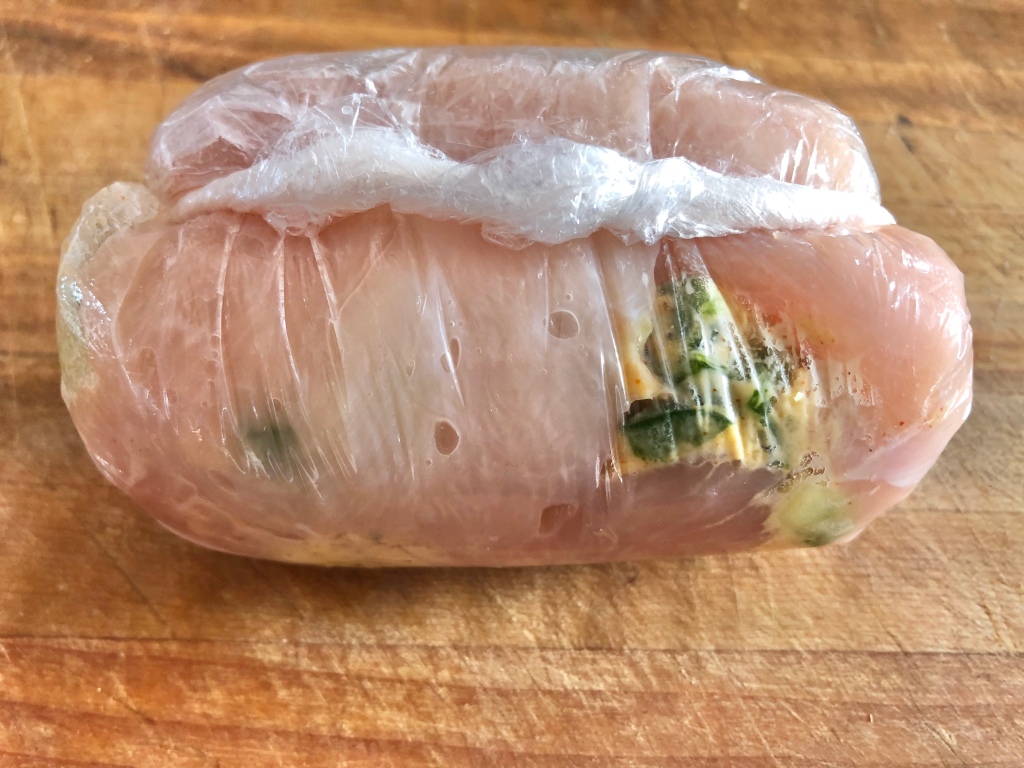
Add the cheese mix and spread evenly on the chicken.
Advertisements
Advertisements
Next, roll it up!
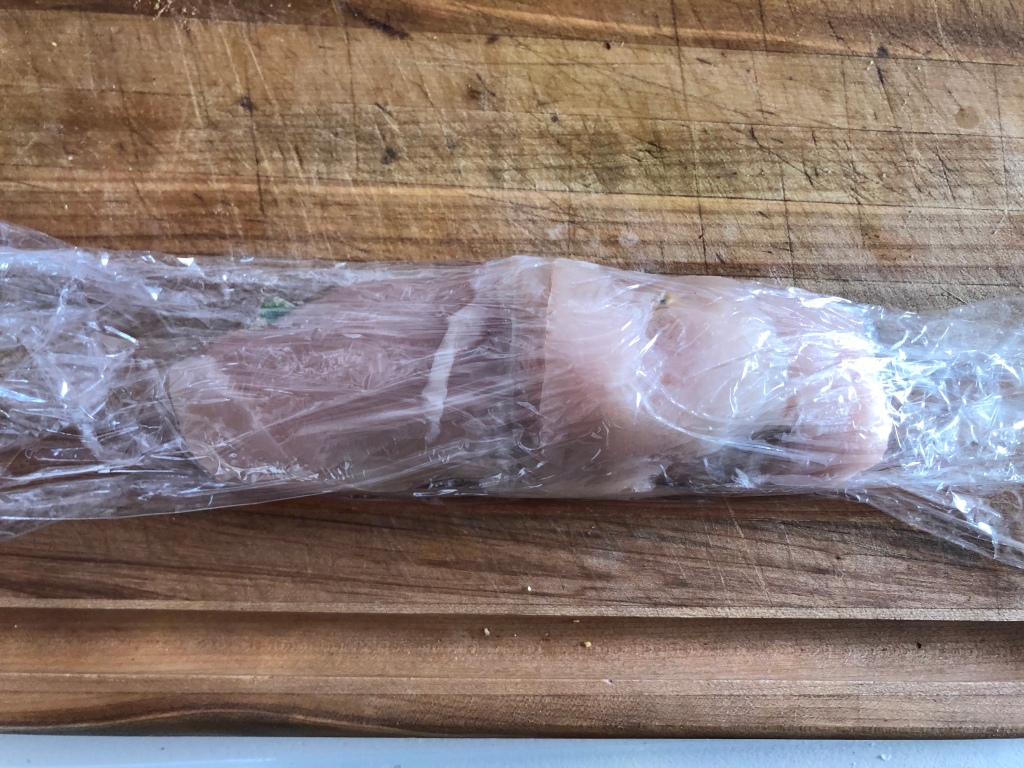
Wrap in plastic…
Advertisements
Advertisements
… and roll it tightly so it looks like the photo above.
Refrigerate for 30 minutes. This will help the roll to hold shape during the cooking process.
If you are in a hurry, you can pop them in the freezer for about 10 minutes, instead.
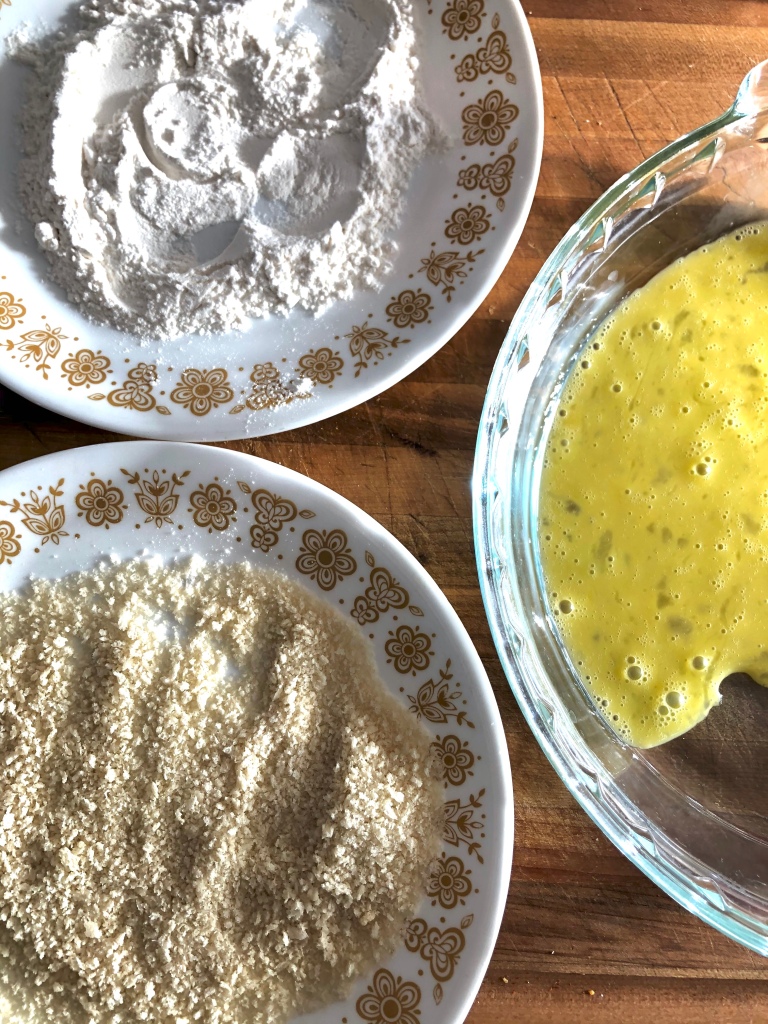
To coat it and give it a nice crunchy finish with a golden color, dredge in flour. I used to skip this step and go straight to the beaten eggs, however flour helps the egg adhere to the chicken.
Once floured, cover well in egg, then dredge in the Panko crumbs.
Advertisements
Advertisements
Advertisements
Advertisements
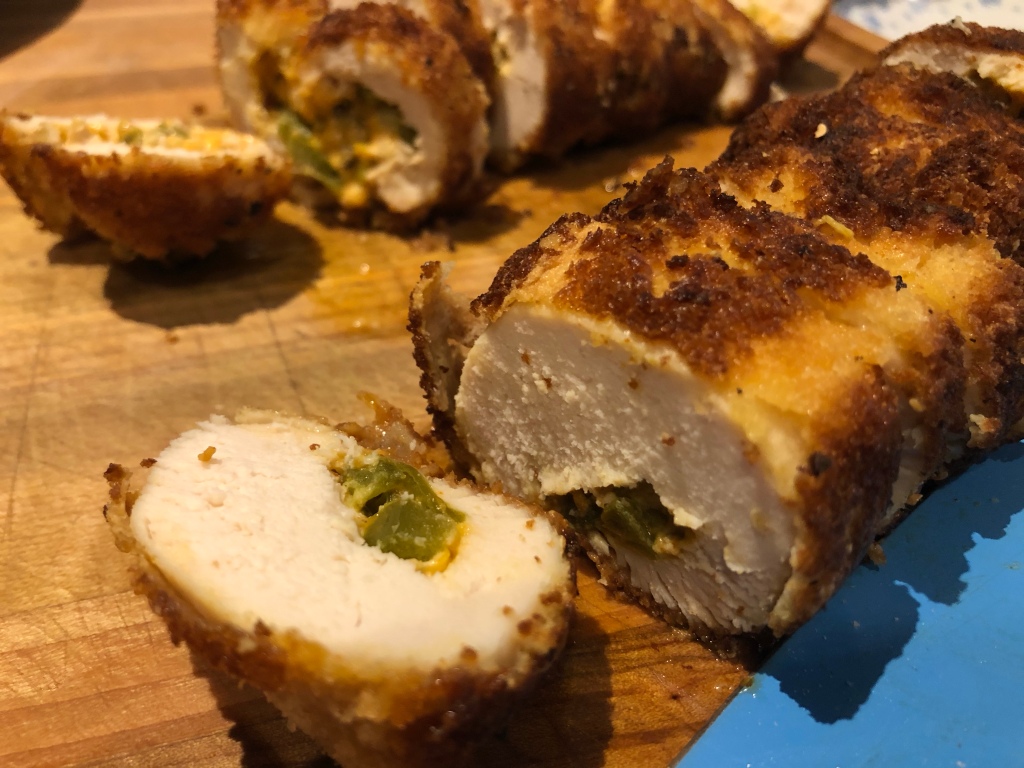
Add to a pre-heated pan with canola oil on high heat.
Rotate the rolls so they brown evenly on all sides.
You are not trying to cook them thoroughly at this point, so don’t worry about that. You are simply getting that golden finish.
Advertisements
Advertisements
Place on a baking sheet and put in the oven for 20 minutes at 350º or until the internal temperature reaches 165º
I grew up cooking traditional meals; a protein, a starch, and a green veggie was expected as a balanced combination.
Therefore, rice has been a staple in my cooking for many years.
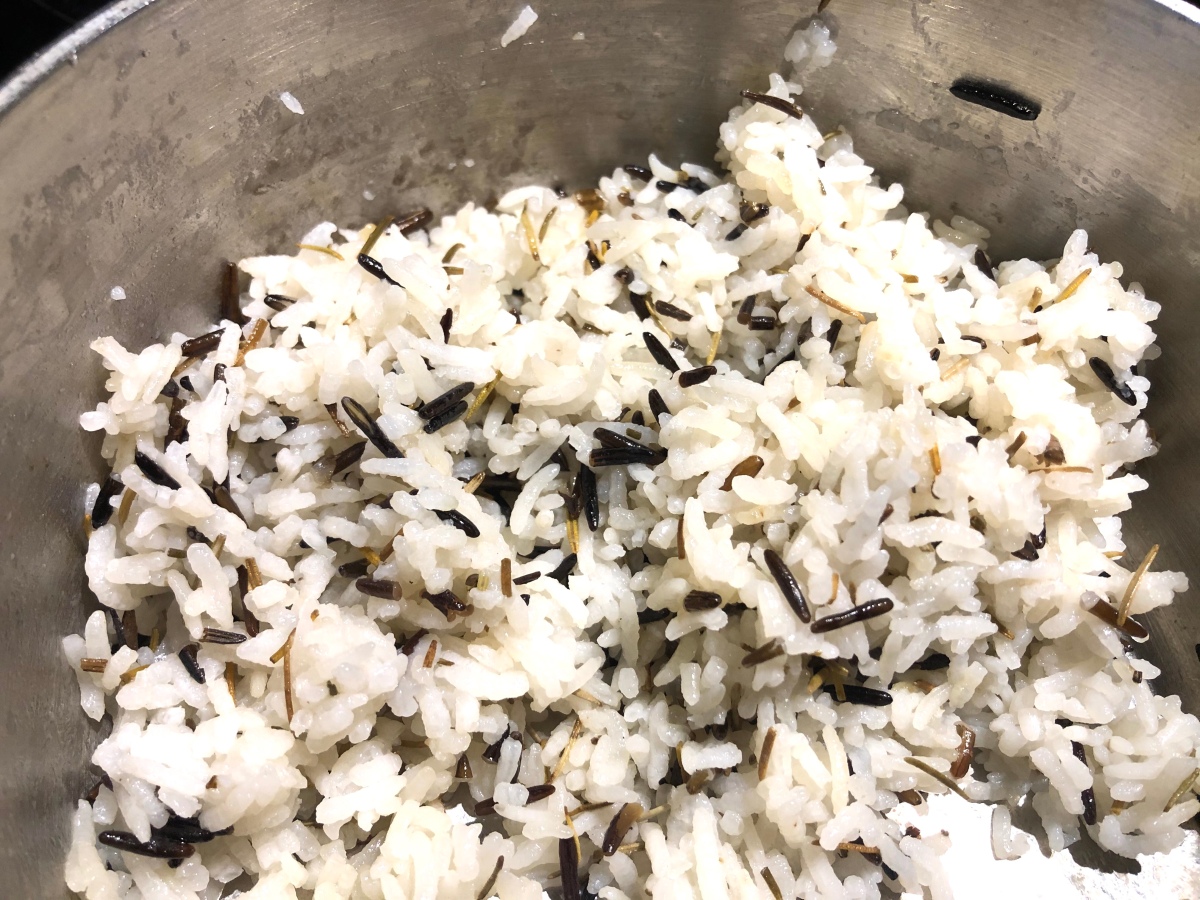
There are many ways to make rice as a pairing with the meal of choice; Mexican rice to go with fajitas, plain white rice to go with “haystacks” or, one of my favourites, rosemary rice to go with Jalapeño Popper Stuffed Chicken Breast!
The rosemary is not only a fragrant addition to the rice, but is also a healthy herb to integrate into meals.
Fish tacos have been a difficult blog recipe to write about because of the nature of the beast…
Let me explain:
We usually spend a lovely day on the lake catching Northern Pikes (sometimes “lovely” means rainy and cool, but catching lots) and get home at midnight or 1 AM.
Advertisements
Advertisements
The fish tend to bite really well after the sun begins to go down, hence our late arrivals back home (we usually have an hour or two of gravel country roads after getting off the water, depending which lake we went to).
Therefore, as soon as we get home with our fresh fish, Jake starts filleting them while I start prepping everything for fish tacos.
(I personally have filleted my fair share of salmon up in Alaska, but here?! Nope! Jake does all the filleting!)
Advertisements
Advertisements
At this point we are usually STARVING!
… which means remembering to take any photos for the blog often falls to the wayside in favour of chowing down on some delicious fish tacos!
Advertisements
Advertisements
Advertisements
Advertisements
We may or may not have had fish tacos for breakfast the morning following our last fishing trip (that’s normal, right?!) and I finally got some photos for this recipe!
I know many people don’t like the taste of Northern Pike, however I enjoy it when it has been cooked properly.
Advertisements
Advertisements
And the fight?!
Wow! Northern Pike put up such a good fight that even a small fish is fun to catch, even if we have to throw it back because it was too small.
For me, the fish tacos are about the whole experience from beginning to end…
… the relaxing time on the sparkling water, the adrenaline rush when a fish finally hits my line, the quality time with my honey, and finally, the amazing taste of fish tacos (increased by our extreme hunger).
To debone or not to debone
This is a HUGE must for fish tacos!!!
I can not stress that enough!
When you are just having a fish fry, sure, you can pick the bones out as you eat – but that is not an option with fish tacos!
Advertisements
Advertisements
If you don’t know how to debone fish yet, check YouTube for tutorials… or better yet, ask someone who knows how to do it to show you a few times and then try it for yourself.
I personally don’t know how to debone fish, but Jake has become a pro at it by now!
It does take practice to become proficient, but trust me when I say it is worth it.
Advertisements
Advertisements
Advertisements
Advertisements
So what is my recipe?
The sauce is what really kicks these fish tacos up a notch.
I love a bit of heat, so I tend to add some spice to the sauce I make from scratch.
The other “yum factor” is using Cajun Fish Crisp when frying the fillets in butter.
It gives a nice crunch and the flavour is outstanding!
The fact that Fish Crisp is Canadian Made is also a bonus for me; I LOVE seeing that the products I buy support local economy.
Advertisements
Advertisements
Advertisements
Advertisements
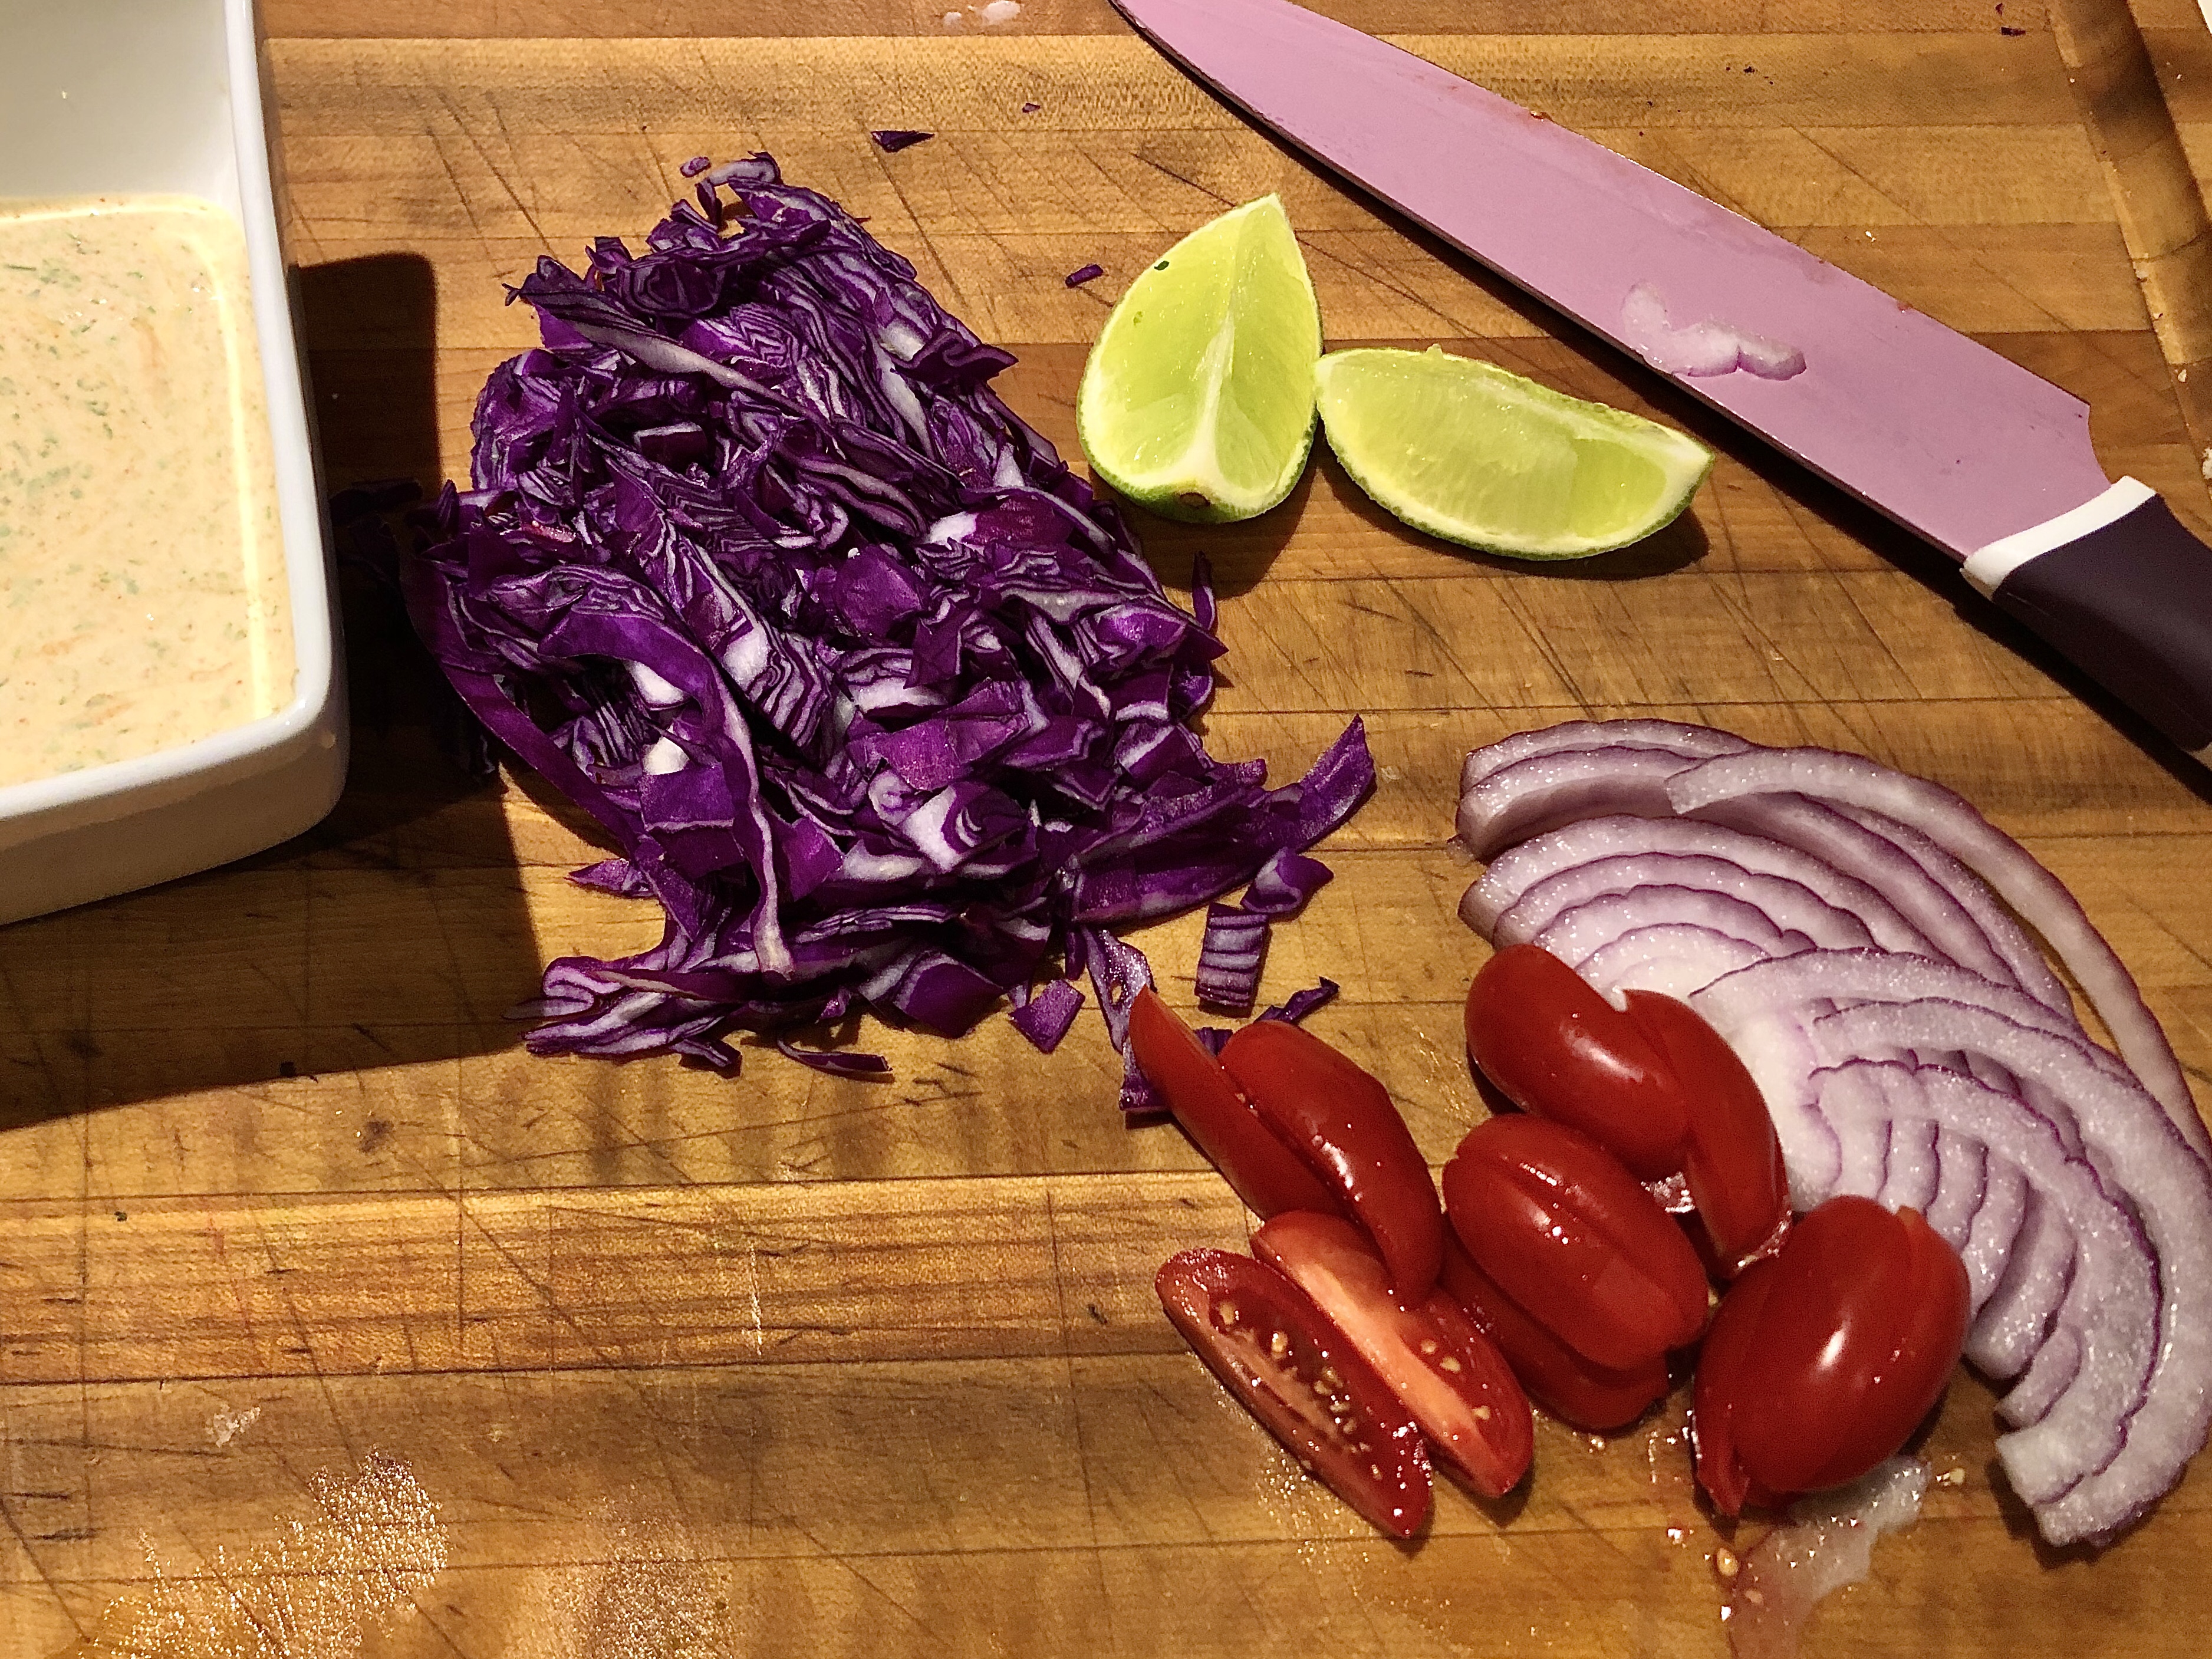
While Jake is out filleting the fish, I start by prepping the veggies.
I thinly slice the purple cabbage; it adds both color and crunch.
Sometimes I will add a few thinly sliced red onions to my tacos, but not always.
Next come the quartered cherry tomatoes and slivers of cucumber.
Advertisements
Advertisements
I mix all the veggies together and drizzle with freshly squeezed lime juice.
Then I start on the sauce; a good scoop of sour cream, several splashes of Frank’s Red Hot Sauce, fresh lime juice, cumin, cayenne, paprika, and a bunch of fresh cilantro all get blended together in my food processor.
(I just got this KitchenAid food processor and LOVE it!)
The heat level can be adjusted to taste; some people like spice like I do, however some people can’t handle anything too hot.
Once the fish is all filleted, I dredge the pieces in the Fish Crisp, then fry in butter on high heat until they are golden brown on each side.
Advertisements
Advertisements
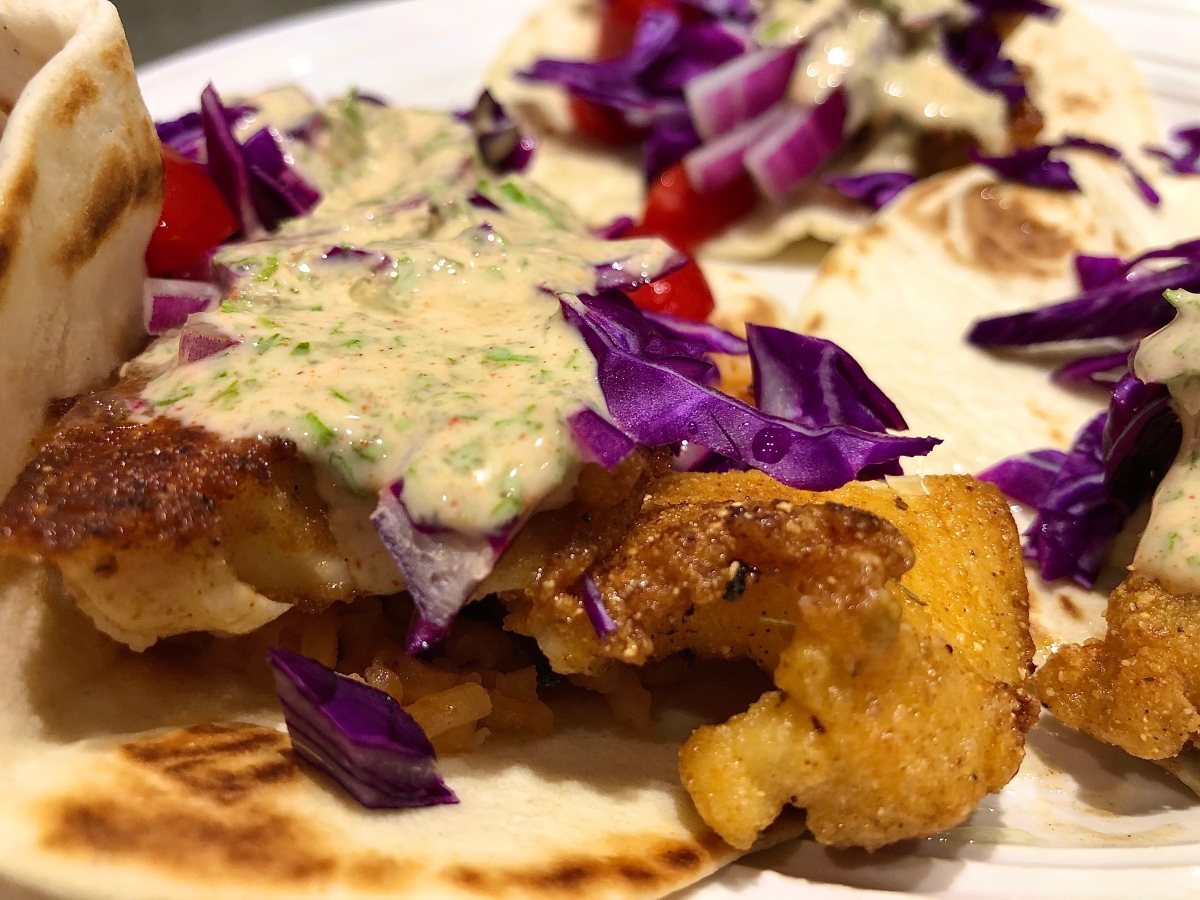
Then I heat the flour tortillas one at a time in a pan on high heat (without oil); once they start to bubble, I flip them and then remove them from the heat when the second side bubbles.
This brings out flavour in the tortillas and gives them flexibility so they don’t break when folded.
The next step is the long-awaited assembly of toppings and finally eating the fish tacos!
Advertisements
Advertisements
The beauty of tacos is that each person can add the amount of toppings they would like.
Any extra raw fish we have left from our fishing trip will either get eaten for breakfast the following morning or frozen for future fish tacos.
I know there are tons of ways to make fish, but these tacos are just so good that we almost always go this route.
Recipe
Northern Pike (or other white fish)
Cajun Fish Crisp
Butter
1/2 cup purple cabbage
1/4 cup cherry tomatoes
1/4 cup cucumber
Red onion, optional
Flour tortillas
Advertisements
Advertisements
Sauce
1/2 cup sour cream
1 teaspoon Frank’s Red Hot Sauce
1/4 teaspoon cumin
1/4 teaspoon cayenne pepper
1/4 teaspoon paprika
1/2 lime zested and juiced
1 bunch cilantro
Advertisements
Advertisements
Directions
Prep vegetables by thinly slicing cabbage and cucumber. Quarter cherry tomatoes.
Mix vegetables and drizzle with fresh lime juice.
Dredge fish in Fish Crisp and fry in butter on high heat until golden brown on both sides.
Make sauce by combining all ingredients in food processor and blend.
Toast flour tortillas to warm.
Add vegetables and fish to each tortilla and top with sauce.
Enjoy!
Advertisements
Advertisements
Advertisements
Advertisements
Oh right! The last two pictures?
Yep, I couldn’t help but throw them in…
This was the biggest Northern Pike I have EVER caught (18.5 lbs – it was HEAVY to hold for photos)!
I was in a sit-inside kayak, no less! The guy at the kayak store told me I would never be able to catch fish in a sit-inside kayak and that I HAD to get a sit-on-top style to get fish… (guess I showed him! lol)
It took about half an hour to land this beast and I got pulled all over the lake in the meantime.
That night was well after 1 AM before we got home and got to eat some fresh fish!
There! I got my “big fish brag moment” in.
Advertisements
Advertisements
Advertisements
Advertisements
Advertisements
Advertisements
What is your favourite way to make fish? Drop a comment below!
Advertisements
Processing…
Success! You're on the list.
Whoops! There was an error and we couldn't process your subscription. Please reload the page and try again.